 how-to guide
Fix Uneven Subfloors Before Installation: Step-by-Step Guide
Table of Contents
- How to Fix Uneven Subfloors: Assessment and Inspection
- Subfloor Moisture Testing: A Critical First Step
- Tools and Materials Required for Subfloor Leveling
- Using Self-Leveling Compound on Wood and Concrete Subfloors
- Repair Uneven Concrete Subfloor: Grinding and Patching
- Plywood Shims for Subfloor: Sistering Joists and Shimming Techniques
- Cleaning, Debris Removal, and Final Surface Preparation
- DIY vs. Professional Subfloor Repair: Cost and Complexity Analysis
Fix Uneven Subfloors Before Installation: Step-by-Step Guide
Last Updated: July 19, 2026
Uneven subfloors are one of the most common installation challenges homeowners and contractors face. A subfloor that's off-level by just half an inch can cause visible gaps, premature wear, and voided warranties on premium flooring. This guide walks you through every method to identify problems, assess severity, and execute repairs before your new flooring arrives.
Uneven subfloors compromise the structural integrity of your installation and shorten the lifespan of expensive flooring materials. Whether you're dealing with a concrete slab, plywood, or engineered joists, the approach differs significantly. Below, we'll show you exactly how to fix uneven subfloors before installation, with specific techniques for each material type and honest guidance on when to call a professional.
How to Fix Uneven Subfloors: Assessment and Inspection
Before you spend money on leveling materials, you need to know exactly what you're dealing with. Proper assessment takes time, but it saves thousands in rework and failed installations later.
Identifying high spots and dips
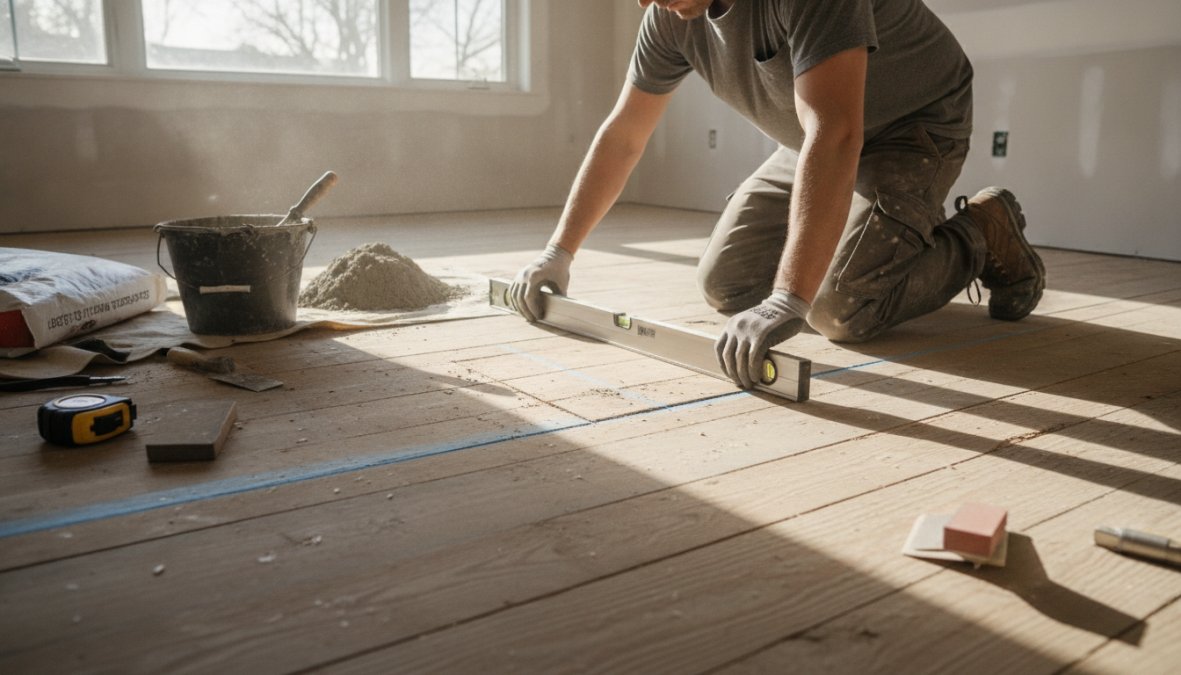
Start with a 6-foot or 8-foot straightedge. Lay it across your subfloor in multiple directions: along the joists, perpendicular to the joists, and diagonally across the room. Mark every spot where you see light passing underneath or where the straightedge rocks. Work in a grid pattern every 2 to 3 feet across the entire subfloor. Document measurements with a tape measure.
If the gap is under 1/8 inch, you're in good shape for most flooring types. Between 1/8 and 1/4 inch requires intervention. Over 1/4 inch means serious structural issues or heavy-duty leveling work.
Understanding floor flatness tolerance for your flooring type
Different flooring materials have different tolerance levels. Luxury vinyl and laminate tolerate up to 3/16 inch of variation over 10 feet. Hardwood requires 1/8 inch over 10 feet for solid wood, slightly more for engineered. Tile demands 1/8 inch over 10 feet. Carpet is the most forgiving but will show ripples if dramatically off-level.
Get your flooring specifications in writing before you start repairs. This document becomes your target. You're not aiming for "pretty close", you're aiming for that specific tolerance number. Most flooring manufacturers will reject warranty claims on uneven subfloors.
Subfloor Moisture Testing: A Critical First Step
Moisture is the silent killer of subfloor repairs. You can apply perfect leveling compound to a damp subfloor, and it will fail within months. Moisture testing must happen before any repair work begins.
Use a moisture meter designed for wood and concrete. Take readings in at least 10 different spots across the subfloor, including near walls and windows. For concrete subfloors, readings should be below 3-4 pounds per 1,000 square feet. For wood subfloors, readings should be below 12-13% moisture content.
If your readings are elevated, address the source first: check for plumbing leaks, foundation cracks, or inadequate vapor barriers. Run a dehumidifier for several days and retest. Don't proceed with leveling until moisture levels are normal.
Tools and Materials Required for Subfloor Leveling
Having the right tools before you start prevents frustration and mistakes.
For assessment and measurement:
- 6-foot or 8-foot straightedge (aluminum is best)
- Laser level (optional but recommended for larger rooms)
- Moisture meter for wood and concrete
- Measuring tape (25-foot minimum)
- Chalk line or painter's tape
For surface preparation:
- Vacuum with HEPA filter
- Broom and dustpan
- Razor scraper for adhesive residue
- Wire brush for concrete
- Safety glasses and dust mask (N95 minimum)
For leveling and repair:
- Self-leveling compound
- Primer appropriate for your subfloor type
- Trowel or putty knife
- Mixing paddle and drill
- Plywood shims (various thicknesses)
- Fasteners: 1.25-inch nails or staples
- Sanding block or orbital sander (for high spots)
- Bonding agent or construction adhesive
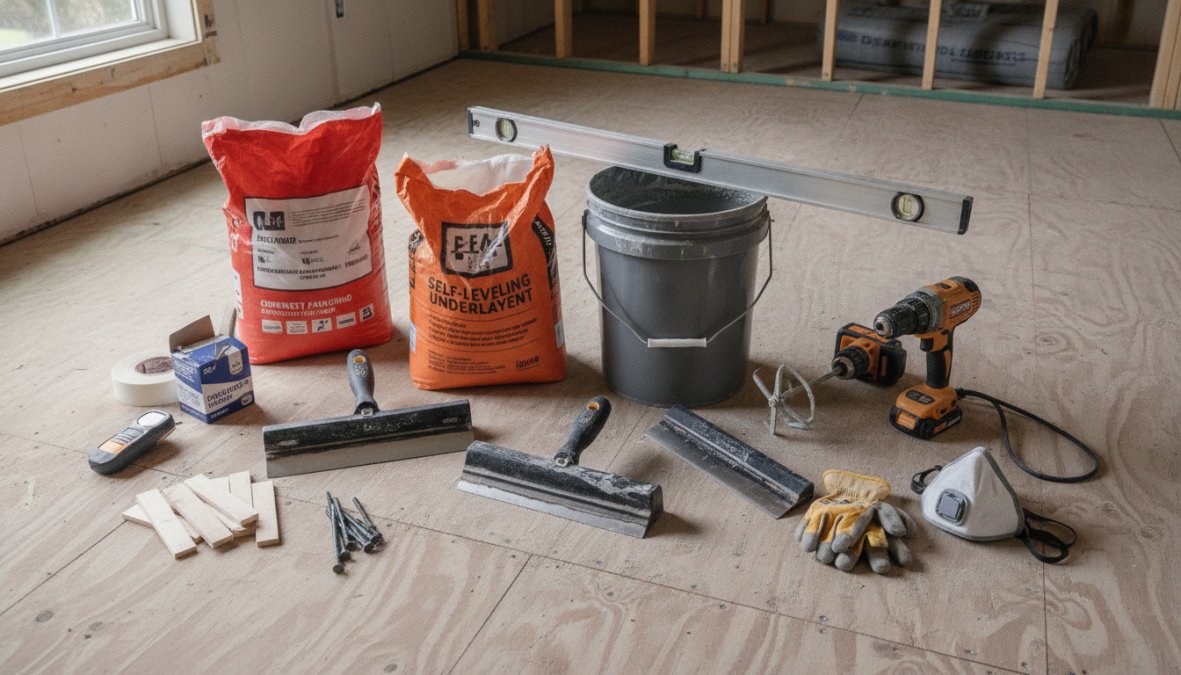
The total investment for a full toolkit runs $150-300. Renting specialized tools like floor sanders costs $50-100 per day.
Using Self-Leveling Compound on Wood and Concrete Subfloors
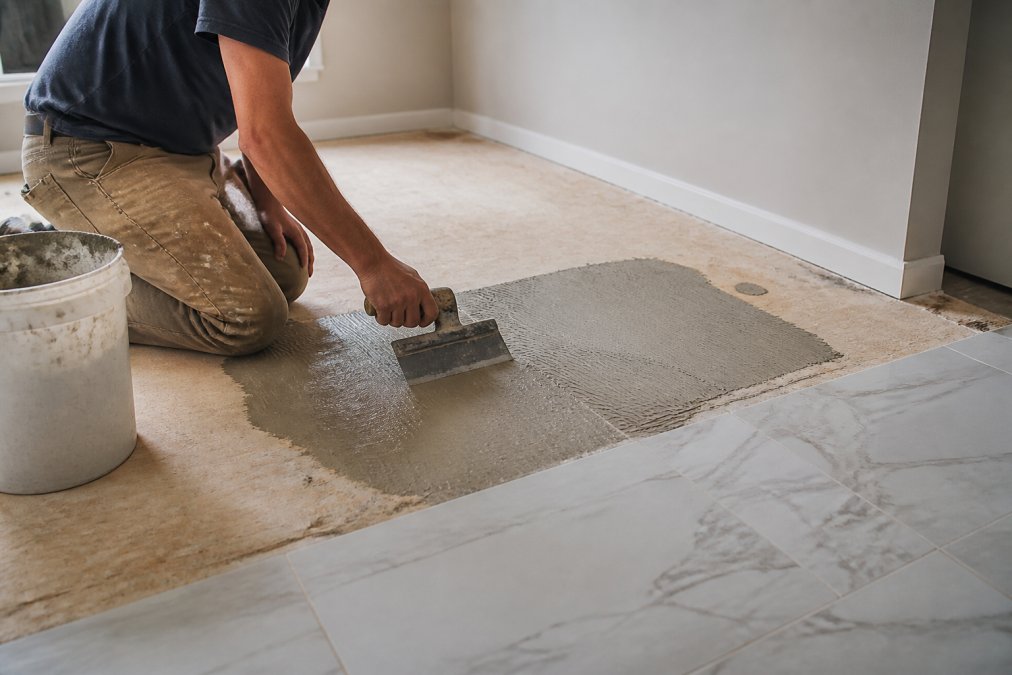
Self-leveling compound is the fastest way to fix minor unevenness. It works best on concrete subfloors with dips up to 1/2 inch. On wood subfloors, use it only for gaps under 1/4 inch. Beyond those thresholds, combine compound with plywood shims or other structural fixes.
Priming and surface preparation before application
Prepare the surface completely. Every speck of dust, debris, or adhesive residue must go. Vacuum, then wipe with a damp cloth. Let it dry fully. Apply primer according to the compound manufacturer's specifications. The primer creates a mechanical and chemical bond between the compound and the subfloor. Without it, the compound cracks and separates under foot traffic.
While the primer cures, prepare your compound. Mix it according to manufacturer instructions using a drill with a mixing paddle. Mix only the amount you can use in 15-20 minutes. Pour the compound starting at the lowest point in the room. Use a trowel to guide it, but don't overwork it.
Curing time and when flooring installation can begin
Self-leveling compound cures in stages. It may feel dry to the touch in 2-4 hours, but full cure typically takes 24-48 hours depending on temperature, humidity, and product thickness. Check the manufacturer's specifications for your specific compound. Temperature matters; colder conditions slow curing.
Don't install flooring until full cure is complete. Installing too early locks in internal stress that causes cracking and failure. The warranty on your flooring won't cover installation on improperly cured substrates.
Repair Uneven Concrete Subfloor: Grinding and Patching
For high spots under 1/4 inch, use a concrete grinder. Rent one for $50-75 per day. Grind in multiple passes, letting the tool do the work. For high spots over 1/4 inch, grinding becomes inefficient. You're better off adjusting your flooring installation or removing and replacing that section of concrete.
Low spots in concrete are filled with self-leveling compound. For deeper dips over 1/2 inch, use concrete patching compound first, then self-leveling compound for final leveling.
Remove adhesive residue from old flooring using a razor scraper and elbow grease. For stubborn adhesive, use a chemical adhesive remover. Scrape until the concrete is clean. Any remaining adhesive prevents proper bonding of primer and compound.
Plywood Shims for Subfloor: Sistering Joists and Shimming Techniques
Plywood subfloors that are uneven usually have a structural cause: sagging joists, inadequate support, or settling over time. Before shimming, understand why the floor is uneven. Uniform sagging suggests undersized joists or inadequate support. Isolated dips suggest localized problems: cracked, rotted, or improperly supported joists.
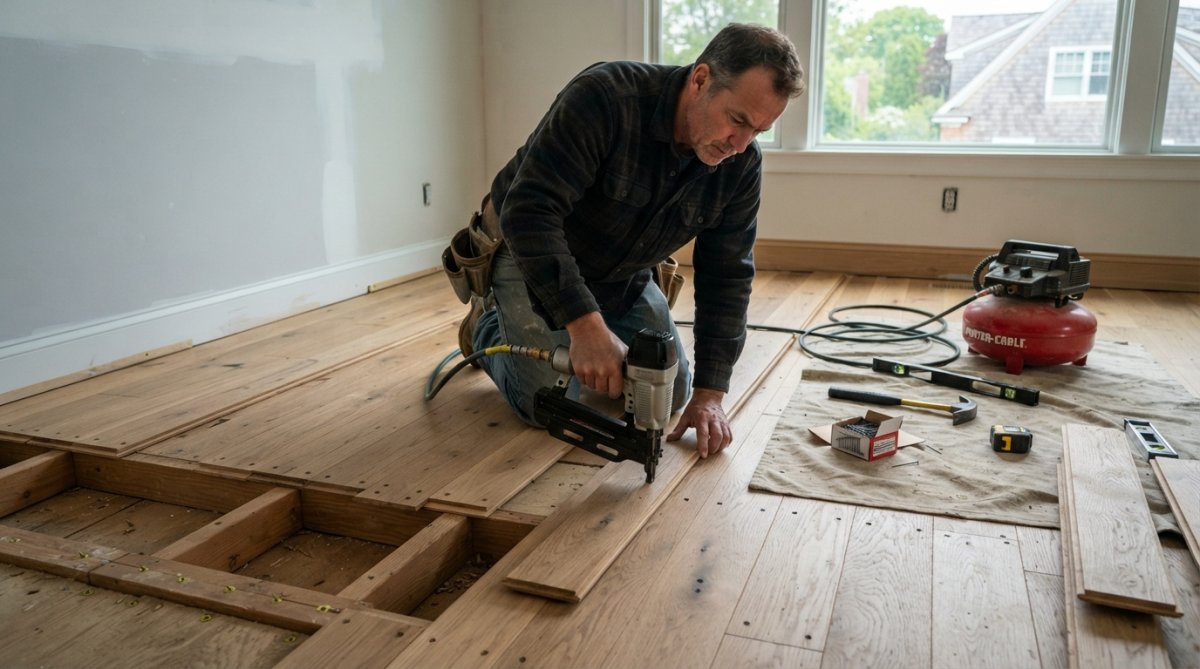
For isolated low spots, cut plywood into tapered wedges or use pre-made shims. Slip the shim under the subfloor at the low spot, then fasten with 1.25-inch fasteners spaced every 6-8 inches. Use a straightedge to check progress frequently.
Sistering joists is the solution for structural problems. This means fastening a new joist alongside an existing weak joist. For most homeowners, this requires professional help.
When structural issues require professional intervention
If your assessment reveals cracked joists, significant rot, or sagging affecting multiple joists, you're dealing with a structural problem beyond subfloor leveling. Stop and call a professional.
Signs that you need professional help:
- Sagging affecting more than 20% of the floor area
- Visible cracks in joists
- Soft spots indicating rot
- Evidence of water damage or mold
- A floor that feels bouncy or unstable
Cleaning, Debris Removal, and Final Surface Preparation
A clean subfloor is the foundation for everything that follows. Dust, debris, and adhesive residue prevent proper bonding of primer and flooring materials.
Start with a vacuum using a HEPA filter. Vacuum the entire subfloor, including corners and edges. Then vacuum again. Follow with a damp cloth or mop to remove dust the vacuum missed. Let it dry completely before proceeding.
For adhesive residue, use a razor scraper and chemical adhesive remover if necessary. Scrape aggressively. The subfloor should feel smooth and clean to the touch.
After cleaning, inspect the subfloor one final time with your straightedge. Confirm that your repairs have achieved the target flatness. If you're still seeing gaps larger than your tolerance, add another thin layer of self-leveling compound or additional shims.
DIY vs. Professional Subfloor Repair: Cost and Complexity Analysis
The decision to DIY or hire a professional depends on the scope of work, your skill level, and the cost difference.
DIY works well for:
- Minor unevenness (under 1/4 inch) on concrete or plywood
- Applying self-leveling compound to small areas
- Shimming isolated low spots
- Surface cleaning and preparation
DIY becomes risky for:
- Structural repairs requiring sistering joists
- Large areas of unevenness (over 1/4 inch)
- Concrete grinding on high spots
- Situations involving water damage or mold
Professional contractors bring expertise that prevents costly mistakes. They identify structural problems you might miss and have specialized equipment that makes large repairs faster and more precise.
Common mistakes that lead to failed leveling
The most common mistake is skipping moisture testing. The second is inadequate surface preparation. The third is not waiting for full cure before installing flooring.
Other mistakes include using the wrong primer, applying compound too thick in one pass, not checking flatness frequently, ignoring structural problems, and installing flooring before full cure.
| Common Mistake | Why It Happens | Consequence | Prevention |
|---|---|---|---|
| Skipping moisture testing | Seems unnecessary | Compound fails, flooring fails | Test before any work |
| Poor surface prep | Saves time | Adhesion failure, cracking | Vacuum twice, wipe clean |
| Wrong primer type | Using what's available | Compound doesn't bond | Match primer to subfloor |
| Thick compound application | Trying to finish faster | Uneven curing, cracking | Use multiple thin layers |
| Installing too early | Impatience | Stress cracks, warranty void | Wait full cure time |
| Ignoring structural issues | Hoping they'll go away | Sagging returns, flooring fails | Get professional assessment |
Uneven subfloors are fixable problems, but they demand respect for the process. Rushing through assessment, moisture testing, or surface preparation creates failures that are expensive and frustrating to correct. The time you invest upfront saves thousands in rework and flooring replacement later.
If your subfloor assessment reveals structural problems, extensive water damage, or unevenness beyond 1/2 inch, contact a professional. If you're dealing with minor unevenness on concrete or plywood, the DIY approach outlined here will work. Either way, get your flooring specifications in writing before you start repairs. You're not aiming for "good enough", you're aiming for your flooring manufacturer's specific tolerance requirements.
At Hamptons carpet one floor and Home, we work with customers in Suffolk County who've tackled subfloor repairs themselves and those who've hired professionals. Both approaches work when executed properly. What matters is matching the repair method to the problem severity and your skill level. If you're unsure whether your situation calls for DIY or professional help, bring photos and measurements to our showroom. We've seen hundreds of subfloor challenges and can point you toward the right solution. Get started with a proper assessment today.
Frequently Asked Questions
What happens if you install flooring on an uneven subfloor?
Installing flooring on an uneven subfloor causes visible dips and high spots that telegraph through the finished floor, create hollow sounds underfoot, and accelerate wear on adhesives and fasteners. Laminate and vinyl flooring are especially susceptible to failure, as they lack the structural integrity to bridge gaps. Hardwood can cup or crack, and carpet may develop lumps and premature wear patterns. Most flooring manufacturers void warranties if installation occurs on subfloors exceeding flatness tolerances.
How do you check a subfloor for unevenness?
Use a 10-foot straight edge and lay it flat across the subfloor in multiple directions. Measure gaps under the straight edge with a feeler gauge or ruler, gaps larger than 3/16 inch over 10 feet indicate unevenness. A laser level provides precise measurements across larger areas. Walk the subfloor to listen for soft spots or movement, which signal structural issues. Check both high spots and dips, and test moisture levels before proceeding with any leveling technique.
Can you use self-leveling compound on a wood subfloor?
Yes, but only on structurally sound plywood or OSB subfloors with moisture content below 12%. Self-leveling compound requires a stable, non-moving base. You must prime the subfloor with an appropriate bonding agent first to ensure adhesion. On concrete subfloors, self-leveling compound works directly over a moisture barrier. Always follow the manufacturer's curing time guidelines, typically 24-48 hours, before installing flooring. Inadequate priming or excess moisture will cause the compound to fail.
When should you call a professional to fix an uneven subfloor?
Contact a professional if you discover soft spots, movement, or structural damage indicating floor deflection or compromised joists; if moisture testing shows levels above 12%; if the subfloor requires sistering or major joist repair; or if unevenness exceeds 1/2 inch over 10 feet. Older homes with settling or water damage, and situations where the underlying cause is unclear, also warrant professional assessment. A pro can determine whether leveling compound, shimming, or structural repair is appropriate for your specific subfloor material and condition.
This article was written using GrandRanker