 how-to guide
How to Prepare Subfloor for Tile: Step-by-Step Guide
Table of Contents
- How to Prepare Subfloor for Tile: What You'll Need First
- Step 1: Assess Subfloor Stability and Thickness
- Step 2: Clean and Remove Debris
- Step 3: Inspect and Test Moisture Content
- Step 4: Level the Subfloor and Fill Cracks
- Step 5: Install Cement Backer Board
- Step 6: Apply Moisture Barriers and Anti-Fracture Membranes
- Step 7: Final Inspection Before Tile Installation
Last Updated: July 30, 2026
How to Prepare Subfloor for Tile: What You'll Need First
Preparing a subfloor correctly is the difference between tile that lasts 20 years and tile that fails within five. This guide covers how to prepare subfloor for new tile installation step by step, ensuring your tile floor has a stable, moisture-resistant foundation.
The stakes are high in coastal environments like Suffolk County, where salt air, sand, and moisture create perfect conditions for subfloor failure. Whether you're working with plywood over floor joists or a concrete slab, the preparation process determines whether your investment holds up or deteriorates.
Tools and Materials Checklist
You'll need a straightedge (6 to 10 feet long) to check floor flatness and a moisture meter to assess whether your subfloor is safe to tile, critical in humid coastal regions. A circular saw, reciprocating saw, or pry bar handles debris removal. A trowel, caulking gun, and utility knife are required for filling gaps and applying sealants.
Stock self-leveling underlayment for minor dips, cement backer board for moisture-prone areas, corrosion-resistant screws, joint tape, primer, and either a moisture barrier or anti-fracture membrane. Concrete slabs require a concrete sealer or moisture mitigation product.
Safety Gear and PPE
Wear safety glasses, a dust mask or respirator, and work gloves. Hearing protection matters if using power tools for extended periods. Long sleeves and pants prevent cuts and chemical splashes. If moisture testing reveals mold, upgrade to an N95 respirator or better.
Step 1: Assess Subfloor Stability and Thickness
Your subfloor must be rigid enough to support tile without flexing. Flexing causes grout cracks and tile failure within months. Plywood subfloors should be at least 1¼ inches thick. Concrete slabs must be at least 4 inches thick and structurally sound with no major cracks, spalling, or soft spots. Walk across the floor and listen for creaking or feel for movement, any flex is a red flag.
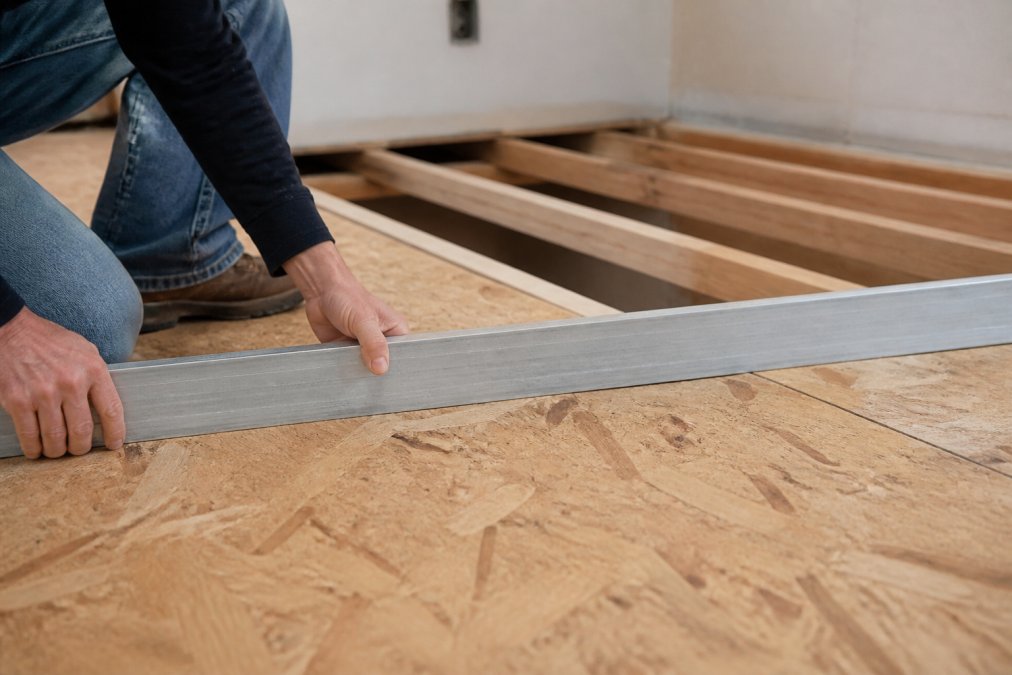
Checking Joist Spacing and Deflection
Floor joists should be spaced no more than 16 inches on center for tile installations. Wider spacing allows excessive deflection. The L/360 rule applies: a floor spanning 10 feet can deflect no more than 0.033 inches under the weight of tile and mortar.
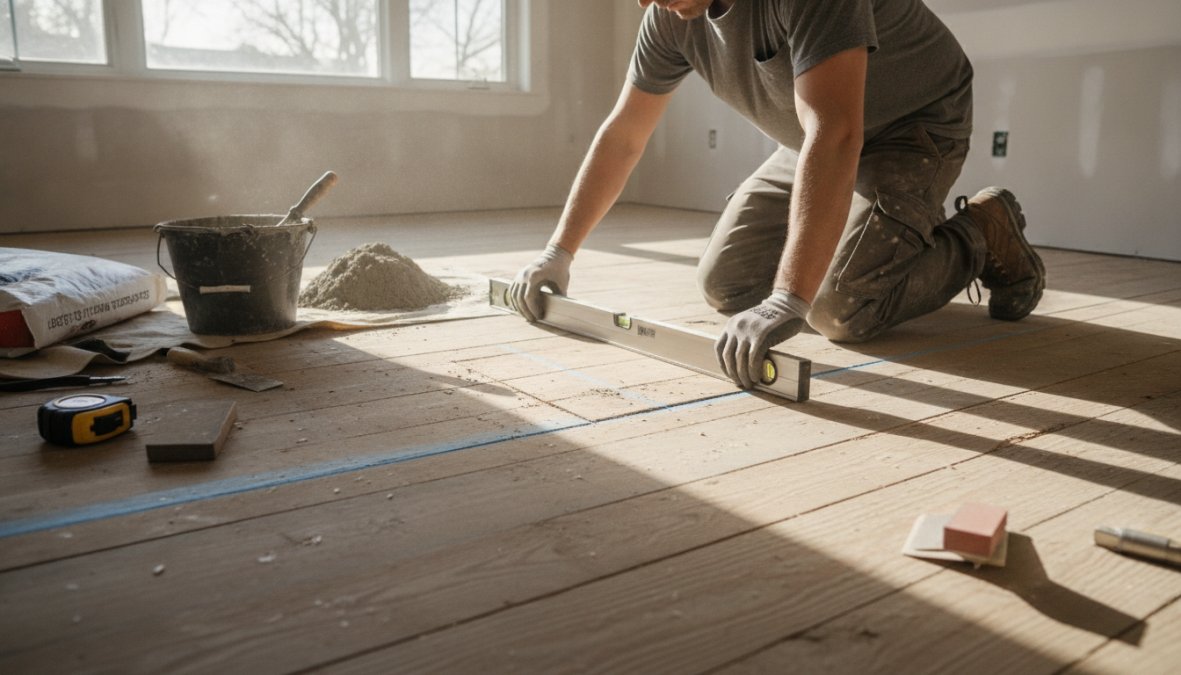
Access the space below your subfloor and measure between joist centers. If spacing exceeds 16 inches, you'll need reinforcement before tiling. For concrete slabs, place a straightedge across the surface and measure gaps. Any gap larger than 3/16 inch over 10 feet requires leveling.
Step 2: Clean and Remove Debris
A clean subfloor is essential for proper tile adhesion. Remove all old flooring, adhesive residue, nails, staples, and debris using a pry bar or reciprocating saw. A floor scraper removes stubborn adhesive; work carefully to avoid gouging the subfloor.
Vacuum thoroughly with a shop vacuum to eliminate all dust and debris. Wipe down the surface with a damp cloth to remove remaining dust and allow it to dry completely before proceeding. For concrete slabs, pressure wash if heavily soiled, then allow 48 hours drying time.
Step 3: Inspect and Test Moisture Content
Excess moisture causes mold, efflorescence, and adhesive failure. Test moisture content using a moisture meter on both plywood and concrete.
For plywood, moisture content should be between 9 and 14 percent. Readings above 16 percent indicate the wood is too wet for tiling. For concrete slabs, use a calcium chloride test or in-situ relative humidity (RH) test. Concrete RH should be below 85 percent before applying tile. If readings are high, address the moisture source first: fix leaks, improve drainage, or add ventilation before proceeding.
In coastal environments, moisture testing is especially critical. Salt air accelerates moisture penetration, and moisture trapped under tile creates ideal conditions for mold and subfloor rot.
Step 4: Level the Subfloor and Fill Cracks
Even minor dips and high spots cause lippage and cracking. Use a straightedge to identify dips and high spots, then mark them with chalk or tape.
Using Self-Leveling Underlayment
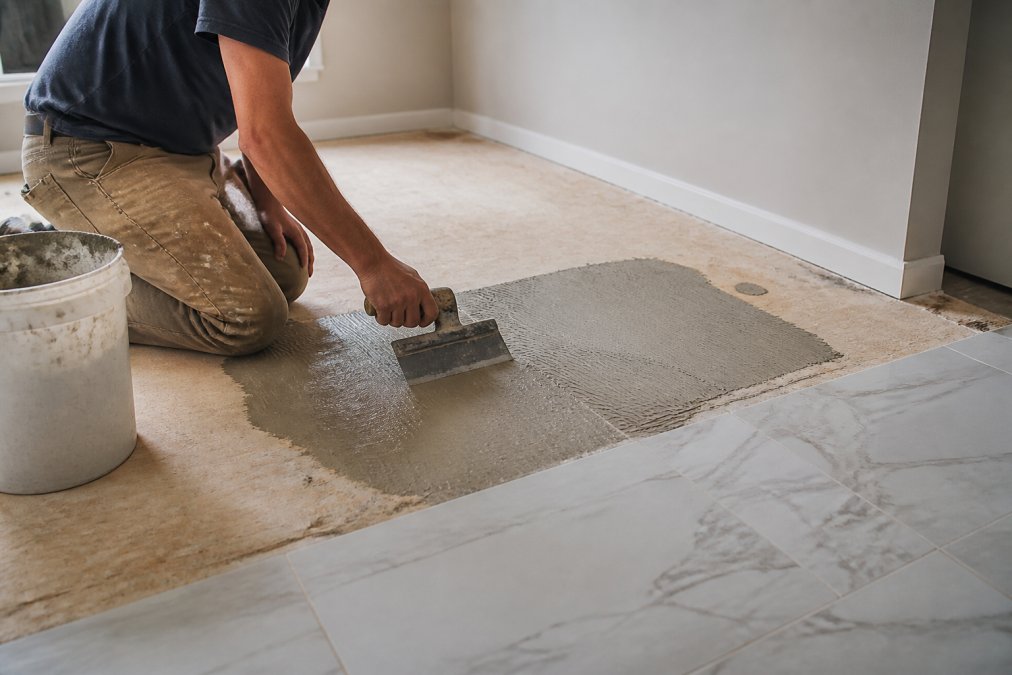
For dips up to ½ inch, self-leveling underlayment is the fastest solution. Mix it with water to a peanut butter consistency, pour it onto the subfloor, and it spreads and levels automatically as it sets. Self-leveling underlayment typically cures in 24 to 48 hours. For larger dips (½ inch to 2 inches), apply multiple thin layers rather than one thick layer, allowing each to cure between applications.
High spots should be ground down using a concrete grinder or floor sander, removing no more than ¼ inch per pass. Vacuum and wipe the surface after grinding.
Filling Gaps and Cracks in Plywood
Small gaps between plywood sheets (less than ¼ inch) can be filled with caulk or flexible filler. Larger gaps should be filled with a wood-compatible patching compound or additional plywood strips screwed in place. For concrete slabs, cracks wider than 1/8 inch should be sealed with concrete crack sealant or epoxy filler.
| Issue | Solution | Curing Time | Best For |
|---|---|---|---|
| Dips up to ½ inch | Self-leveling underlayment | 24-48 hours | Plywood and concrete |
| High spots | Grinding or sanding | Immediate | Concrete and plywood |
| Small gaps (< ¼ inch) | Caulk or flexible filler | 2-4 hours | Plywood |
| Cracks (> 1/8 inch) | Concrete sealant or epoxy | 24 hours | Concrete slabs |
Step 5: Install Cement Backer Board
Cement backer board is a non-organic substrate that resists moisture far better than plywood. It's essential in wet areas and recommended for all tile installations in humid climates. Backer board is typically ½ inch thick and comes in 3-by-5-foot sheets.
Cut backer board with a utility knife (score deeply, then snap) or a circular saw with a masonry blade. Lay sheets with a ¼-inch gap between them to allow for expansion. Fasten backer board to the subfloor using corrosion-resistant screws spaced 8 inches apart around the perimeter and 12 inches apart in the field. Screws should penetrate at least 1¼ inches into the subfloor.
Fastening and Taping Joints
After fastening all sheets, tape the joints using alkali-resistant fiberglass mesh tape and thinset mortar. Apply a thin layer of thinset, press the tape into it, then cover with another layer of thinset. This reinforces the joints and prevents cracking at seams. Allow thinset to cure for 24 hours before applying a moisture barrier or anti-fracture membrane.
Step 6: Apply Moisture Barriers and Anti-Fracture Membranes
A moisture barrier prevents water from reaching the subfloor. Products like RedGard are liquid membranes applied with a roller or sprayer, curing to form a waterproof seal. Apply according to manufacturer instructions, typically two coats with 4 to 8 hours between coats.
Anti-fracture membranes absorb the movement and stress that occur as tile, grout, and subfloor expand and contract with temperature and humidity changes. These membranes are especially important over concrete slabs, which move more than plywood. Some products combine both functions.
Allow moisture barriers and anti-fracture membranes to cure fully (typically 24 hours) before applying thinset and tile. For concrete slabs in coastal environments, consider applying a concrete sealer in addition to a moisture barrier for double protection.
Step 7: Final Inspection Before Tile Installation
Before laying a single tile, verify that your subfloor prep is complete and correct. Walk across the entire surface and confirm there's no flex or movement. Use a straightedge to check flatness one more time, you should have less than 3/16 inch of variation over 10 feet.
Post-Prep Inspection Checklist
- Subfloor is clean, dry, and free of debris
- Moisture content is within acceptable range (plywood 9-14%, concrete RH below 85%)
- All dips have been filled with self-leveling underlayment
- All high spots have been ground or sanded down
- Gaps and cracks are sealed or filled
- Cement backer board is installed, fastened, and joints are taped (if using)
- Moisture barrier is applied and fully cured
- Anti-fracture membrane is applied and fully cured (if using)
- Subfloor is flat within 3/16 inch over 10 feet
- No visible flex or movement when walking across the surface
- All fasteners are countersunk and not protruding
If any item fails inspection, address it before tiling. Rushing this step is the single most expensive mistake homeowners make.
Common Mistakes and How to Avoid Them
Many homeowners skip moisture testing because they assume their subfloor is dry. In coastal areas, this assumption is dangerous. Always test.
Another common error is underestimating the importance of deflection. A floor that feels solid underfoot may still deflect enough to crack grout and pop tiles. Use the L/360 rule and check joist spacing.
Some installers apply thinset directly to plywood without a moisture barrier or backer board. This fails consistently in humid regions. Budget for proper moisture protection.
Finally, rushing the curing process causes adhesive failure. All materials require full cure time before tiling.
Why Proper Subfloor Preparation Matters for Coastal Homes
In Suffolk County, your flooring endures conditions that test every installation. Salt air accelerates moisture penetration and corrosion. Sand tracked indoors abrades grout and sealant. High humidity creates persistent moisture challenges that inland homes rarely face.
A properly prepared subfloor with moisture barriers and anti-fracture membranes stands up to these conditions. Inadequate prep leads to mold, efflorescence, and structural damage that spreads beyond the tile to the subfloor itself. Professional installers invest heavily in prep because they understand that tile longevity depends on foundation quality.
Proper subfloor preparation is the foundation of any tile installation that lasts. Whether you're tiling a kitchen, bathroom, or entire home in a moisture-rich coastal environment, the steps outlined here protect your investment and prevent costly failures.
At Hamptons carpet one floor and Home, we work with homeowners and contractors throughout Suffolk County. We can guide you through moisture testing, material selection, and installation planning to ensure your tile floor is built to last. Reach out to discuss your specific subfloor conditions and get a professional assessment before you tile.
Frequently Asked Questions
What is the best way to prepare a subfloor for tile?
The best approach involves seven key steps: assessing stability and thickness, cleaning debris, testing moisture content, leveling with self-leveling compound, installing cement backer board, applying moisture barriers or anti-fracture membranes, and performing a final inspection. Each step ensures your tile installation will have proper bond strength and longevity. Skipping any step increases the risk of cracks, tile failure, or moisture damage, especially critical in coastal areas where salt air and humidity are concerns.
Do I need cement backer board or a moisture barrier for tile subfloor preparation?
Yes, both serve different purposes. Cement backer board provides structural support and prevents moisture from the subfloor from affecting tile bond strength. A moisture barrier (like RedGard) creates an additional waterproof layer that protects against water intrusion from above. For coastal properties or bathrooms, both are highly recommended. Cement backer board is essential over plywood; moisture barriers add extra protection, especially in high-moisture environments.
How do you make an uneven subfloor level for tile installation?
Use self-leveling compound or leveling underlayment to fill low spots and create a flat surface. First, identify high spots and dips using a straightedge. Sand down high spots if they exceed 1/8 inch. Then apply self-leveling compound to low areas according to product instructions and curing time. For larger irregularities, you may need multiple applications. Proper leveling prevents tile cracking and ensures even trowel coverage and thinset bond.
What subfloor thickness and joist spacing do I need for tile?
Minimum recommended subfloor thickness is 1-1/8 inches for plywood over joists spaced 16 inches apart. Joists spaced 24 inches apart require thicker subfloor (1-1/4 inches or double layers). Check deflection using the L/360 rule: floor deflection should not exceed span length divided by 360. Insufficient thickness or spacing causes floor movement, which breaks tile and thinset bonds. Have deflection calculated if you're unsure, this prevents costly failures later.
This article was written using GrandRanker