 Ultimate guide
Flooring Installation for Historic Homes: A Guide
Table of Contents
- Why Flooring Installation in Historic Homes Requires Specialized Expertise
- Engineered Hardwood vs Solid Hardwood for Older Properties
- Subfloor Leveling for Old Houses: Assessment and Repair
- Hardwood Floor Restoration Services and Period-Accurate Finishes
- Moisture Control and Coastal Climate Considerations
- Historic Home Preservation Standards During Installation
- What to Expect: Professional Installation Process and Timeline
- Conclusion
Last Updated: August 25, 2026
Why Flooring Installation in Historic Homes Requires Specialized Expertise
Flooring installation for historic homes differs fundamentally from standard residential work. Older homes were built with materials, methods, and tolerances that don't align with modern standards. A 1950s Cape with a settling foundation, a Victorian with shifted joists, or a beachfront cottage with moisture issues require specialized knowledge that general contractors often lack.
According to Harvard Joint Center for Housing Studies research on Long Island renovation trends, about 59% of homeowners in the region are undertaking significant remodeling projects on older properties requiring specialized approaches (harvard.edu).
Subfloor preparation alone can account for 30-40% of total installation cost (thisoldhouse.com). Installing new flooring over an inadequately prepared subfloor leads to buckling, cupping, separation, and squeaking within months. Prevention through proper assessment is exponentially cheaper than correction.
Historic homes also carry preservation considerations. Whether officially designated or architecturally significant, restoration work should respect the home's character through period-accurate finishes, authentic wood species, and techniques honoring original construction.
Engineered Hardwood vs Solid Hardwood for Older Properties
The choice between engineered and solid hardwood for historic homes is about physics and climate control, not personal preference.
Solid hardwood consists of a single piece of wood, typically 3/4 inch thick, and can be sanded and refinished multiple times throughout its life. For above-grade rooms with stable subfloors and reasonable moisture levels, it delivers authentic character and long-term durability.
However, solid hardwood moves with humidity. On Long Island, humidity swings are dramatic, 65-75% in summer, dropping to 25-35% in winter. This seasonal cycling causes solid hardwood to expand and contract, leading to gaps in winter and cupping in summer if the subfloor isn't properly moisture-controlled.
Engineered hardwood addresses this through its construction: a real hardwood veneer sits atop a cross-ply core of plywood or high-density fiberboard. This layered structure resists movement because the cross-grain orientation counteracts surface veneer expansion and contraction. For homes with significant humidity swings, engineered hardwood is often more practical. It performs better than solid hardwood in below-grade applications like basements and crawl spaces.
The trade-off is that engineered hardwood cannot be repeatedly refinished like solid hardwood. Most engineered products can be sanded once or twice before the veneer becomes too thin.
| Flooring Type | Best For | Moisture Resistance | Refinishing Potential | Cost Range |
|---|---|---|---|---|
| Solid Hardwood | Above-grade rooms, stable subfloors | Moderate (requires moisture control) | Multiple refinishes (3-5 times) | Pricing depends on quantity, dates, and delivery |
| Engineered Hardwood | Coastal areas, humidity fluctuations, basements | High (cross-ply core resists movement) | Limited (1-2 refinishes) | Pricing depends on quantity, dates, and delivery |
Subfloor Leveling for Old Houses: Assessment and Repair
Subfloor leveling reveals hidden complexity in most historic home flooring projects. An uneven subfloor compromises structural integrity and accelerates wear patterns leading to premature failure.
Older homes settle due to foundation movement, wood rot, inadequate support joists, or natural material compression over decades. Subfloor inspection frequently reveals the need for repairs to address rotted plywood, squeaks, or out-of-plane joists.
Assessment begins with a thorough inspection using laser levels and moisture meters. A professional contractor maps high and low spots, identifies structural issues, and determines whether the subfloor can be leveled or requires localized repairs. Some settling is acceptable and can be managed through proper underlayment selection. Severe settling (more than 1/2 inch over a 10-foot span) requires intervention before installation.
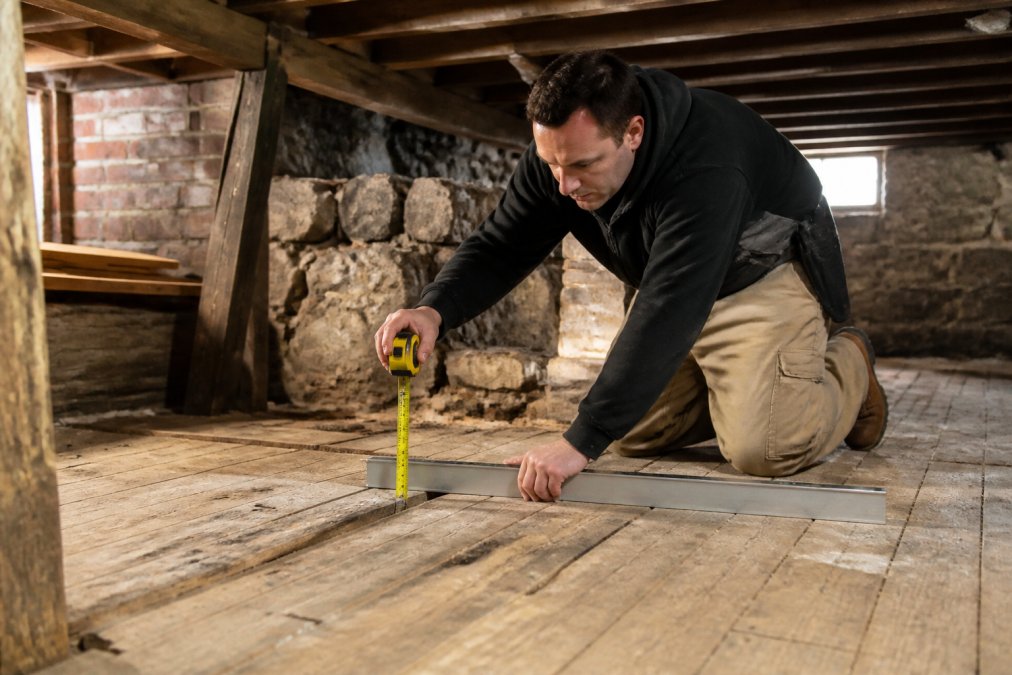
Repair options depend on the specific problem. Rotted plywood sections must be replaced with new plywood or engineered lumber. Squeaky joists may need additional bridging or sistering. Minor unevenness can sometimes be addressed with self-leveling underlayment or engineered shims.
If the subfloor requires significant leveling work, engineered hardwood becomes more attractive than solid hardwood. Engineered products are more forgiving of minor subfloor imperfections because the rigid core prevents the surface veneer from conforming to every dip and rise.
Hardwood Floor Restoration Services and Period-Accurate Finishes
Hardwood floor restoration for historic homes goes far beyond standard refinishing. Restoration implies returning the floor to its original condition, requiring understanding of the home's architectural period and historically appropriate finishes.
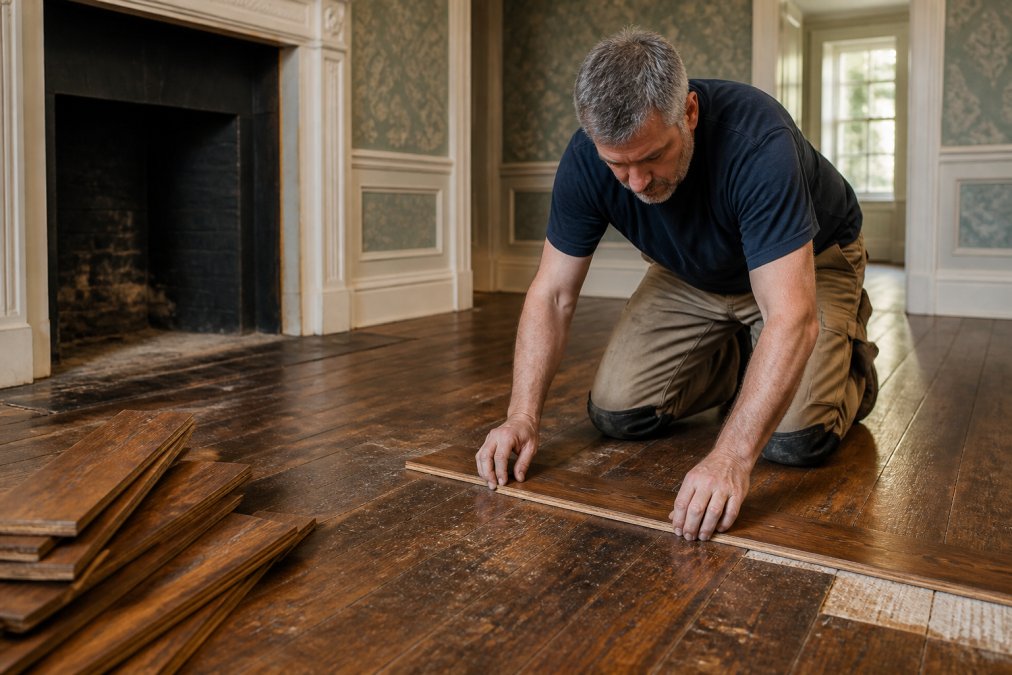
Many historic homes have original hardwood flooring hidden under carpet, laminate, or vinyl. Restoring these floors involves carefully removing overlays, assessing the underlying hardwood condition, and deciding between full refinishing or selective restoration.
Professional restoration begins with identification. What species is the wood? What was the original finish? A restoration specialist examines grain patterns, construction method, and remaining finish evidence to determine the most historically appropriate approach.
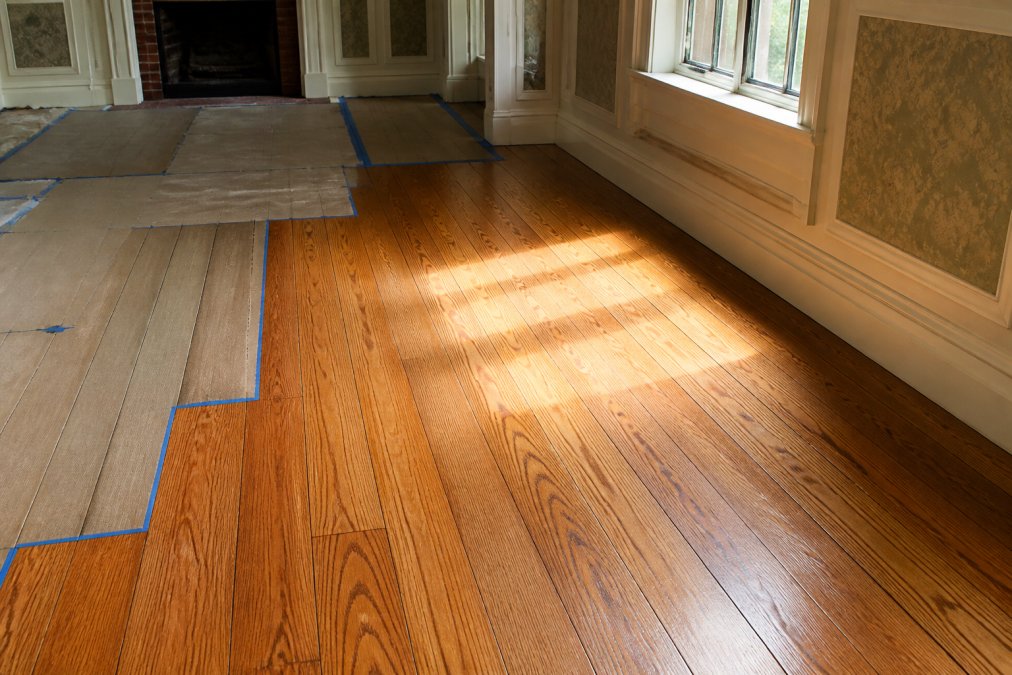
Period-accurate finishes are critical. A Victorian home from the 1890s would have had a darker, heavier stain and strong varnish. A mid-century modern home from the 1950s might have featured a natural or light honey finish. Applying contemporary gray stain to a Colonial-era floor fundamentally alters the home's character.
The restoration process requires specialized equipment and techniques. Dust-controlled sanding systems capture 99% of sanding dust, protecting the home's interior and installer health. A case study from Savera Wood Floor Refinishing demonstrates this: the team restored original red oak hardwood floors in an 80-year-old Medford home covered by laminate, paint, and VCT tile. Using dust-controlled sanding, they removed layers of paint and adhesive, revealing the original character and beauty of the red oak.
Wide plank flooring and herringbone or chevron patterns can be historically accurate if they align with original construction, or they can represent thoughtful modern interpretation.
Moisture Control and Coastal Climate Considerations
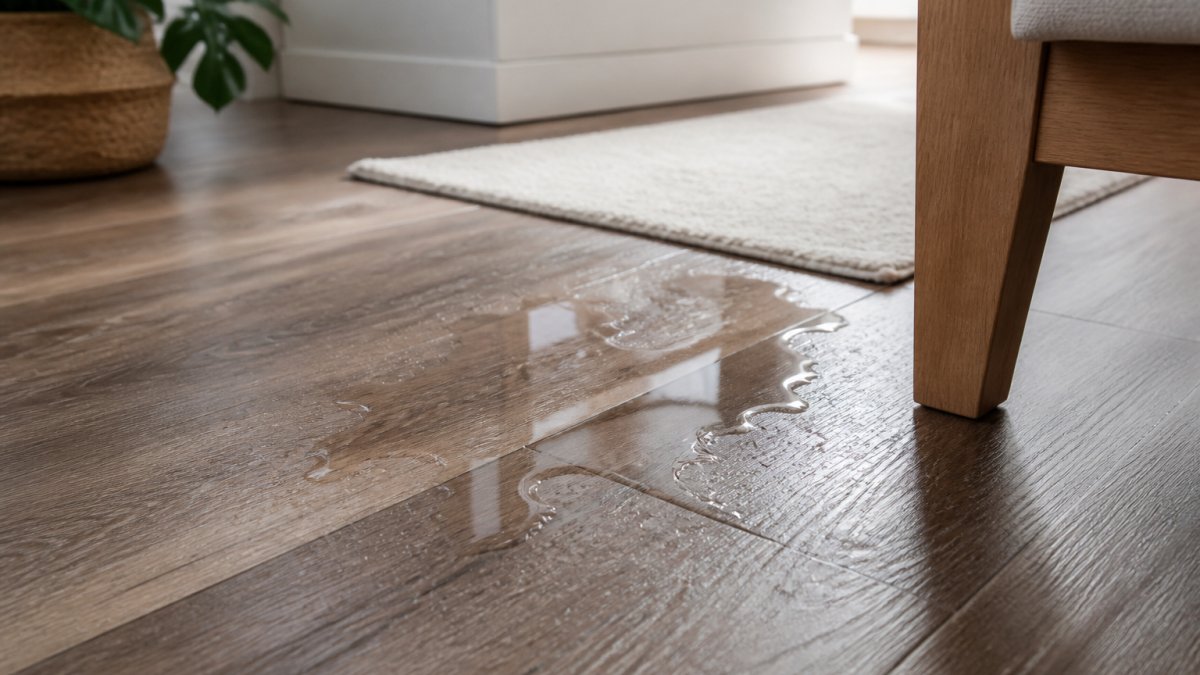
Moisture is the enemy of hardwood flooring, and coastal environments amplify this challenge. Salt air, humidity fluctuations, and water intrusion potential create conditions demanding proactive moisture management.
Coastal properties face unique stressors. Salt-laden air accelerates wood degradation. High summer humidity promotes mold and mildew. Winter heating drops humidity to desert-like levels, causing wood shrinkage and gaps between boards. Flooding risk adds another concern.
The foundation of moisture control is a moisture barrier, typically polyethylene or engineered underlayment installed between subfloor and finished flooring. This prevents moisture vapor from rising into the wood flooring. In coastal homes, a quality moisture barrier is essential.
Concrete subfloors in coastal homes present particular challenges. Before installing any wood flooring over concrete, a moisture test must be performed. If moisture levels exceed manufacturer specifications, the concrete must be sealed or a moisture mitigation system installed.
Engineered hardwood outperforms solid hardwood in coastal environments because its cross-ply core resists dimensional changes caused by humidity fluctuations. Research emphasizes that engineered hardwood is often more practical due to significant humidity swings in the region.
Ventilation and climate control also matter. A properly functioning HVAC system maintaining consistent indoor humidity (ideally 30-50% year-round) protects the flooring investment. In older homes, HVAC systems may be inadequate, requiring upgrades before installation.
Historic Home Preservation Standards During Installation
Installing new flooring in a historic home requires respecting the home's architectural integrity and, in some cases, complying with preservation standards.
If your property is listed on a local or national historic register, there may be specific requirements for modifications, including flooring. A local historic preservation commission may need to approve material selections, finishes, and installation methods.
Preservation standards typically require that new work be reversible or minimally invasive. If the original hardwood floor can be restored rather than replaced, restoration is preferred. If new flooring is necessary, it should match the original in species, width, and finish as closely as possible.
The concept of "period-accurate" extends beyond finish color to construction methods. A historic home may require traditional installation techniques rather than modern staple-gun or glue-down methods. Nailing hardwood floors with ring-shank nails is more reversible than stapling and aligns with original construction.
Working with a contractor experienced in historic home preservation is essential. A contractor who understands historic preservation standards, local regulations, and your home's architectural period ensures the flooring installation enhances rather than detracts from the property's significance.
What to Expect: Professional Installation Process and Timeline
Understanding the professional installation timeline for flooring in a historic home sets realistic expectations and helps you plan around disruption.
A typical hardwood flooring installation in a historic home spans 7-14 days, depending on square footage, subfloor condition, and project complexity.
Day 1-2: Site Preparation and Assessment The contractor performs detailed subfloor inspection, moisture testing, and structural evaluation. Existing flooring is removed, and the subfloor is cleaned and inspected. This phase often reveals surprises requiring attention before installation proceeds.
Day 3-4: Subfloor Preparation Repairs occur if needed. Rotted plywood is replaced, structural issues addressed, and the subfloor leveled. Underlayment and moisture barriers are installed.
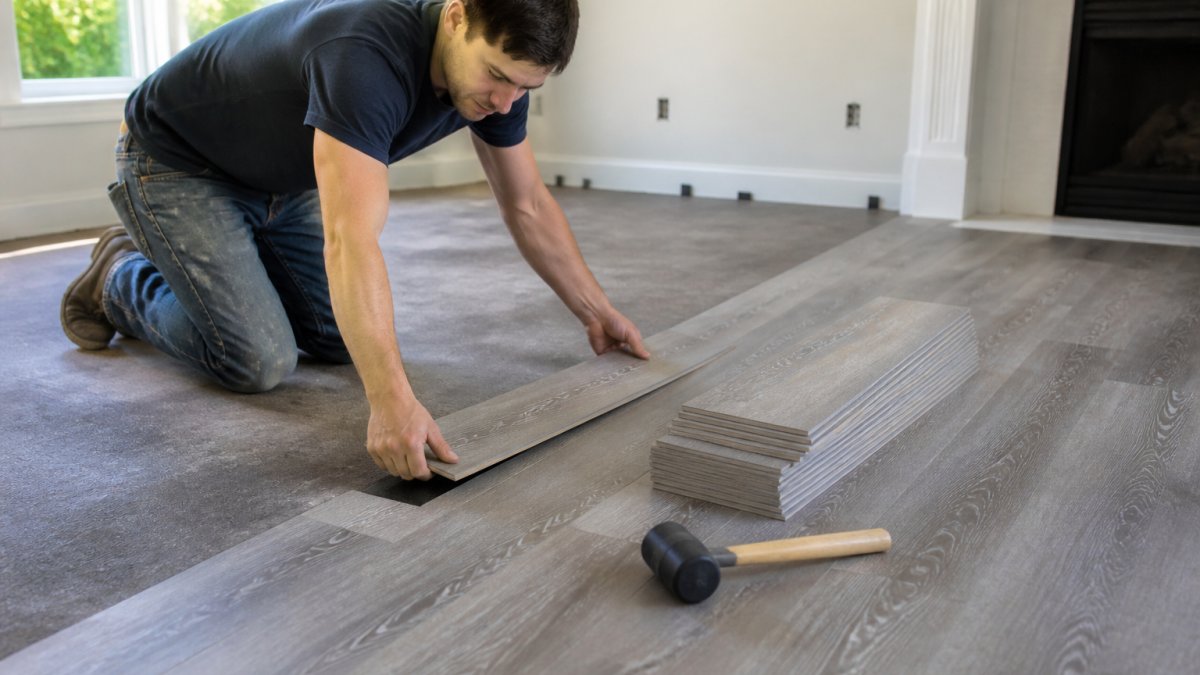
Day 5-7: Flooring Installation Hardwood flooring is acclimated to the home's humidity for 48-72 hours before installation. The flooring is then installed using appropriate methods. Installation progresses room by room with carefully managed transitions.
Day 8-10: Finishing If unfinished solid hardwood is used, sanding and finishing occur on-site. If pre-finished flooring is used, this phase is minimal.
Day 11-14: Curing and Final Inspection The finished floor cures for 24-48 hours before normal use. Baseboards and trim are reinstalled, and final inspection ensures quality and compliance.
The timeline expands if significant subfloor repairs are needed or if the home has structural challenges.
Disruption is real. Dust from sanding permeates the home despite containment efforts. Noise from equipment runs 8-10 hours daily. Furniture must be moved or covered. Planning for this disruption is part of realistic project expectation.
Professional contractors communicate timelines clearly upfront, provide daily updates, and work to minimize household disruption.
Historic home flooring installation is a specialized undertaking demanding expertise, patience, and respect for the property's character. The investment in proper assessment, quality materials, and experienced installation pays dividends in durability, authenticity, and long-term value.
If you're planning a flooring project in a historic home, start with a comprehensive consultation. Hamptons Carpet One Floor and Home offers detailed assessments identifying subfloor conditions, moisture challenges, and preservation considerations specific to your property. Our team understands the unique demands of historic homes and recommends solutions honoring both the home's character and your practical needs. Contact us today for a free estimate and begin your flooring restoration with confidence.
Frequently Asked Questions
Q: What type of wood floors are most common in historic homes?
A: Solid hardwood is the gold standard found in nearly every pre-1980 home that undergoes refinishing. Red oak, white oak, and walnut are the most prevalent species. These original floors often hide beneath carpet, laminate, or tile, and restoring them reveals the home's architectural character. Professional assessment can determine what lies beneath your current flooring and whether restoration is viable.
Q: Should I choose solid or engineered hardwood for an older home?
A: Solid hardwood works best for above-grade rooms with stable subfloors and reasonable moisture levels. However, engineered hardwood is often more practical for coastal properties because its cross-ply core resists humidity swings better than solid wood. In areas with 65-75% relative humidity in summer and 25-35% in winter, engineered hardwood minimizes cupping and warping. Your choice depends on subfloor condition, room location, and local climate exposure.
Q: How much does flooring installation typically cost in older homes?
A: Pricing for flooring installation depends on quantity, dates, and delivery. Older homes often require more prep work and may need subfloor repairs, so always request a detailed estimate that accounts for your home's specific condition.
Q: What happens if my subfloor has damage or moisture issues?
A: Subfloor inspection is critical in historic homes. Common issues include rotted plywood, squeaks, and out-of-plane joists. A professional flooring contractor will identify these problems before installation begins. Addressing moisture barriers and structural issues first prevents future floor failure and maintains your home's architectural integrity.
This article was written using GrandRanker