 Ultimate guide
Install Waterproof Vinyl Plank Flooring Yourself
Table of Contents
- What You'll Need: Tools and Materials for Vinyl Plank Installation
- How to Prepare Subfloor for Vinyl Plank Installation
- Measuring, Layout, and Acclimation
- Step-by-Step Installation Process
- Common Vinyl Plank Flooring Installation Mistakes to Avoid
- Finishing Touches and Long-Term Care
- Frequently Asked Questions
Last Updated: October 3, 2026
What You'll Need: Tools and Materials for Vinyl Plank Installation
To install vinyl plank flooring yourself properly, you need the right tools and materials to ensure a professional result. Gather everything before you start, running back to the store mid-project wastes time and breaks momentum.
Essential Tools
Essential tools include: a pull bar (removes baseboards), tapping block and rubber mallet (seat planks without damage), jamb saw (undercuts door frames), circular or miter saw (cuts planks), tape measure and speed square (layout and marking), moisture meter (tests subfloor conditions), 24-inch level (checks flatness), spacers (maintain expansion gap), knee kicker (positions planks), and utility knife (scores planks).
Materials and Supplies
Beyond the vinyl plank itself, you'll need underlayment or a moisture barrier, transition molding, quarter-round or baseboard trim, caulk, and leveling compound. Order 10% to 20% extra flooring to account for cuts and waste. For moisture-prone areas, a vapor barrier prevents moisture migration from the subfloor.
How to Prepare Subfloor for Vinyl Plank Installation
Subfloor preparation determines whether your vinyl plank flooring lasts 15 years or fails in 5. The subfloor must be dry, flat, clean, and stable.
Test for Moisture (Concrete and Wood Subfloors)
Moisture is the silent killer of vinyl plank flooring. Water vapor rises from the concrete or wood subfloor and causes planks to cup, buckle, or separate at the seams. Testing moisture is essential.
For Concrete Subfloors: Concrete wicks moisture continuously, even when it feels dry. Use a calcium chloride moisture meter (MVER test) to measure moisture release. Place the meter in at least three locations and allow 24 hours to stabilize.
For borderline readings (2.5 to 3 pounds), install a 6-mil polyethylene vapor barrier or commercial moisture barrier rated for vinyl plank use. Overlap seams by 6 inches and tape with moisture-barrier tape.
For Wood Subfloors: Use a wood moisture meter to test at multiple points, inserting pins 3/4 inch into the wood. Acceptable moisture content is 12% or lower. Readings above 15% signal a moisture problem, identify and fix the source (plumbing leak, poor ventilation, crawlspace moisture) before proceeding.
For wood subfloors in naturally humid climates, consider underlayment with a built-in moisture barrier.
Vapor Barrier Selection: Choose a vapor barrier rated for vinyl plank flooring: 6-mil polyethylene sheeting, commercial moisture barriers, or underlayment with integrated moisture barrier. Check your manufacturer's warranty, some require a specific barrier type or void coverage if you use the wrong one.
Check Subfloor Flatness
A subfloor with dips and peaks will transfer those imperfections to your vinyl planks, creating an uneven surface and stressed click-lock joints. According to The Home Depot subfloor preparation guide, subfloor deflection should not exceed 1/8 inch in 6 feet. Use your 24-inch level to scan the entire floor, working in a grid pattern so you don't miss problem areas. Mark low spots with chalk. For minor imperfections under 1/4 inch, self-leveling compound fills the gaps and dries within 24 hours. For deeper dips, you may need to grind high spots or add shims under the subfloor. This work takes time but prevents callbacks and ensures the click-lock joints stay engaged under foot traffic.
Remove Baseboards and Trim
Baseboards and door trim must come off before installation. Use your pull bar to gently pry baseboards away from the wall, starting at seams or corners. Work slowly to avoid splitting trim you plan to reinstall. Number the back of each piece for matching to original locations.
Measuring, Layout, and Acclimation
Getting the layout right prevents narrow end-planks at the final row, which look awkward and signal amateur work.
Calculate Square Footage and Waste Factor
Measure room length and width in feet, then multiply to get total square footage. Add 10% to 20% to your order to account for cuts, mistakes, and future repairs, according to The Home Depot installation planning recommendations. For an irregular room, break it into rectangles, calculate each, then add them together. Write down the measurement and take a photo, you'll reference it during layout and when ordering additional material if needed.
Plan Your Plank Layout
Measure room width and divide by plank width. If the final row is less than 2 inches, adjust the starting row by removing a few inches from the first plank to distribute the adjustment across two rows. Draw a quick floor plan marking the starting wall.
Acclimate Your Vinyl Planks
Leave unopened cartons of vinyl planks in the room for 48 hours before installation to acclimate to room temperature and humidity. This prevents buckling or gapping after installation.
Step-by-Step Installation Process
The process to install vinyl plank flooring follows a logical sequence. Take your time with the first row, everything else builds from there.
Step 1: Install Underlayment and Moisture Barrier
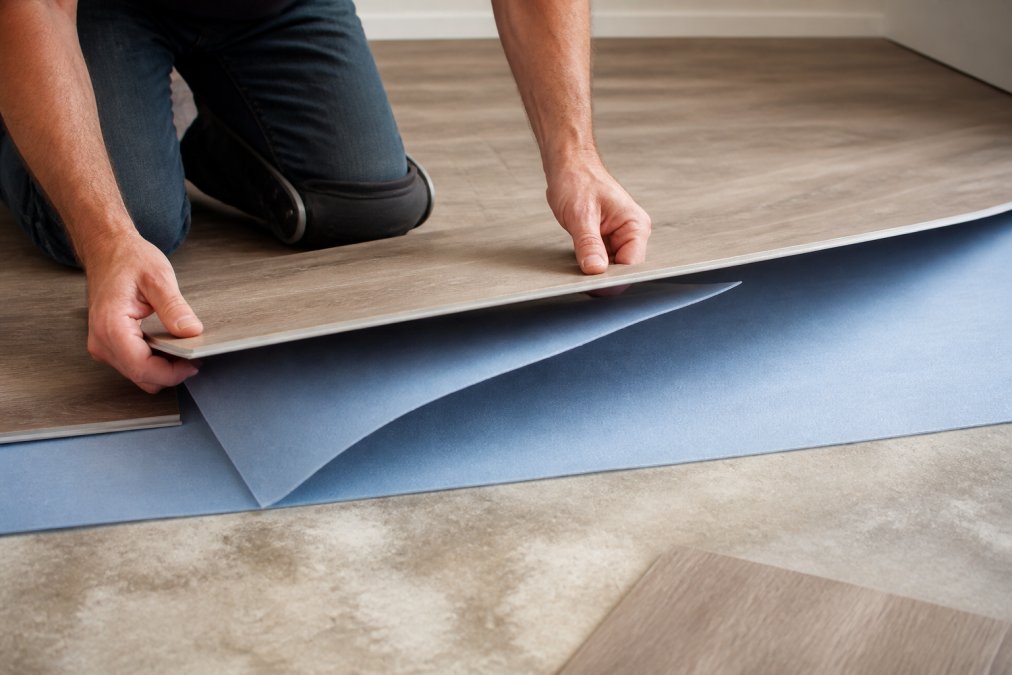
Roll out underlayment across the subfloor, overlapping seams by 6 inches and taping them. If moisture readings were elevated, lay a moisture barrier first, then underlayment on top. Trim excess at walls and doorways.
Step 2: Lay Your First Row
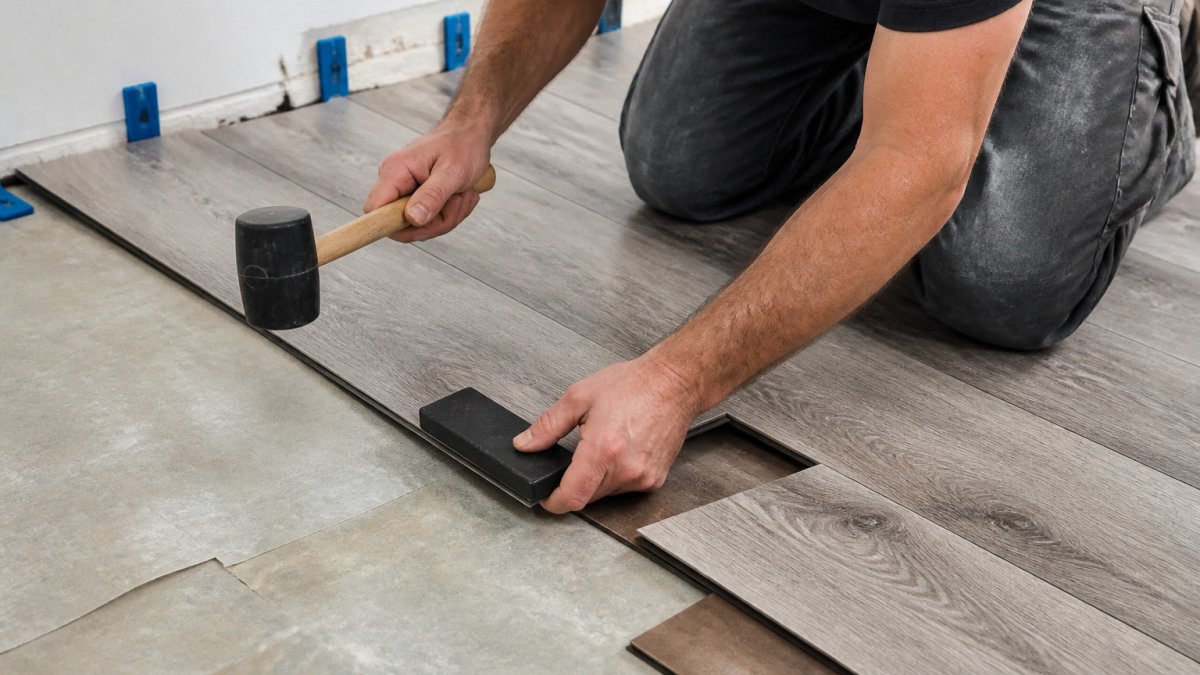
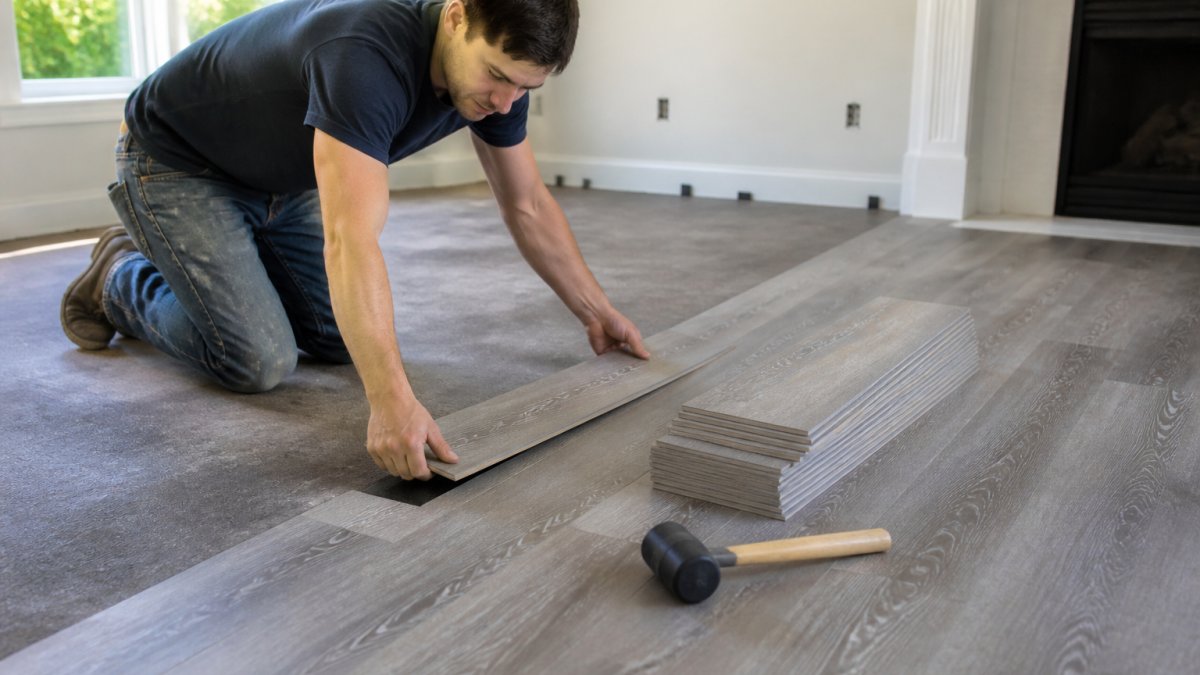
Start along the straightest wall. Place spacers against the wall to maintain the expansion gap, typically 1/4 inch. Insert the first plank with the tongue facing into the room. Engage the click-lock by pushing down and forward. Use the tapping block and rubber mallet to seat the plank fully. The click should be audible. Continue along the first row, checking alignment with your level as you go. Stagger the end joints so the second row's planks don't line up with the first row's seams, this strengthens the floor structurally and looks more professional.
Step 3: Continue Staggering Planks Across the Room
Begin the second row with a plank that's cut to ensure staggered joints. A common practice is to cut the first plank of the second row in half or by one-third of the plank length. This offsets the seams. Engage the long edge of the second row's first plank to the first row's long edge, then tap it down. Continue adding planks across the room, maintaining consistent spacing and checking alignment periodically. Work methodically, rushing leads to misaligned planks and wasted material.
Step 4: Cut Planks for Edges and Doorways
Measure the remaining width at room edges and cut planks lengthwise to fit. A circular saw works well for lengthwise cuts. For crosswise cuts (shortening planks), a miter saw gives cleaner results. Remember to account for the expansion gap at walls. For doorways, measure the height of the door frame and use your jamb saw to undercut the frame so the plank can slide underneath. This creates a seamless transition.
Step 5: Install Final Rows and Transitions
As you approach the final wall, you may need to rip planks lengthwise to fit the remaining space. Leave the expansion gap. Once all planks are installed, remove the spacers and install transition molding at doorways. Quarter-round or baseboard trim covers the expansion gap and provides a finished appearance. Caulk gaps where moisture could enter, especially in kitchens and bathrooms.
Common Vinyl Plank Flooring Installation Mistakes to Avoid
Most problems stem from skipped steps or misunderstanding how the material behaves. Learning from others' mistakes saves time and money.
Skipping Subfloor Prep
The biggest mistake is rushing prep work. A subfloor that isn't flat, dry, or clean will cause planks to rock, click-locks to separate, or moisture to warp the material. Don't assume "good enough" works. Test moisture, check flatness, and clean thoroughly.
Not Allowing Expansion Gap
Vinyl expands with heat and humidity. Without a 1/4-inch gap around room perimeters, planks will buckle. This gap is non-negotiable. Use spacers consistently and remove them only after all planks are installed.
Neglecting to Stagger Joints
Aligned seams weaken the floor and look unprofessional. Stagger end joints so no two seams line up vertically. This distributes stress and creates a more stable, attractive floor.
Installing Without Acclimation
Planks that haven't acclimated to room conditions will shift after installation, creating gaps. The 48-hour wait prevents this common problem.
Failing to Measure Room Width First
According to research on common DIY installation errors, failing to measure room width and divide by plank width before starting often results in an aesthetically unpleasing, very narrow final row of planks. This is easily prevented by planning the layout in advance.
Finishing Touches and Long-Term Care
After installation, let the floor settle for 24 hours before moving furniture back. Vinyl plank flooring is durable and low-maintenance, but proper care extends its life and prepares you for future repairs.
Daily and Weekly Maintenance
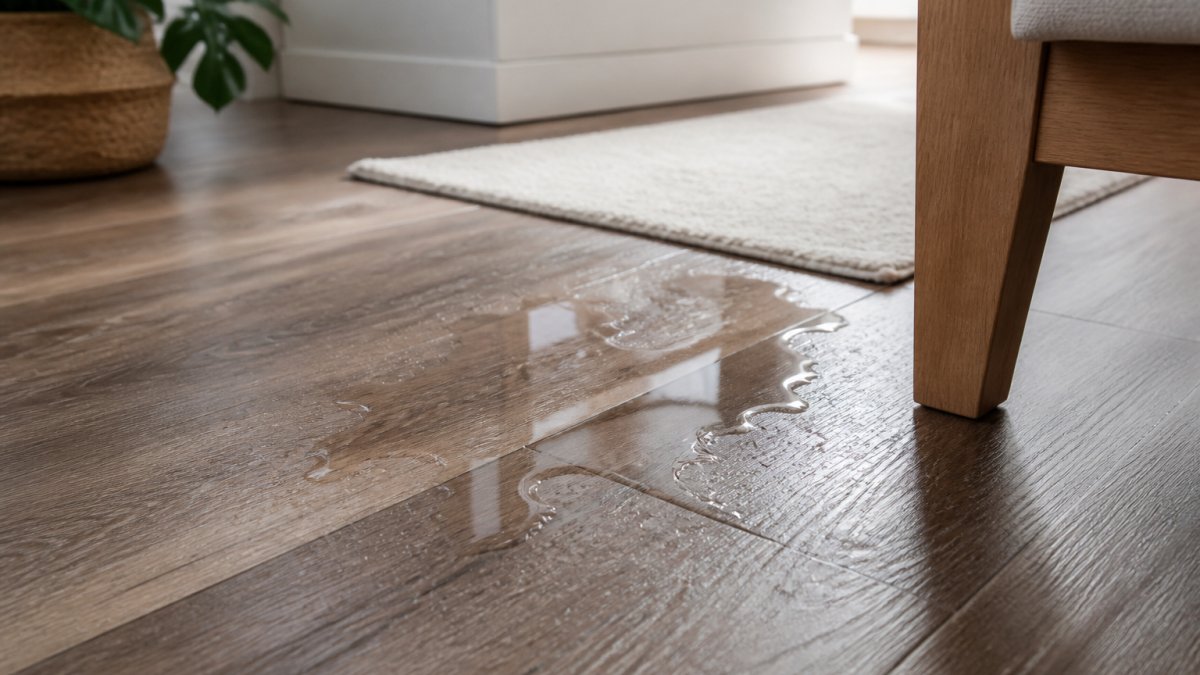
Sweep or vacuum regularly to remove sand and debris, especially important in coastal homes where sand tracks in constantly. Wipe spills immediately to prevent moisture from seeping into seams. Use a damp (not wet) mop for cleaning, excess water is the enemy of click-lock joints. Avoid harsh chemicals and abrasive scrubbers that can scratch the wear layer. Place felt pads under furniture legs to prevent scratches and dents. For coastal properties, the moisture-resistant qualities of vinyl plank flooring make it an excellent choice that outperforms traditional hardwood in humid, salt-air environments.
Replacing a Damaged Plank (Without Replacing the Entire Floor)
One of vinyl plank flooring's advantages is that individual planks can be replaced if damaged. If a plank develops a deep gouge, crack, or water damage, you don't need to tear up the entire floor.
How to Remove and Replace a Single Plank:
First, identify which plank is damaged. If it's in the middle of the floor (not along an edge), you'll need to remove planks above it to access the damaged one.
Once you've exposed the damaged plank, remove it by lifting and sliding it out. Inspect the subfloor underneath for any moisture or debris, and clean it thoroughly.
Insert the new plank by engaging the tongue into the groove of the adjacent plank, then press down firmly. Use your tapping block and rubber mallet to seat it fully, you should hear the click-lock engage.
When to Replace vs. Repair:
Small surface scratches (less than 1/8 inch deep) can be concealed with a vinyl floor repair marker or touch-up pen that matches your plank color. Deep gouges, cracks that go through the wear layer, or planks with water damage should be replaced.
Keeping Spare Planks:
When you install your floor, set aside 2 to 3 extra planks of the same product line and color lot. Store them in a dry location. This ensures you have an exact match if replacement becomes necessary months or years later.
Frequently Asked Questions
Can a beginner install vinyl plank flooring without professional help?
Yes. Vinyl plank flooring is classified as a moderate-difficulty DIY project suitable for beginners with basic tools and patience. The click-lock system makes installation straightforward compared to traditional hardwood. Most homeowners can complete a room in a weekend. Success depends on proper subfloor preparation, accurate measurements, and following the staggering pattern. If your subfloor has significant moisture or structural issues, consider professional assessment before starting.
Do I need an underlayment for waterproof vinyl plank flooring?
Underlayment is strongly recommended even though waterproof vinyl plank flooring has a built-in moisture barrier. Underlayment provides cushioning, sound dampening, and additional moisture protection. It also helps smooth minor subfloor imperfections and extends the life of your flooring. Many manufacturers recommend acoustic underlayment, especially in kitchens and bathrooms. Always check your specific product's requirements before installation.
What should I put down before laying vinyl flooring to prevent moisture damage?
Test your subfloor moisture level first using a moisture meter. If moisture levels are acceptable, install a moisture barrier or vapor barrier before laying underlayment. This creates a protective layer between the subfloor and your vinyl planks. In high-moisture areas like basements or bathrooms, use a self-leveling moisture barrier. Proper moisture management prevents buckling, cupping, and mold growth under your new flooring.
How much expansion gap do I need to leave around the edges of vinyl plank flooring?
Leave a 1/8-inch expansion gap around the entire perimeter of the room, including around door jambs and fixed objects. This allows the floating floor to expand and contract with temperature and humidity changes without buckling. Use spacers to maintain consistent gaps as you work. Once installation is complete, cover the gap with baseboards, quarter-round, or transition molding to hide the space and create a finished appearance.