 Ultimate guide
Hardwood Flooring Installation Services: A Complete Guide
Table of Contents
- What Hardwood Flooring Installation Services Include
- Types of Hardwood Flooring Installation Methods
- Benefits of Professional Hardwood Flooring Installation
- Hardwood Floor Installation Cost Factors and Pricing
- How to Find Hardwood Flooring Contractors Near Me
- Room-Specific Installation Challenges and Solutions
- Post-Installation Inspection and Maintenance
- Conclusion
Last Updated: July 27, 2026
What Hardwood Flooring Installation Services Include
Professional hardwood flooring installation services encompass far more than simply nailing boards to a subfloor. At Hamptons carpet one floor and Home, we've handled hundreds of installations across Suffolk County, and the difference between a rushed job and a properly executed one determines whether your floors last 20 years or need replacement in five. Professional installation catches problems before they become expensive failures, starting long before the first nail goes down.
Pre-Installation Assessment and Moisture Testing
Moisture is the enemy of hardwood flooring. A professional installer tests the subfloor's moisture content with a moisture meter, looking for readings between 8-12% for most climates. If moisture levels exceed this range, the wood will expand or contract excessively, causing cupping, crowning, or gaps that can't be fixed once the finish is applied.
The assessment also includes checking the subfloor's flatness. Most building codes allow a variance of 3/16 inch over 10 feet, but anything beyond 1/8 inch will cause squeaking and uneven contact between floor and fasteners. Acclimation is another critical step: hardwood must sit in the room where it will be installed for 5-7 days, allowing the wood to adjust to the home's humidity and temperature. Skipping this causes the wood to expand or contract after installation, creating visible gaps or buckling.
Subfloor Preparation and Floor Leveling
A solid subfloor is non-negotiable. Installers inspect for soft spots, water damage, and structural issues. If the subfloor is plywood or OSB, it must be at least 5/8 inch thick and securely fastened to floor joists. Any movement in the subfloor translates directly to movement in your hardwood.
Floor leveling often requires self-leveling compounds or grinding down high spots. In older homes with uneven floors, common in historic properties throughout the Hamptons, this preparation work can add several days to the project timeline and is the difference between a floor that feels solid underfoot and one that flexes or squeaks with each step.
Types of Hardwood Flooring Installation Methods
The installation method determines both the appearance and longevity of your floor. Each method has distinct advantages and limitations based on your subfloor type, room conditions, and the hardwood species you've chosen.
Nail-Down Installation
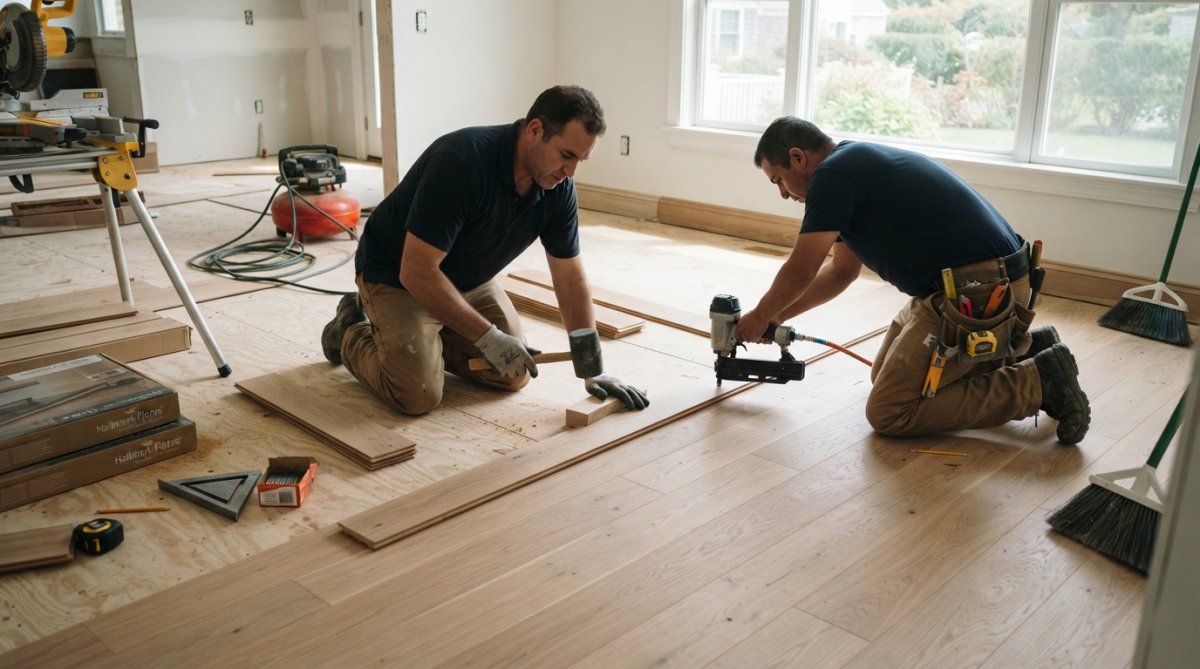
Nail-down installation uses pneumatic nailers to drive nails through the tongue of each hardwood plank into the subfloor below. This method works best over wood subfloors and engineered joists. The nails are driven at a 45-degree angle, hidden by the next board's groove, leaving no visible fasteners.
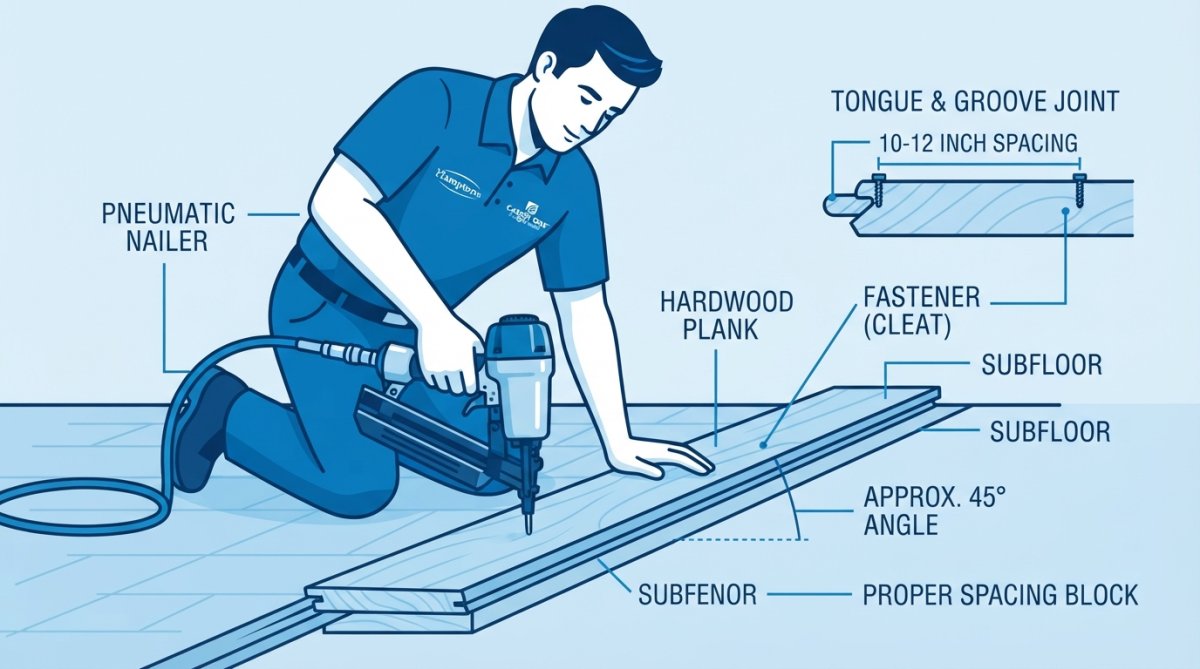
Nail-down installation is the fastest method, with skilled installers completing 300-400 square feet per day. The downside is that it's noisy, produces significant dust, and requires specialized equipment that must be precisely calibrated, too shallow and the nail doesn't hold; too deep and it splits the tongue.
Glue-Down Installation
Glue-down installation applies urethane or polyurethane adhesive directly to the subfloor, then places hardwood planks into the adhesive. This method is ideal for concrete subfloors and engineered hardwood over radiant heating systems, since nails would be impossible or could puncture heating pipes.
The process is slower than nail-down, typically 200-250 square feet per day, because the adhesive must cure before foot traffic is allowed. Most installers recommend waiting 24 hours before walking on the floor and 48 hours before moving furniture. The advantage is superior moisture control and a more stable installation, especially in coastal environments where humidity fluctuates dramatically.
Floating Floor Installation
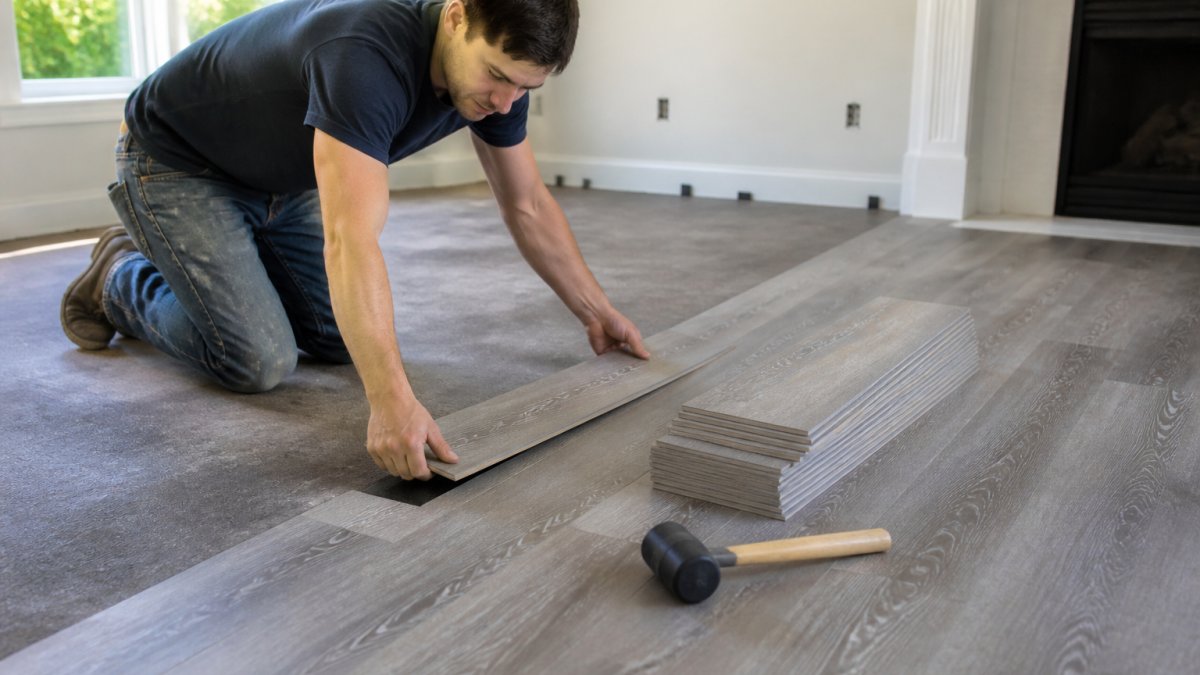
Floating installation means the hardwood is not fastened to the subfloor at all. Instead, planks interlock via tongue-and-groove joints, and the entire floor "floats" on an underlayment. This method works over concrete, vinyl, tile, or existing hardwood, making it ideal for renovations.
Floating floors are faster to install, 400-500 square feet per day, and produce minimal dust. Individual planks can be replaced without affecting adjacent boards. The downside is that they can feel slightly bouncy underfoot compared to nail-down installations, and they're not recommended for high-traffic commercial spaces.
Benefits of Professional Hardwood Flooring Installation
Hiring a professional installer rather than attempting DIY saves far more than just time. The hidden costs of mistakes, replacing cupped flooring, or dealing with squeaks dwarf the installation labor cost.
Warranty Protection and Quality Assurance
Most hardwood manufacturers void their warranty if the flooring isn't installed by a certified professional. A professional installation from a certified contractor preserves this warranty protection, typically covering defects in materials and workmanship for 5-10 years.
Professional installers also provide a labor warranty, guaranteeing their work against squeaks, gaps, and improper fastening for a specified period. If a problem emerges after installation, the installer is obligated to return and fix it at no cost. Quality assurance extends to the finish as well, ensuring consistent color and protection.
Dust Control and Minimal Disruption
Hardwood installation generates enormous amounts of fine dust that penetrates walls, settles on furniture, and contaminates HVAC systems if not properly contained. Professional installers use dust containment systems, plastic sheeting, negative-pressure fans, and HEPA filtration to keep dust confined to the work area, protecting the rest of your home.
Professional installers also coordinate work schedules with your family's needs, planning around school hours and work schedules. Many offer flexible scheduling, including early morning or evening shifts for families who can't vacate the home entirely.
Hardwood Floor Installation Cost Factors and Pricing
Installation costs vary dramatically based on multiple factors. Understanding what drives pricing helps you evaluate quotes and avoid surprise cost overruns.
What Affects Installation Pricing
Wood species and grade significantly impact labor costs. Exotic hardwoods like Brazilian walnut are harder and denser than domestic species like red oak, requiring sharper tools and slower installation speeds. A skilled installer might complete 400 square feet of red oak per day but only 250 square feet of ipe.
Subfloor condition is the largest cost variable. A perfectly flat, dry concrete subfloor requires minimal prep work. A wood subfloor with soft spots, uneven heights, and moisture issues requires extensive remediation. In older homes with uneven joists, prep work can equal or exceed the installation labor itself.
Room layout and obstacles affect installation speed. A simple rectangular room moves quickly. A kitchen with multiple cutouts for islands, appliances, and transitions to other rooms requires custom cuts and careful planning.
Removal and disposal of existing flooring adds significant cost, typically $1-3 per square foot. Geographic location within Suffolk County affects labor rates, with coastal areas commanding premium pricing.
Getting Accurate Estimates and Avoiding Hidden Costs
A legitimate estimate should break down costs into specific line items: material, labor, subfloor prep, removal, finishing, and contingency. Request itemization if a quote simply states a single per-square-foot number.
Request that the estimate include a contingency line, typically 10% of the total, to account for unforeseen issues. Get at least three estimates from different installers. The cheapest estimate often omits important steps like moisture testing or subfloor leveling, while the most expensive might include unnecessary upgrades.
How to Find Hardwood Flooring Contractors Near Me
Finding the right contractor matters more than price. A skilled installer with proper credentials delivers results that last decades; a rushed, inexperienced contractor creates problems that compound over years.
Checking Credentials and Certifications
The National Wood Flooring Association (NWFA) maintains a directory of certified flooring professionals who have completed rigorous training and testing in installation, sanding, finishing, and inspection. NWFA certification is the gold standard in the industry.
Verify that the contractor is licensed and insured. In New York, contractors working on projects over $1,000 must be licensed through the Department of State. Check references from recent projects and ask to see photos of completed installations. A contractor confident in their work will readily provide references.
Questions to Ask Before Hiring
Ask about their experience with your specific hardwood species and subfloor type. Ask how they handle moisture testing and what they do if moisture levels are too high. A contractor who says "we'll just install it" is cutting corners.
Ask about their dust containment system and how they'll protect the rest of your home. Ask about timeline, when the floor will be walkable, and when it will be fully cured. Ask about warranty coverage, what does the labor warranty cover, for how long, and what voids the warranty? Get this in writing.
Finally, ask for a detailed written estimate that breaks down all costs and specifies exactly what's included. Written contracts protect both parties.
Room-Specific Installation Challenges and Solutions
Different rooms present distinct challenges that require tailored installation approaches.
Historic Homes and Uneven Floors
Historic homes throughout the Hamptons often have uneven floors that have settled over 100+ years. Installing hardwood over severely uneven joists requires either accepting the unevenness or performing expensive remediation. Some installers recommend floating floors for historic homes, since they accommodate minor unevenness without visible gaps. Others prefer grinding down high spots and using self-leveling compounds.
Historic homes also frequently have moisture issues from aging foundations or inadequate vapor barriers. A thorough moisture assessment is essential before installation, and many contractors recommend a moisture barrier or underlayment.
Coastal Environments and Moisture Control
Coastal homes face constant humidity fluctuations and salt air exposure. Hardwood expands and contracts dramatically in these conditions, making moisture management critical. Glue-down installation over concrete with a moisture barrier provides superior performance compared to nail-down over wood subfloors.
Some installers recommend engineered hardwood instead of solid hardwood in coastal homes, since engineered construction is more stable across humidity swings. Water-based polyurethane finishes like Bona Traffic HD offer superior moisture resistance compared to oil-based finishes.
Post-Installation Inspection and Maintenance
The installation doesn't truly end when the installer leaves. Proper inspection and ongoing maintenance determine whether your investment lasts 20 years or requires premature replacement.
What to Check After Installation
Within 48 hours of completion, walk the entire floor and listen for squeaks. Minor squeaks occasionally emerge as the floor settles, but excessive squeaking indicates fastening problems. Inspect the floor for gaps between boards, tiny gaps are normal, but gaps wider than 1/8 inch should be reported. Check that transitions to other rooms are smooth and properly finished.
Request a post-installation moisture reading from the installer to document that moisture levels are appropriate.
Long-Term Care to Protect Your Investment
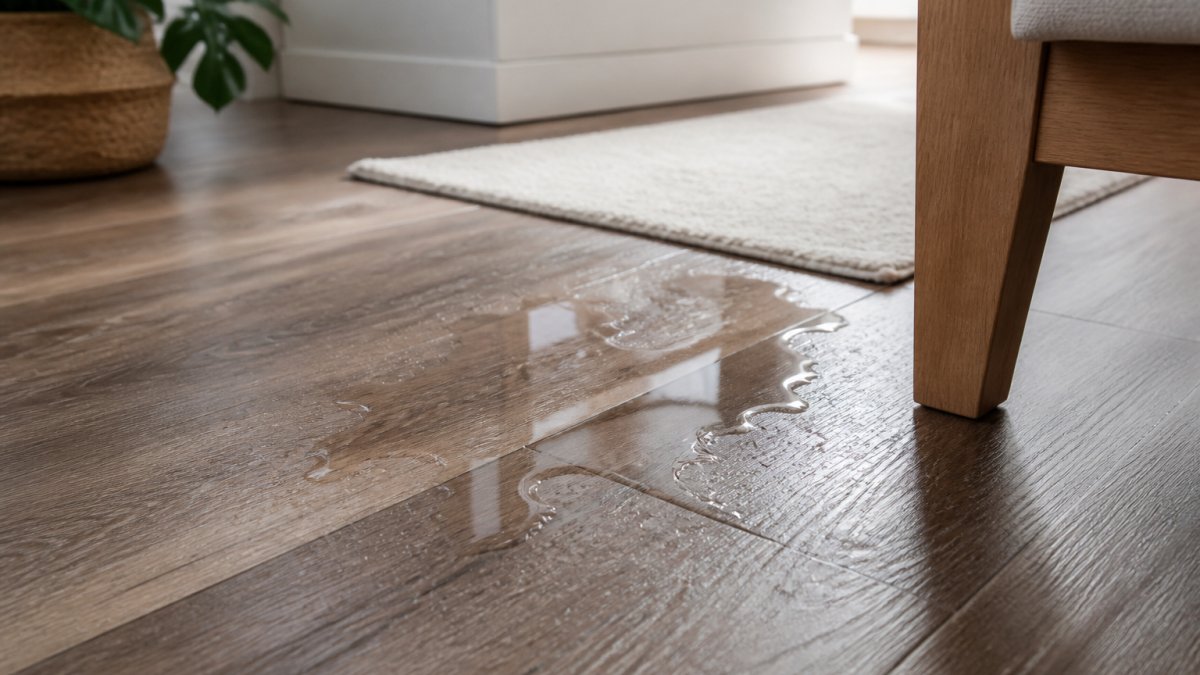
Vacuum or sweep weekly to remove dust and grit that scratches the surface. Wipe spills immediately with a slightly damp cloth, as standing water penetrates the finish. Use area rugs in high-traffic zones and place felt pads under furniture legs to prevent scratching.
Maintain consistent humidity levels between 30-50%. In winter, use a humidifier to prevent excessive drying. In summer, use air conditioning or dehumidification to prevent excess moisture. Refinish the floor when the finish becomes dull or worn, typically every 7-10 years depending on traffic. Refinishing restores the protective coating and extends the floor's lifespan indefinitely.
Conclusion
The difference between a hardwood floor that lasts 20 years and one that requires replacement in five comes down to installation quality. Professional hardwood flooring installation services protect your investment through proper moisture management, subfloor preparation, and finishing expertise.
Hamptons carpet one floor and Home serves all of Suffolk County with certified installers who understand the unique challenges of coastal homes and historic properties. Our team conducts thorough moisture testing, provides detailed written estimates with no hidden costs, and backs every installation with a comprehensive labor warranty. When you're ready to move forward, contact us for an in-home assessment and estimate.
National Wood Flooring Association Certified Professional Directory
The Home Depot Hardwood Flooring Installation Services
Flooring America Professional Installation Services
Frequently Asked Questions
How much does hardwood flooring installation typically cost per square foot?
Hardwood floor installation cost varies based on wood species, installation method, subfloor condition, and regional labor rates. Factors like acclimation time, moisture testing, floor leveling, and finish type also impact pricing. For accurate quotes reflecting your specific project, contact local hardwood flooring contractors for in-home estimates. Pricing depends on quantity, dates, and project complexity, so direct quotes are essential.
What's the difference between nail-down, glue-down, and floating hardwood floor installation?
Nail-down installation uses L-cleat fasteners driven through flooring into the subfloor, ideal for solid hardwood and stable subfloors. Glue-down involves adhesive applied directly to the subfloor, working well for engineered wood and concrete bases. Floating floors rest on underlayment without fastening, offering flexibility and easier installation. Each method suits different subfloor conditions, wood types, and moisture environments. Your installer will recommend the best approach based on your specific situation.
What are the main benefits of hiring professional hardwood flooring installation services?
Professional installers ensure proper acclimation, moisture testing, and subfloor preparation, critical steps that prevent warping and buckling. They use specialized tools like pneumatic nailers and sanders, apply quality finishes, and typically provide labor warranties. Professionals handle complex challenges like uneven floors, stair installation, and transition strips. They also minimize dust and disruption compared to DIY work, protecting your home and family during the installation process.
How do I find qualified hardwood flooring contractors near me, and what credentials should I look for?
Search for local contractors online, ask for referrals, and check reviews on trusted platforms. Verify they're licensed, insured, and bonded. Look for NWFA (National Wood Flooring Association) certification or CFI (Certified Flooring Installers) training, which demonstrates expertise in installation standards and best practices. Request references, ask about warranty coverage, and get written estimates. Interview multiple contractors about their experience with your floor type and any room-specific challenges like historic homes or coastal moisture concerns.
This article was written using GrandRanker