 Ultimate guide
How to Clean Luxury Vinyl Flooring: The Complete Guide
Table of Contents
- How to Clean Luxury Vinyl Flooring: Daily Routine and Tools You Need
- Best Cleaner for Luxury Vinyl Plank: What Actually Works
- How to Deep Clean Luxury Vinyl Flooring Step by Step
- Can You Use a Steam Mop on LVP? The Honest Answer
- How to Remove Scuff Marks and Stains from Vinyl Flooring
- Preventing Scratches on Luxury Vinyl Flooring
- Seasonal Maintenance Schedule for Resilient Flooring
- Conclusion
Last Updated: May 27, 2026
Knowing how to clean luxury vinyl flooring correctly is the difference between floors that look great for decades and floors that dull, scratch, and warp within a few years. At Hamptons carpet one floor and Home, we work with Suffolk County homeowners every day who ask the same question: what's the right way to maintain LVP and LVT without damaging the surface or voiding the warranty? The answer is simpler than most guides make it, but the details matter. Below, we'll walk through every step, from daily sweeping routines to deep cleaning methods, eco-friendly DIY solutions, and a seasonal maintenance schedule you can actually stick to.
Here's what most guides get wrong: they treat luxury vinyl flooring like it's indestructible. It's waterproof and durable, yes, but the wear layer on LVP and LVT is thinner than it looks. The wrong cleaner, the wrong mop, or even the wrong vacuum attachment can cause surface dulling that's impossible to reverse.
How to Clean Luxury Vinyl Flooring: Daily Routine and Tools You Need
The foundation of luxury vinyl plank maintenance is consistency, not complexity. A quick daily routine prevents the grit and debris that cause micro-scratches in high-traffic areas, and it takes less than five minutes.
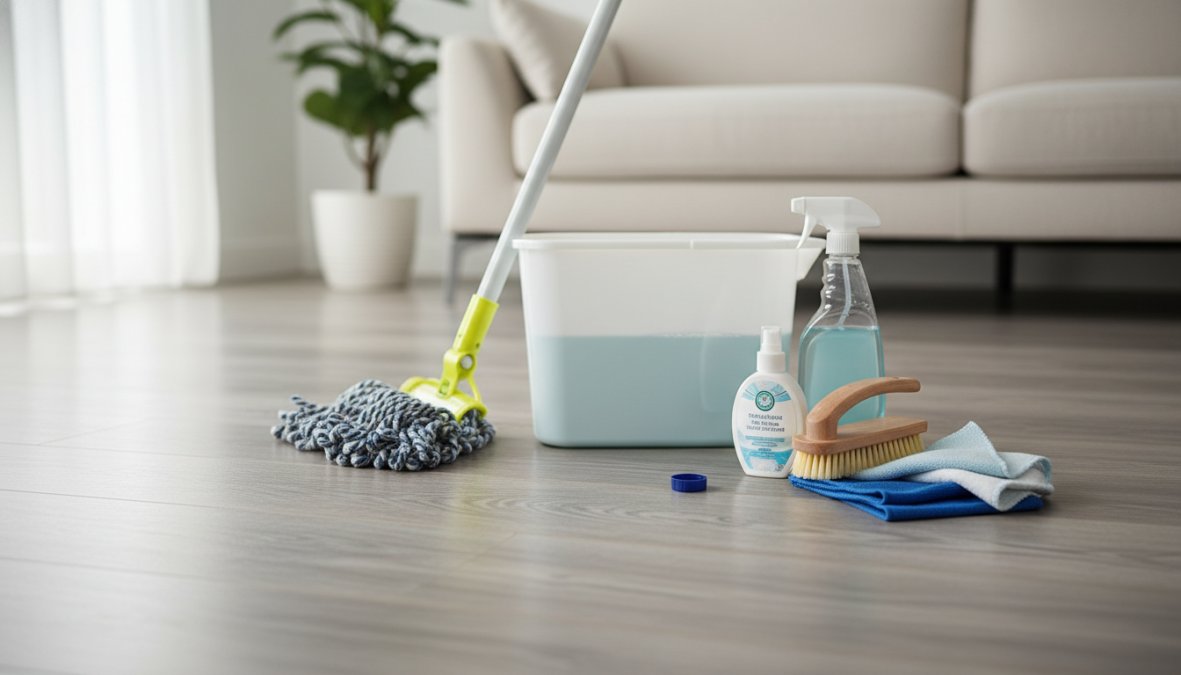
What you'll need:
- Soft-bristle broom or dust mop
- Microfiber mop (flat-head style)
- pH-neutral cleaner diluted in water
- Spray bottle for spot cleaning
- Soft, dry cloths for spills
Start every cleaning session with a dry sweep or dust mop pass. This removes the abrasive particles, sand, dirt, and pet hair that act like sandpaper underfoot. Skip this step and your damp mopping session will drag that grit across the floor instead of lifting it.
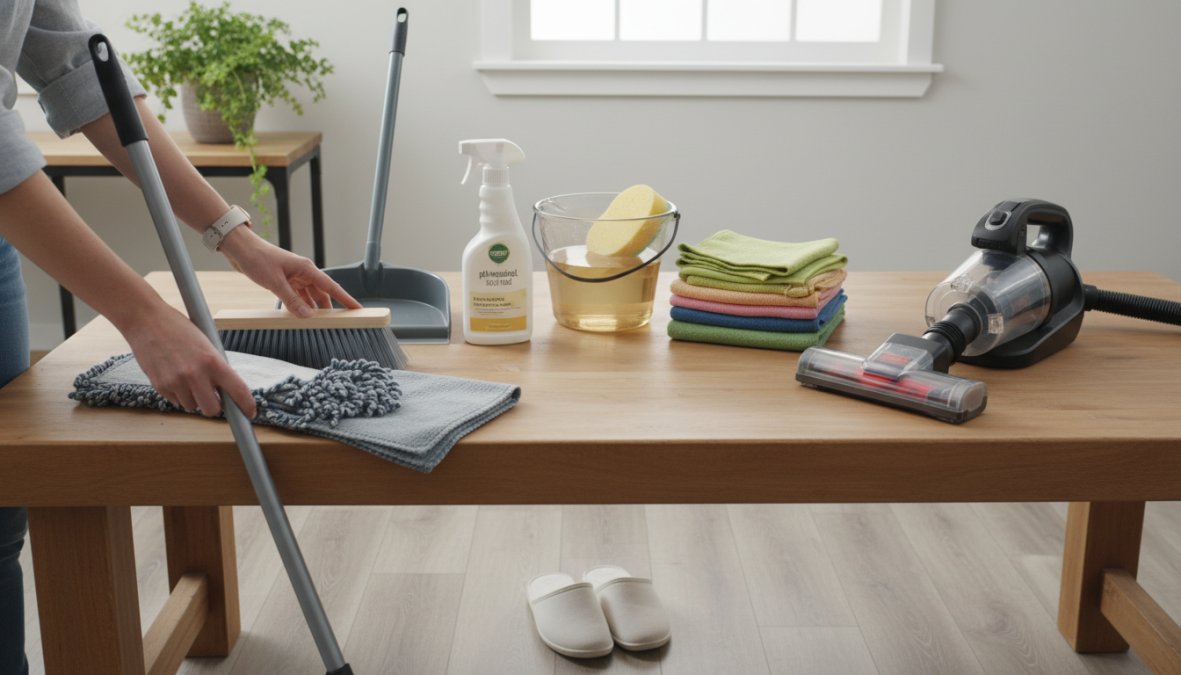
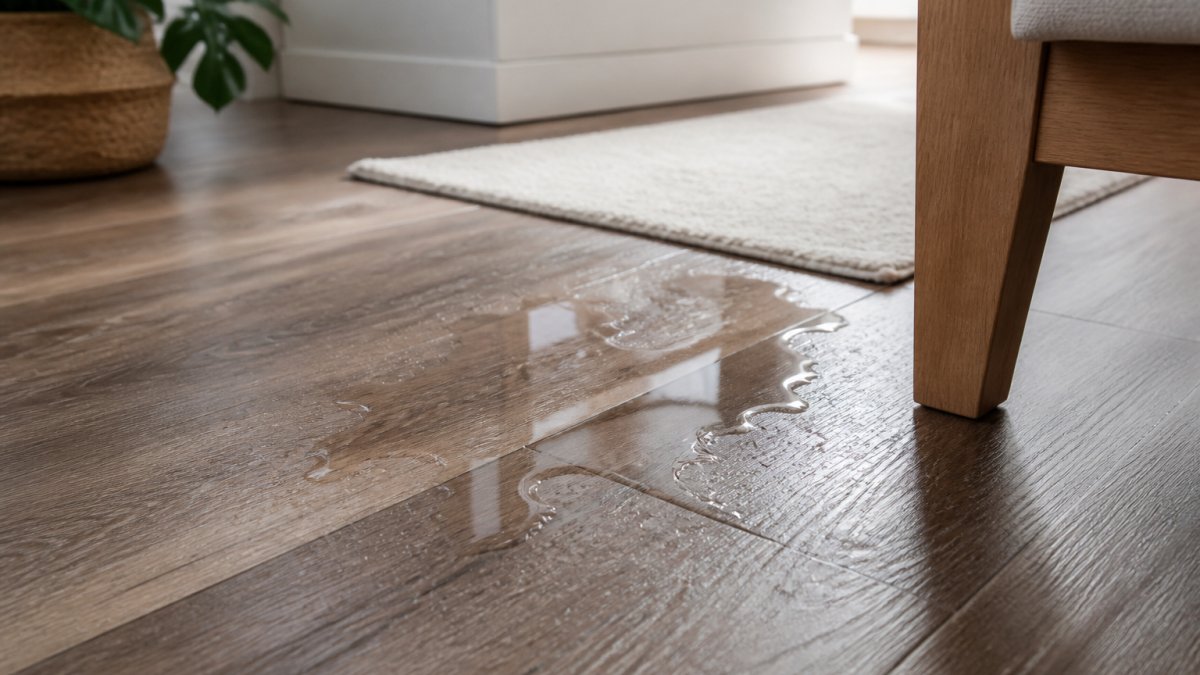
For damp mopping, wring the microfiber mop until it's barely damp. Luxury vinyl flooring is non-porous and waterproof at the surface, but standing water can seep into seams and cause the rigid core or adhesive layer beneath to swell. Less moisture is always better.
Sweeping vs. Vacuuming: Which Is Better for LVP?
Both work, but each has a specific use case. A soft-bristle broom or dust mop is the safest daily option because it's zero-risk. Vacuuming is faster and more effective for pet hair and fine debris, but it requires the right settings.
For daily maintenance, the soft-bristle broom wins on simplicity. For homes with pets or heavy foot traffic, vacuuming every two to three days is more practical.
Vacuum Compatibility Guide for Luxury Vinyl Plank
Not all vacuums are safe for resilient flooring. The wrong attachment will scratch the wear layer within weeks.
| Vacuum Type | Safe for LVP? | Setting to Use | Notes |
|---|---|---|---|
| Canister with hard-floor attachment | Yes | Hard-floor setting | Safest option |
| Upright with beater bar | No | Avoid entirely | Beater bar scratches surface |
| Robot vacuum (soft brush roll) | Yes | Auto or hard-floor | Check brush roll type |
| Stick vacuum (bare floor mode) | Yes | Hard-floor setting | Disable rotating brush |
| Upright without beater bar | Yes | Hard-floor setting | Confirm brush is off |
The beater bar is the enemy of LVP. It's designed to agitate carpet fibers, and it will do the same to your vinyl wear layer. Always confirm your vacuum has a hard-floor setting that disables the rotating brush before running it on luxury vinyl plank.
Best Cleaner for Luxury Vinyl Plank: What Actually Works
The best cleaner for luxury vinyl plank is a pH-neutral, non-abrasive solution diluted in water. That's the short answer. Most manufacturer warranties specify pH-neutral cleaners, and for good reason: acidic or alkaline solutions break down the wear layer's protective finish over time.
For routine cleaning, a few drops of dish soap in a bucket of warm water is genuinely effective. For a dedicated product, look for cleaners labeled specifically for vinyl or resilient flooring. According to guidance from the Resilient Floor Covering Institute's care recommendations, pH-neutral products are the standard recommendation across all resilient flooring categories.
Eco-Friendly and Non-Toxic DIY Cleaning Solutions
Many commercial floor cleaners contain harsh chemicals that are unnecessary for vinyl and potentially harmful for households with children or pets. These DIY alternatives are effective, inexpensive, and safe for LVP and LVT surfaces.
DIY Solution 1: Basic Vinyl Floor Cleaner
- 1 gallon warm water
- 3-4 drops of dish soap (fragrance-free preferred)
- Mix in a bucket; apply with a wrung-out microfiber mop
DIY Solution 2: Vinegar-Free Deep Clean Many guides recommend apple cider vinegar for vinyl floors. Skip it. Vinegar is acidic (pH around 2-3) and repeated use will dull the finish over time. The dish soap solution above is safer and more effective.
DIY Solution 3: Rubbing Alcohol Spot Treatment
- Mix equal parts rubbing alcohol and water in a spray bottle
- Apply directly to stains; wipe with a soft cloth
- Effective on ink, marker, and adhesive residue
What to Never Use on Luxury Vinyl Flooring
This list matters as much as knowing what works. Several common household cleaners cause irreversible damage to LVP and LVT.
- Ammonia-based cleaners: Break down the wear layer and cause surface dulling
- Bleach or chlorine-based products: Discolor and degrade the vinyl
- Abrasive cleaners or scrubbing pads: Scratch the surface permanently
- Wax-based floor polish: Creates buildup that attracts dirt and clouds the finish
- Floor stripper: Designed for commercial VCT tile, not luxury vinyl; will destroy the wear layer
- Steam mop: Addressed in detail below, but heat and moisture under pressure damage LVP
How to Deep Clean Luxury Vinyl Flooring Step by Step
Deep cleaning luxury vinyl flooring is a monthly or quarterly task, not a weekly one. Over-cleaning with wet methods is one of the most common mistakes homeowners make.
Total Time: 30-45 minutes Frequency: Monthly for high-traffic areas; quarterly for low-traffic rooms
Step 1: Clear the floor completely Move furniture, rugs, and any objects off the floor. Deep cleaning around furniture legs is ineffective and misses the edges where residue accumulates.
Step 2: Dry sweep or vacuum the entire surface Use a soft-bristle broom or vacuum on the hard-floor setting. Get into corners and along baseboards where debris collects.
Step 3: Mix your cleaning solution Prepare a pH-neutral diluted solution: a few drops of dish soap or a vinyl-specific cleaner in a gallon of warm water. Avoid hot water, which can soften adhesive in glue-down installations.
Step 4: Damp mop in sections Work in 6-8 foot sections, moving with the plank direction. Wring the microfiber mop thoroughly before each pass. The floor should look slightly damp, not wet.
Step 5: Rinse the mop frequently A dirty mop redistributes grime rather than removing it. Rinse in clean water every two to three passes.
Step 6: Dry the floor Allow the floor to air dry, or use a dry microfiber cloth to speed up the process. Never let water sit on the surface.
Step 7: Inspect for residue If the floor looks hazy after drying, there's soap residue. Mop once more with plain water to remove it. Residue is the most common cause of a dull-looking LVP floor.
Can You Use a Steam Mop on LVP? The Honest Answer
No. A steam mop should not be used on luxury vinyl flooring, regardless of what the steam mop manufacturer claims. But understanding why, and what to do if you already have, is where most guides stop short.
Why Steam Damages LVP at a Mechanical Level
Luxury vinyl flooring is waterproof at the surface, but steam mops introduce two threats simultaneously: heat and pressurized moisture. Here is what actually happens:
-
Heat softens the vinyl core. Most LVP products are manufactured to dimensional stability specifications at temperatures between 65°F and 85°F. Steam mops operate at surface temperatures that can exceed 200°F. At those temperatures, the vinyl compound softens, and the plank loses its shape memory, meaning it can permanently bow, cup, or warp even after it cools.
-
Pressurized steam bypasses the waterproof surface layer. The wear layer on LVP repels standing water, but steam is a vapor under pressure. It penetrates micro-gaps at seam edges and around transitions. For floating installations, this introduces moisture to the rigid core (WPC or SPC), which can cause swelling at the joints. For glue-down installations, the heat and moisture combination degrades the adhesive bond, leading to edge lifting.
-
The wear layer finish is not heat-stable. The UV-cured urethane finish on most LVP products is designed to resist abrasion and chemical wear, not thermal stress. Repeated steam exposure causes the finish to micro-crack and cloud, the same visual effect as using the wrong cleaner, but caused by heat rather than chemistry.
What Happens to Your Warranty
Most LVP warranties explicitly list steam cleaning as a voiding action. This is not a minor footnote. The Flooring America care guidelines for resilient flooring list steam mops as an excluded cleaning method across LVP and LVT product lines. If you file a warranty claim for warping, edge lifting, or finish clouding, the manufacturer's inspector will ask about your cleaning method, and steam mop use is one of the first things they check for.
If You Have Already Used a Steam Mop: What to Do
This is the part most guides skip entirely. If you have already used a steam mop on your LVP and are seeing damage, here is how to assess and respond:
Cloudy or hazy finish after steam mopping: This is finish micro-cracking from heat stress. It cannot be reversed with cleaning. For minor haziness, a manufacturer-approved vinyl floor polish (not wax, a water-based polish specifically for resilient flooring) can partially restore sheen. For severe clouding, plank replacement is the only full fix.
Seam gaps or edge lifting after steam mopping: Allow the floor to return to room temperature and normal humidity for 48-72 hours. Some minor swelling at seams will relax on its own once moisture dissipates. If gaps or lifting persist after 72 hours, the core material has taken on permanent moisture damage. For floating LVP, affected planks can be individually replaced. For glue-down, re-adhering lifted edges with a vinyl-compatible adhesive is possible for minor cases; widespread lifting requires professional assessment.
Planks that feel soft or spongy underfoot: This indicates the core has been heat-softened. There is no cleaning fix for this. Affected planks need to be replaced.
The Right Alternative for the Same Job
The scenario where homeowners reach for a steam mop is usually a floor that feels grimy despite regular mopping, the kind of embedded residue that a damp mop alone does not lift. The actual solution is not more heat; it is a longer dwell time with the right cleaner.
For stubborn grime, apply a diluted pH-neutral vinyl cleaner to a section of floor, let it sit for 2-3 minutes before mopping, and use a slightly wetter microfiber pass than usual. Follow immediately with a dry microfiber pass. This approach lifts the same embedded residue a steam mop targets, without any thermal risk to the wear layer or core.
There is no cleaning scenario on luxury vinyl flooring where a steam mop is the right tool. The microfiber-plus-dwell-time method does the same job without the risk.
How to Remove Scuff Marks and Stains from Vinyl Flooring
Scuff marks and stains are the most common maintenance complaints for LVP owners, and most of them are easier to fix than they look. The key is matching the solution to the stain type and acting before the substance bonds to the wear layer. The troubleshooting section below this one goes deeper on damage that cleaning alone cannot fix.
Stain Removal by Type
Scuff marks (rubber soles, furniture drag):
- Apply a small amount of WD-40 or isopropyl rubbing alcohol to a soft cloth, not directly to the floor
- Rub gently in a circular motion directly on the scuff
- Wipe clean with a damp cloth to remove any residue
- Follow with a dry cloth
- For light scuffs, a clean pencil eraser rubbed directly on the mark often works without any product
Food and beverage stains:
- Blot immediately, do not rub, which spreads the stain and pushes it into seam edges
- Apply a diluted dish soap solution with a soft cloth
- Work from the outside edge of the stain inward to prevent spreading
- Rinse with a clean damp cloth and dry completely
Grease or cooking oil:
- Apply a small amount of undiluted dish soap directly to the stain
- Let it sit for 2-3 minutes to break down the lipid bond
- Scrub gently with a soft cloth, not a scrubbing pad
- Rinse thoroughly and dry; grease residue left behind will attract dirt and create a dark patch over time
Ink, marker, or dye:
- Apply isopropyl rubbing alcohol (70% concentration or higher) to a soft cloth
- Dab, do not rub, the stain; rubbing spreads ink laterally
- Repeat with a fresh section of cloth until the stain lifts
- Clean the area with a damp cloth and dry
Nail polish:
- Apply a small amount of non-acetone nail polish remover to a soft cloth
- Dab gently; acetone-based removers can strip the wear layer finish, so confirm the product is non-acetone
- Wipe clean with a damp cloth immediately after the stain lifts
Adhesive residue (tape, sticker, caulk):
- Soften the adhesive with a small amount of rubbing alcohol or Goo Gone (safe for vinyl surfaces)
- Gently work the edge with a plastic scraper, never a metal blade
- Wipe clean with a damp cloth
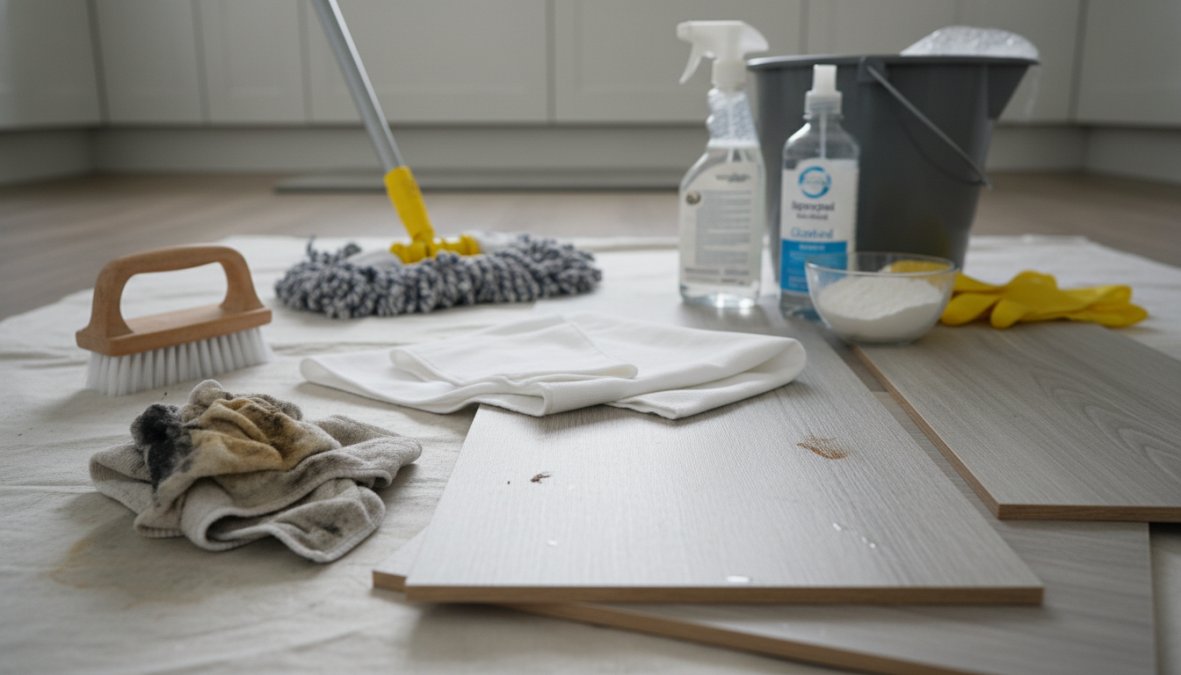
Pet accidents: Act within minutes if possible. Blot urine with paper towels, pressing firmly to absorb as much as possible before it reaches seam edges. Apply a diluted enzymatic cleaner (look for products labeled safe for vinyl or resilient flooring) to neutralize the odor-causing compounds, standard cleaners mask the smell but do not break down the uric acid crystals that cause lingering odor. Rinse with a clean damp cloth and dry. For accidents that have dried before discovery, rehydrate the area with warm water first, then apply the enzymatic cleaner.
Troubleshooting Specific Damage Types on LVT and LVP
This is where most cleaning guides stop, but standard stain removal does not address every problem LVP owners encounter. The following covers damage types that require a different diagnosis.
Yellowing or discoloration under rugs or mats: This is almost always a chemical reaction between the plasticizers in the vinyl wear layer and the rubber or latex backing of a rug. The rubber off-gasses compounds that permanently stain the vinyl surface, no cleaner will reverse it. Remove the mat, clean the area with a vinyl-specific cleaner, and switch to a felt-backed or fabric-backed rug. If the discoloration is severe, the affected planks need to be replaced. Prevention: always use rugs with felt, fabric, or vinyl-safe backings on LVP.
Hazy, cloudy, or dull finish across the whole floor: This is almost never a stain. It is soap residue from over-cleaning, using too much product, or using a cleaner that leaves a film (wax-based products are a common culprit). Mop the entire floor with plain warm water, no cleaner, and allow to dry fully. If the haze persists after one pass, repeat. For floors that have had wax-based polish applied, a vinyl-safe floor cleaner designed to cut through wax buildup will be needed before the plain water rinse resolves the issue.
White haze or mineral deposits near seams: This is efflorescence, mineral deposits left behind when water evaporates. It typically appears near seams where water has been allowed to pool. Clean with a diluted white vinegar solution applied sparingly with a cloth (not mopped across the whole floor, targeted spot use only), then rinse immediately with clean water and dry. The acidity dissolves the mineral deposits without prolonged contact with the wear layer. Do not use this method routinely; it is a targeted fix for mineral buildup only.
Surface scratches that catch a fingernail: Scratches that penetrate the wear layer cannot be cleaned out, they are physical damage to the surface material. For floating LVP, individual planks can be replaced without disturbing the rest of the floor. For glue-down LVP, plank replacement is more involved but still possible. For scratches that are visible but do not catch a fingernail (meaning they are in the finish layer only), a manufacturer-approved vinyl floor touch-up kit can minimize their appearance. According to the National Wood Flooring Association's guidance on resilient flooring repair, minor surface scratches that do not penetrate the wear layer can sometimes be reduced with manufacturer-approved touch-up products, but results vary by wear layer thickness and scratch depth.
Burn marks or melted surface spots: Heat damage from dropped items (curling irons, pots, candles) melts the vinyl surface and cannot be repaired with cleaning products. The affected plank needs to be replaced. This is one of the strongest arguments for keeping a small supply of matching planks from the original installation, dye lots change over time, and a replacement plank purchased years later may not match the existing floor color precisely.
Lifting edges or bubbling in the middle of a plank: This is a structural issue, not a cleaning issue. Lifting edges on floating LVP typically indicate moisture intrusion from below (a subfloor leak, high ground moisture, or a plumbing issue) or installation without adequate expansion gaps. Bubbling in the middle of a plank on glue-down installations usually indicates adhesive failure, often caused by moisture or heat. In both cases: identify and address the moisture source first, then consult a flooring professional about plank replacement. Cleaning the surface will not resolve either issue.
Preventing Scratches on Luxury Vinyl Flooring
Preventing scratches on luxury vinyl flooring is far more effective than trying to fix them after the fact. The wear layer is durable, but it's not immune to sharp edges, heavy furniture, and abrasive particles.
Protective pads under all furniture legs. This is the single highest-impact preventative measure. Felt pads under chairs, tables, and sofas prevent the most common scratch source. Replace them every six months because they accumulate grit that negates their protection.
Entry mats at every door. Most floor damage originates from particles tracked in from outside. A coarse-fiber mat outside the door and a softer mat inside captures the majority of debris before it reaches the floor. Avoid rubber-backed mats on LVP, which can cause discoloration.
A no-shoes policy in high-traffic areas. Shoes carry grit, small stones, and debris that act as abrasives on the wear layer. This is especially relevant in entryways and kitchens.
Furniture coasters for heavy items. Refrigerators, washing machines, and heavy furniture concentrate enormous weight on small contact points. Use wide furniture coasters to distribute the load.
Trim pet nails regularly. Pet nails are a common source of surface scratches on LVP. Regular trimming reduces the risk significantly.
Seasonal Maintenance Schedule for Resilient Flooring
Most LVP care guides ignore the fact that flooring maintenance needs change across the year. Temperature swings, humidity changes, and seasonal foot traffic patterns all affect how your resilient flooring performs and what it needs.
Spring (March - May)
- Deep clean the entire floor to remove winter salt and sand residue
- Inspect seams and edges for any lifting caused by winter dryness
- Replace entry mats that have accumulated winter grit
- Check furniture protective pads and replace worn ones
Summer (June - August)
- Increase damp mopping frequency in high-traffic areas due to humidity-related dust
- Monitor for expansion gaps if the home isn't air-conditioned; LVP expands in heat
- Use fans or AC to maintain indoor humidity between 35-55% relative humidity
- Address any pooling water from air conditioners or summer storms immediately
Fall (September - November)
- Place heavy-duty mats at all exterior doors before the wet season begins
- Inspect for any summer damage before winter sets in
- Deep clean before closing windows; fall pollen and debris accumulate quickly
Winter (December - February)
- Salt and sand from winter boots are the primary threat; sweep or vacuum daily
- Maintain indoor humidity to prevent excessive contraction of floating planks
- Avoid steam cleaning, which is tempting in cold months but damaging to LVP
- Spot-clean salt residue immediately; salt is mildly corrosive to floor finishes
A consistent seasonal schedule prevents the kind of cumulative damage that shortens floor life. The EPA's indoor air quality guidelines for flooring maintenance also note that regular cleaning of hard surface floors reduces allergen accumulation, which is an added benefit of staying on schedule.
Keeping luxury vinyl flooring looking its best over the long term comes down to using the right tools, avoiding the wrong products, and staying consistent with a maintenance routine. Hamptons carpet one floor and Home serves homeowners across Suffolk County, NY, and our team can help you find the right LVP or LVT product for your space and give you the specific care guidance that matches your floor's wear layer and installation type. Visit us to get personalized recommendations from a floor covering retailer that knows resilient flooring from the ground up.
Frequently Asked Questions
What is the best cleaner for luxury vinyl plank flooring?
The best cleaner for luxury vinyl plank is a pH-neutral cleaner diluted in warm water. Avoid anything ammonia-based, solvent-based, or abrasive. For a DIY option, a small amount of dish soap in warm water works well for routine damp mopping. Always wring your microfiber mop nearly dry before use to prevent moisture damage to the floor's core layer. Rinse with clean water if any residue is left behind.
Can you use a steam mop on luxury vinyl flooring?
No, steam mops are not recommended for LVP or LVT floors. The high heat and moisture produced by a steam mop can penetrate seams, warp the rigid core, and void most manufacturer warranties. Even waterproof luxury vinyl plank has seams that are vulnerable to prolonged moisture and heat exposure. Stick to a well-wrung microfiber mop with a pH-neutral cleaning solution for safe, effective results.
How do you get stains out of luxury vinyl flooring?
For most stains on luxury vinyl flooring, apply a diluted pH-neutral cleaner or a small amount of rubbing alcohol to a soft cloth and gently rub the affected area. For scuff marks, a pencil eraser or a dab of WD-40 on a cloth often works well. Avoid abrasive scrubbers, floor strippers, or ammonia-based products, as these can cause surface dulling or permanent damage to the floor finish.
Does vinegar damage luxury vinyl flooring?
Undiluted vinegar can dull the surface finish of luxury vinyl plank over time due to its acidity. While a highly diluted solution is sometimes used as a DIY cleaner, it is generally not recommended by most LVP manufacturers. For a safe, non-toxic alternative, a few drops of dish soap in warm water or a commercial pH-neutral cleaner are better choices that won't risk degrading your floor's protective wear layer.
How often should you clean luxury vinyl floors?
In high-traffic areas, sweeping or dust mopping daily is ideal to prevent grit and debris from scratching the surface. Damp mopping with a pH-neutral cleaner should be done weekly for most households, or more often in pet-friendly homes. A deeper clean, addressing residue buildup, scuff marks, and grout lines, is recommended monthly. A seasonal maintenance check helps catch any moisture damage or protective pad issues before they worsen.
What should you never use on luxury vinyl plank flooring?
Never use steam mops, abrasive scrubbers, steel wool, floor strippers, wax-based polishes, or ammonia-based cleaners on luxury vinyl plank. These can strip the floor finish, cause surface dulling, or create moisture damage. Paste wax and solvent-based products can also leave a residue that makes the floor slippery and difficult to clean. Always check that any cleaning solution is labeled safe for resilient flooring or LVP before use.
This article was written using GrandRanker