 How-to
How to Clean Sandy Floors: A Step-by-Step Guide
Table of Contents
- Why Sandy Floors Require Special Cleaning Attention
- Tools and Equipment You'll Need to Clean Sandy Floors
- Step-by-Step Process for How to Clean Sandy Floors
- Best Vacuum for Sand on Hardwood Floors
- How to Remove Sand from Tile Grout and Crevices
- Prevent Sand from Entering Your House in the First Place
- Surface-Specific Techniques: Hardwood, Tile, and Laminate
- Common Mistakes to Avoid When Cleaning Sandy Floors
Last Updated: July 12, 2026
Learning how to clean sandy floors requires understanding both the mechanics of sand removal and the specific techniques that protect your flooring investment. Sand particles are abrasive, embed in grout lines, and damage protective coatings if handled incorrectly. The core issue isn't just removing visible sand, it's preventing microscopic grit from scratching your hardwood, tile, or laminate surfaces during the cleaning process itself.
Why Sandy Floors Require Special Cleaning Attention
Sand damage compounds over time in ways other debris doesn't. When trapped under your feet or a mop, sand acts like fine-grit sandpaper against your floor finish. A single pass with a traditional wet mop can scratch hardwood irreparably. In coastal areas like Suffolk County, where sand tracks in regularly from beaches and driveways, this problem intensifies.
The protective coating on your floor, whether polyurethane, wax, or factory finish, isn't designed to withstand repeated abrasion from sand particles. Scratches compound into dull spots that eventually require professional refinishing. Tile and grout present a different problem: sand lodges deep in grout lines where regular mopping can't reach, becoming a breeding ground for mold and weakening the grout structure itself.
Tools and Equipment You'll Need to Clean Sandy Floors
Sweeping vs. Vacuuming: Which Method Works Best
Sweeping with a dust mop outperforms vacuuming for initial sand removal on most floor types. A microfiber dust mop captures fine particles that vacuums often miss and eliminates the risk of a vacuum's beater bar scratching delicate finishes. For hardwood and laminate floors specifically, dust mops are safer, vacuums with motorized brushes can scratch surfaces and pull moisture into wood seams.
However, vacuums excel at removing sand from tile grout lines and crevices. The best approach combines both methods: dust mop first for loose debris, then vacuum grout lines, then proceed to wet cleaning.
Microfiber and Damp Mop Selection
Microfiber mops are superior to traditional cotton for sandy floor cleanup. The synthetic fibers grip fine particles electrostatically, pulling them from the surface rather than pushing them around. When selecting a mop for damp cleaning, look for one with adjustable water control, you want barely damp, not wet.
The mop head should be replaceable and washable. Sand particles embed in mop fibers, and reusing a contaminated mop just redistributes grit across your floor.
| Tool Type | Best For | Pros | Cons |
|---|---|---|---|
| Microfiber dust mop | Initial loose sand removal | Captures fine particles, no scratching | Requires frequent washing |
| Vacuum with HEPA filter | Grout lines and crevices | Reaches tight spaces, captures allergens | Risk of scratching if motorized |
| Damp microfiber mop | Final cleaning after dust removal | Effective grit removal, fast drying | Requires proper water control |
| Baking soda solution | Stubborn stains and odor | Natural, non-toxic, inexpensive | Requires scrubbing effort |
Step-by-Step Process for How to Clean Sandy Floors
Preparation and Initial Debris Removal
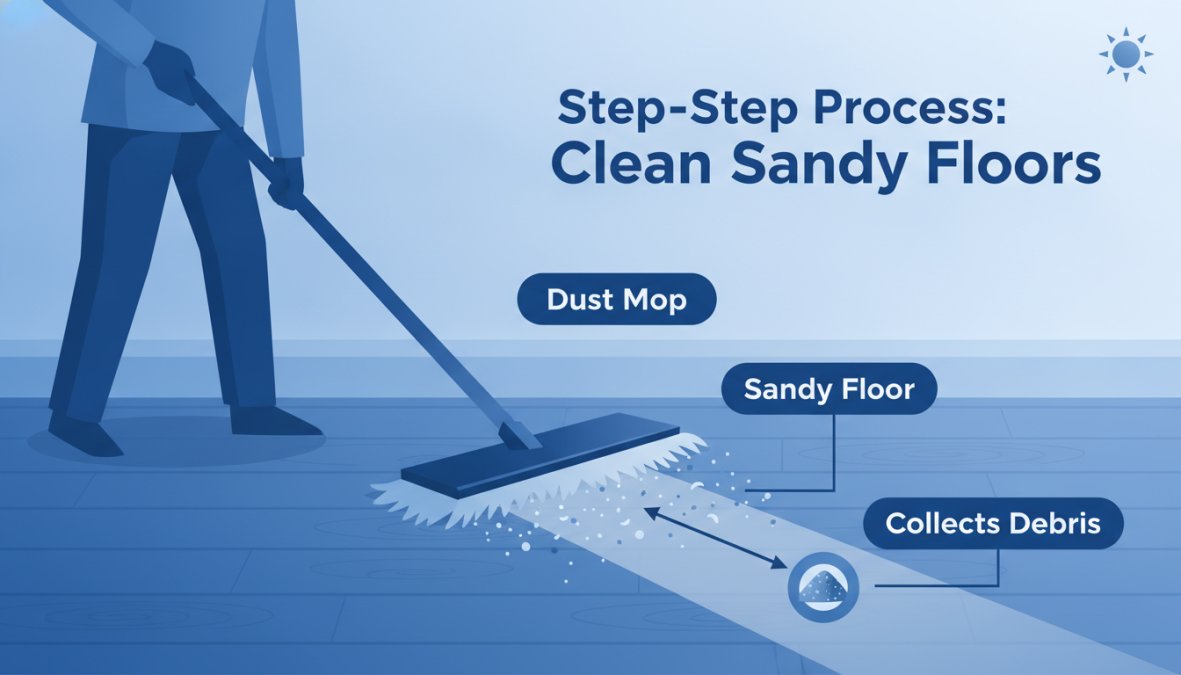
Start by removing furniture and closing interior doors to contain sand. Open windows for ventilation. Sweep the entire floor thoroughly with a dust mop, using long, overlapping strokes from the farthest corner toward the exit. Pay special attention to baseboards and corners where sand accumulates.
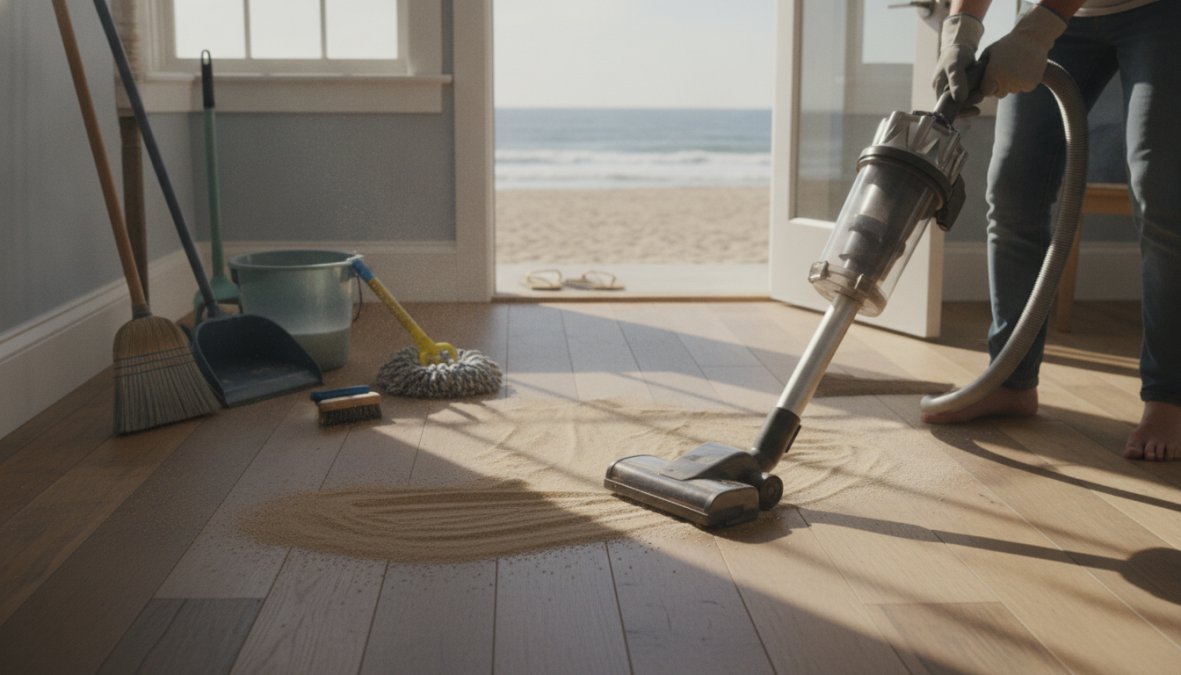
For tile floors, use a vacuum with a crevice attachment to extract sand from grout lines, working slowly and deliberately. Once you've removed visible loose sand, inspect the floor at eye level from multiple angles, any glint or shimmer indicates remaining particles that need attention before wet cleaning.
Using Damp Mops for Fine Grit Removal
After dust removal, use a barely damp microfiber mop to capture fine grit that dust mopping missed. Wring out your mop until it's almost dry. Test water temperature on a hidden area first; cold water is safest for hardwood and laminate.
Mop in overlapping passes, changing the mop head or rinsing it frequently, every 3-4 passes for heavily sandy floors. For hardwood floors, limit damp mopping to 15-20 minutes total. Extended moisture exposure causes wood to swell and warp.
Deep Cleaning with Appropriate Solutions
Once loose sand is removed, you can safely apply cleaning solutions. For hardwood floors, use a pH-neutral hardwood cleaner diluted per manufacturer instructions. For tile and grout, a mixture of warm water and mild dish soap works effectively. For stubborn stains, baking soda mixed into a paste provides gentle abrasion without harsh chemicals.
Laminate floors require the gentlest approach. Use a laminate-specific cleaner or plain water only. Mop quickly and dry immediately with a separate cloth.
Best Vacuum for Sand on Hardwood Floors
Vacuums designed for hardwood floors feature soft bristles or non-motorized brush bars that won't scratch the surface. Look for models with adjustable suction, high suction can pull moisture into wood seams, while lower settings capture sand effectively without risk. Avoid traditional upright vacuums on hardwood; their motorized beater bars will scratch wood finishes.
How to Remove Sand from Tile Grout and Crevices
Sand embedded in grout requires extraction before it hardens. Use a vacuum with a crevice attachment or a wet-dry shop vacuum for most effective removal. For sand already hardened into grout, a grout brush with soft nylon bristles works better than aggressive scrubbing. Use circular motions with light to moderate pressure, working small sections at a time.
Baking soda and water paste applied to grout lines loosens trapped sand without chemical damage. Apply, wait 15 minutes, then scrub and rinse thoroughly. For deep grout lines with severely compacted sand, a grout saw or oscillating multi-tool with a grout blade can help, though this carries risk of widening grout lines.
Prevent Sand from Entering Your House in the First Place
Prevention eliminates the need for repeated deep cleaning. Install a boot scraper or brush mat at exterior doors and require household members to scrape shoes before entering. A small entry vestibule with a separate floor surface provides a transition zone where sand can be contained and cleaned separately.
Seal grout lines with a penetrating sealer designed for your specific grout type. Sealed grout repels sand and moisture, making both easier to clean. Reapply sealer annually per manufacturer recommendations.
Keep exterior areas swept and maintained. Regular sweeping of driveways, patios, and landscaping reduces the amount of sand available to track inside.
Surface-Specific Techniques: Hardwood, Tile, and Laminate
Protecting Hardwood Floors from Sand Damage
Hardwood floors demand the most cautious approach to sand cleaning. Never dry-mop hardwood vigorously; use light, controlled strokes instead. Damp mopping requires restraint, limit moisture exposure to under 20 minutes total and dry the floor immediately after cleaning.
For hardwood in high-traffic areas, consider a protective coating of paste wax over the factory finish. Wax provides a sacrificial layer that can be reapplied annually. Avoid any sand contact on newly finished floors for at least 30 days while the finish cures.
Eco-Friendly Cleaning Solutions for Sandy Floors
Baking soda mixed with water creates an effective, non-toxic cleaning paste for grout and stubborn stains. White vinegar diluted with water works on tile and stone (but NOT hardwood or laminate). Castile soap, a plant-based cleaner, is gentle on all floor types and biodegradable.
For hardwood floors, plain water is often sufficient after dust removal. If additional cleaning is needed, add a few drops of castile soap to warm water. Lemon juice and baking soda create a natural deodorizer for grout without toxic fumes.
Common Mistakes to Avoid When Cleaning Sandy Floors
Using a wet mop as the first cleaning step is the most damaging mistake. Wet mop plus sand equals a grinding paste that scratches finishes irreparably. Always dust-mop first.
Vacuuming hardwood floors with motorized brush bars causes scratches that compound into permanent dull spots. Leaving sand in grout lines allows it to harden and compact, making removal increasingly difficult. Applying too much water to any floor type accelerates damage, damp is the target, not wet.
Using harsh chemical cleaners before removing sand is counterproductive. Chemicals don't remove grit; they create a slurry that spreads sand across larger areas. Dust and vacuum first, then apply cleaning solutions.
Ignoring prevention allows sand problems to compound. Invest in prevention infrastructure, boot scrapers, entry mats, grout sealing, to eliminate recurring problems. Finally, not adjusting technique for your specific floor type causes damage requiring professional refinishing.
Keeping sandy floors clean without damage comes down to understanding that sand is an abrasive requiring removal before any wet cleaning begins. Whether you're dealing with hardwood, tile, or laminate, the dust-first approach combined with minimal moisture and surface-specific techniques protects your investment while maintaining cleanliness. Start with a dust mop, follow with targeted damp mopping, and establish an entry prevention routine to reduce future sand accumulation.
Frequently Asked Questions
What is the best way to get sand off hardwood floors without causing scratches?
Start by sweeping with a soft-bristled broom or dust mop to remove loose sand particles, then use a vacuum designed for hardwood floors with a hard-floor attachment. Follow with a damp microfiber mop using minimal water to avoid surface damage. For stubborn sand, use a damp cloth with a mild cleaning solution of dish soap and water. Always move in the direction of the wood grain to prevent abrasion and maintain your floor's protective finish.
Does sand scratch hardwood floors, and how can I prevent sand damage?
Yes, sand particles act as an abrasive and can scratch hardwood floors, especially when walked on. Sand damage compromises the protective coating and exposes bare wood to moisture and stains. Prevent this by using entry mats to trap sand before it reaches your floors, vacuuming or sweeping daily to remove loose dust, and placing protective pads under furniture. Regular maintenance with a dust mop and damp cloth prevents buildup that causes scratches during cleaning.
How do you get sand out of floor crevices and grout lines?
For tile grout and floor crevices, use a vacuum with a crevice attachment to pull out loose sand particles first. For stubborn sand in grout, apply a mixture of baking soda and water to create a paste, let it sit for 10-15 minutes, then scrub with a stiff brush. For deep crevices in hardwood, use a thin damp cloth wrapped around a putty knife to gently extract sand without scratching the wood. Repeat vacuuming after scrubbing to capture all debris.
Should you vacuum or sweep sandy floors first?
Sweep first with a soft dust mop or broom to gather loose sand particles into manageable piles, then vacuum with a hardwood-appropriate vacuum to capture fine grit that sweeping misses. This two-step approach prevents pushing sand deeper into crevices and reduces the abrasion risk. Vacuuming alone can scatter light sand, while sweeping alone leaves fine particles behind. The combination ensures thorough debris removal before damp mopping or deep cleaning.
This article was written using GrandRanker