 How-to
How to Fix Minor Scratches on Hardwood Floors
Table of Contents
- Identifying Scratch Depth and Finish Type
- Cleaning and Preparing the Surface
- Repair Methods for Different Scratch Types
- Best Hardwood Floor Scratch Repair Kit Essentials
- How to Prevent Scratches on Hardwood Floors
- When to Call a Professional
- Conclusion
Last Updated: August 11, 2026
Identifying Scratch Depth and Finish Type
The first step in fixing minor scratches on hardwood floors is understanding what you're dealing with. Surface scratches sit only in the topcoat of your finish, polyurethane, wax, or oil-based sealers, appearing as thin lines that haven't penetrated the wood grain. Deep gouges cut into the actual wood fiber below the finish layer. This distinction matters because the repair method changes completely depending on depth.
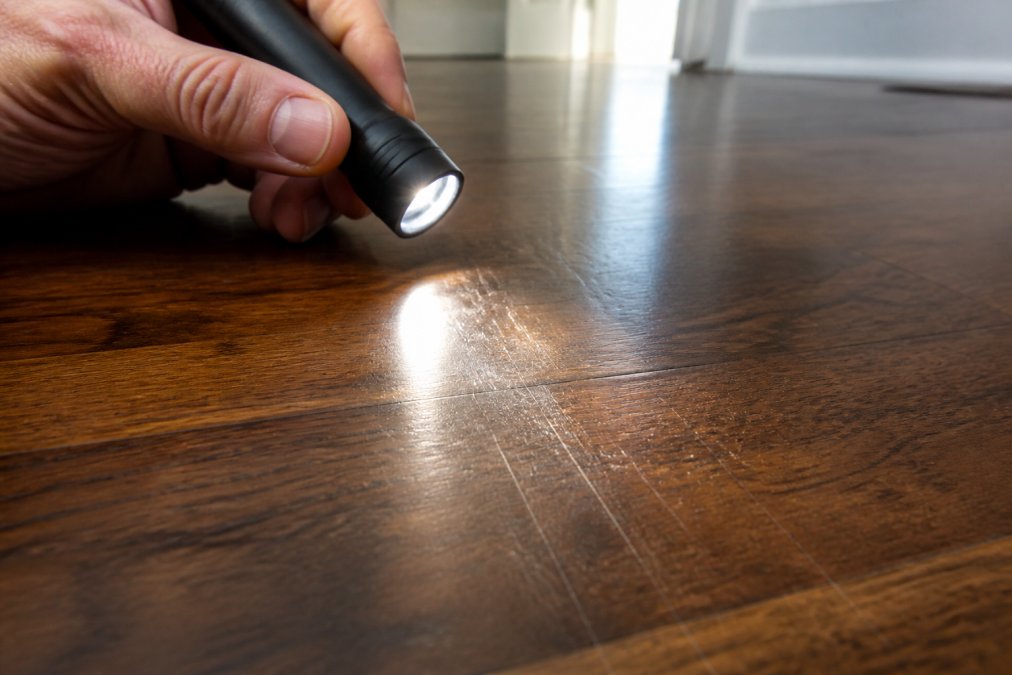
Surface scratches vs. deep gouges
To identify whether you're dealing with a surface scratch or deeper damage, run your fingernail across the affected area. A surface scratch won't catch your nail; a deep gouge will have a tactile groove you can feel. Shine a flashlight at a low angle across the scratch, surface scratches often disappear when light hits them directly but become visible at oblique angles, while deep gouges remain visible from any angle.
Surface scratches respond well to stain pens, markers, and buffing techniques. Deep gouges require wood filler or putty. Knowing which category your floor falls into prevents wasted effort on repairs that won't address the actual damage.
Determining your wood finish
Your hardwood floor finish type determines which repair products will work. Common finishes include polyurethane (the most durable, often high-gloss or satin), wax-based finishes (softer and easier to repair), and penetrating oil finishes (which soak into the wood rather than sitting on top).
Identify your finish by looking at the sheen level, matte, satin, or high-gloss. Polyurethane typically has noticeable sheen and feels hard to the touch. Wax finishes are softer and repair more forgivingly. Oil finishes feel natural and matte. Check your floor documentation or ask the installer if unsure, as stain pens and wood filler must match your finish type for seamless blending.
Cleaning and Preparing the Surface
Before attempting any repair, clean the scratched area thoroughly. Dust and debris prevent proper adhesion of repair products. The cleaning method differs significantly depending on your floor's finish type.
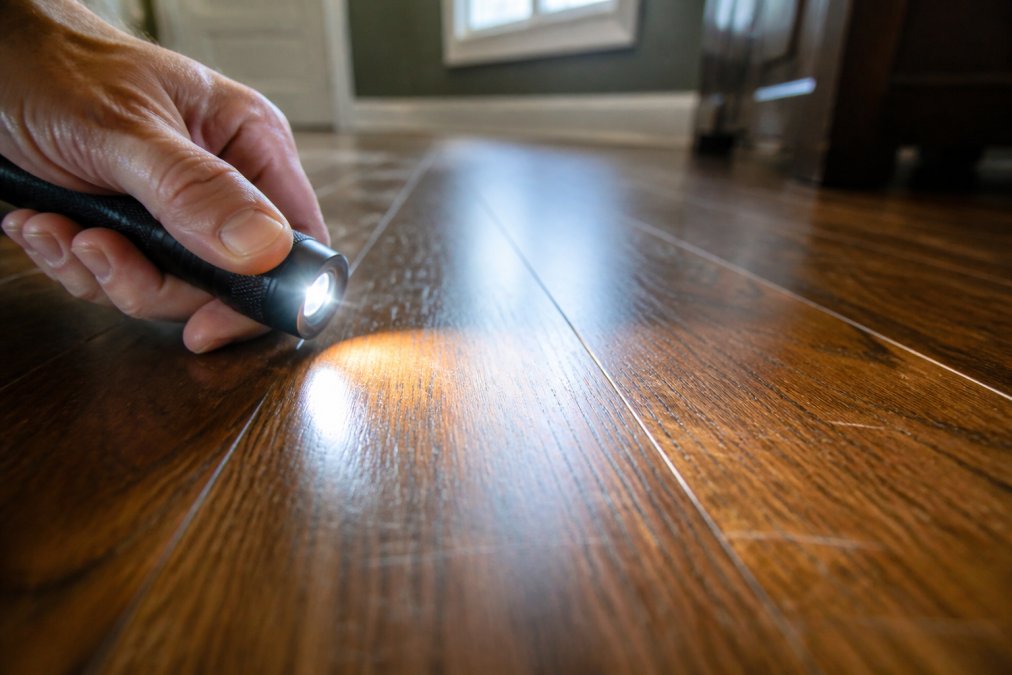
Cleaning for polyurethane-finished floors
For polyurethane floors, use a microfiber cloth slightly dampened with a mild cleaning solution, water mixed with a small amount of white vinegar (one part vinegar to ten parts water) works well. Wipe the scratch in the direction of the wood grain and let it dry completely before proceeding.
For deeper scratches, remove any loose finish debris using a soft brush or fine-grit sandpaper (220-grit or higher) very gently around the edges. Avoid aggressive sanding, which can enlarge the scratch or damage the surrounding finish. If the scratch has exposed raw wood, lightly sand the edges to remove splintered fibers, then wipe clean with a damp cloth.
Cleaning for wax-finished floors
Wax finishes are softer than polyurethane and require gentler preparation. Do not use vinegar or water-based solutions on wax floors, moisture can cause the wax to become cloudy or separate from the wood. Instead, use a dry microfiber cloth to remove dust and debris. If the scratch contains embedded dirt, use a barely-damp cloth with minimal moisture, then immediately dry the area.
Avoid sanding wax finishes during preparation, as sanding removes the protective layer and creates a dull spot that's harder to blend. Instead, use a soft brass brush or old toothbrush to gently remove any loose wax or debris from the scratch.
Cleaning for oil-finished floors
Penetrating oil finishes soak into the wood rather than sitting on top. Clean oil-finished floors with a dry cloth first to remove surface dust. If the scratch contains embedded dirt, use a cloth barely dampened with mineral spirits (not water), then immediately dry with a clean cloth. Mineral spirits evaporate quickly and won't raise the wood grain like water does.
Light sanding (320-grit or higher) is acceptable during preparation for oil finishes because they don't have a hard topcoat to damage. Sand very gently in the direction of the grain, then wipe away all dust with a dry cloth.
General preparation principle
Regardless of finish type, allow the cleaned area to dry completely before proceeding to repair. A clean, dry surface allows stain pens and wood filler to bond properly and blend naturally with the surrounding wood.
Repair Methods for Different Scratch Types
The repair method you choose depends on both scratch depth and your floor's finish type. Using the wrong product for your finish can result in a repair that fails within months or prevents future refinishing.
Step 1: Use a stain pen or marker for light scratches
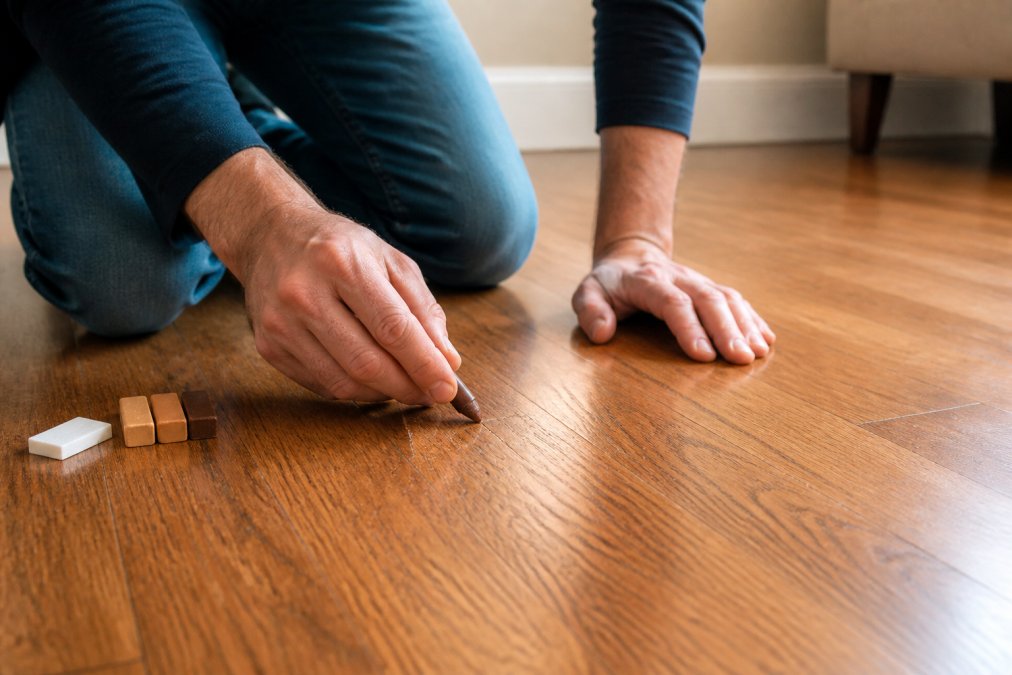
Stain pens and markers are the quickest solution for surface scratches in all finish types. The key is color matching, a stain pen that's too dark or too light will stand out rather than blend in.
Test your stain pen on an inconspicuous area first, such as inside a closet or under furniture. Once you've confirmed the color, apply the stain pen directly into the scratch using light, controlled strokes, following the wood grain direction.
For polyurethane finishes: Use stain pens labeled "polyurethane-compatible" or "for sealed hardwood." These contain solvents that allow the pigment to bond with the polyurethane topcoat. Allow 15 to 30 minutes for curing.
For wax finishes: Use stain pens designed for wax or unfinished wood. Water-based stain pens work well on wax because the wax layer prevents water from penetrating the wood. Allow 10 to 15 minutes for drying.
For oil finishes: Use stain pens labeled for penetrating oil or natural wood. Oil-based stain pens work best because they match the finish's absorption characteristics. Allow 20 to 30 minutes for curing.
If the scratch is still visible after one application, a second coat can deepen the coverage. Avoid over-applying stain pens; multiple thick coats create visible buildup that's harder to blend.
Step 2: Apply wood filler and putty for deeper damage
Deeper gouges require wood filler or putty to restore the wood structure before finishing. Wood filler comes in two types: water-based and solvent-based.
Water-based fillers are easier to clean up, less toxic, and dry faster (1 to 2 hours). However, they shrink slightly as they dry and are softer than solvent-based options, making them more prone to re-scratching in high-traffic areas. Use water-based fillers for repairs in low-traffic zones.
Solvent-based fillers offer better adhesion, minimal shrinkage, and greater hardness, making them preferable for larger repairs or high-traffic areas. They take longer to cure (2 to 4 hours) and require good ventilation.
Finish-specific considerations:
For polyurethane finishes, use a solvent-based wood filler labeled "polyurethane-compatible." Select a filler color that matches your wood tone. Fill the gouge completely, slightly overfilling the damaged area. Use a putty knife to level the filler flush with the surrounding floor. Allow the filler to dry completely according to product instructions, typically 2 to 4 hours.
For wax finishes, use a wax-based wood filler or standard wood filler that you'll finish with matching wax. Apply as you would for polyurethane, then finish with wax in the final step.
For oil finishes, use a water-based or oil-based wood filler, both work well because oil finishes are porous and forgiving. Oil-based fillers are slightly preferable because they won't raise the wood grain as they dry.
Once the filler is dry, sand the filled area smooth using fine-grit sandpaper (220-grit or higher) in the direction of the wood grain with light pressure. After sanding, wipe away all dust with a damp microfiber cloth and let dry completely.
Step 3: Buff and polish the repaired area
Buffing and polishing restore the finish's sheen and blend the repair with the surrounding floor.
For polyurethane finishes: Use a buffing pad or fine steel wool (0000 grade) with light circular motions. If the scratch was deep and required filler, apply a thin coat of polyurethane to the repaired area using a small brush or foam applicator, feathering the edges to blend with the surrounding finish. Allow 24 hours for full curing.
For wax finishes: Apply matching wax to the repaired area using a soft cloth, then buff with a clean cloth to restore the natural sheen. Allow 30 minutes for the wax to cure before walking on the floor.
For oil finishes: Apply matching penetrating oil to the repaired area and allow it to absorb according to product instructions, typically 15 to 30 minutes. Oil finishes don't require buffing, the natural matte appearance blends repairs seamlessly.
Step back and assess the repair from different angles and lighting conditions. A successful repair should be nearly invisible when viewed from normal standing height.
Long-term durability and future refinishing
DIY repairs using stain pens and wood filler are semi-permanent solutions, typically lasting 3 to 5 years in low-traffic areas. When you eventually refinish your floor, professional refinishing will sand away most DIY repairs, blending them seamlessly into the new finish.
Choosing finish-compatible products during repair ensures that your floor remains refinishable and that repairs don't create complications for professional contractors later.
Best Hardwood Floor Scratch Repair Kit Essentials
A well-stocked hardwood floor scratch repair kit saves time and money when minor damage occurs. Essential items include stain pens in multiple wood tones, wood filler or putty, fine-grit sandpaper (220-grit and 320-grit), microfiber cloths, a putty knife, and a soft buffing pad or steel wool.
| Item | Purpose | When to Use |
|---|---|---|
| Stain pens (multiple tones) | Fill light surface scratches | Surface scratches only |
| Wood filler | Fill deeper gouges | Deep scratches and gouges |
| 220-grit sandpaper | Initial smoothing after filler | After wood filler dries |
| 320-grit sandpaper | Fine finishing | Final smoothing before polishing |
| Microfiber cloths | Cleaning and dusting | Before and after repair |
| Putty knife | Leveling filler | Applying and smoothing filler |
| Buffing pad or steel wool | Restoring finish sheen | Final step after sanding |
Quality matters in repair products. Inexpensive stain pens often contain weak pigments that fade quickly. Mid-range wood fillers from established manufacturers offer better color consistency and durability. Investing in a proper repair kit costs less than professional restoration and handles multiple repairs over several years.
Store your kit in a cool, dry location away from direct sunlight. Keep stain pens capped tightly to prevent them from drying out.
How to Prevent Scratches on Hardwood Floors
Prevention is always easier than repair. Place furniture pads under all chair and table legs to prevent scratching when furniture is moved. Replace pads annually or when they become worn.
Maintain a consistent cleaning routine using appropriate hardwood floor cleaners. A vinegar-and-water solution works well for regular maintenance. Avoid excess moisture and wipe spills immediately.
Keep sand and grit away from your floor with a quality entrance mat. Vacuum regularly using a hardwood-specific vacuum without a beater bar. Sweep with a soft-bristled broom to remove debris without scratching.
Control humidity levels in your home. Hardwood expands and contracts with moisture changes, which can cause the finish to crack or peel. Use a humidifier in winter when indoor air becomes dry, and a dehumidifier in summer if humidity exceeds 50 percent.
When to Call a Professional
Some scratches exceed the scope of DIY repair. If damage covers a large area, affects multiple boards, or has compromised the wood structure significantly, professional restoration is the better choice. Call a professional if your floor has extensive gouging, deep water damage, or finish failure across multiple areas.
If you've attempted a repair and it's visible or doesn't match the surrounding floor, a professional can often correct it without starting over. Professional-grade equipment and materials produce results that DIY methods sometimes can't match, especially for high-traffic areas or visible locations.
Older hardwood floors in historic properties may require specialized knowledge. If your floor has original wood underneath or unusual finishes, a professional experienced with older floors can ensure repairs don't damage historical integrity.
Minor scratches on hardwood floors don't require professional restoration in most cases. With the right approach and products, you can restore your floor's appearance in an afternoon. For more complex damage or if your repair attempts don't achieve the finish you want, professional restoration ensures your hardwood floors return to their original beauty.
Frequently Asked Questions
Does WD-40 or vinegar and olive oil really remove scratches from hardwood floors?
Home remedies like WD-40 and vinegar solutions can temporarily mask light scratches by darkening the wood, but they don't repair the actual damage. These products sit on the surface rather than filling gouges or addressing the exposed wood fiber. For lasting results, use a stain pen for surface scratches or wood filler for deeper damage. Reserve home remedies only for quick cosmetic fixes if professional repair isn't immediately possible.
Can you use a Magic Eraser to remove scuff marks from hardwood floors?
Magic erasers are abrasive and can strip the protective polyurethane finish from hardwood floors, creating dull spots or further damage. They're not recommended for hardwood. Instead, use a microfiber cloth with a mild cleaning solution for scuffs, or try buffing with a soft pad if the finish is intact. For stubborn marks, spot sanding with fine-grit sandpaper followed by stain and topcoat is safer than abrasive erasers.
What tools and products should I include in a hardwood floor scratch repair kit?
A basic scratch repair kit should include stain pens or markers in multiple wood tones, wood putty or filler, fine-grit sandpaper (220-grit), a microfiber cloth, polyurethane or sealer, a small buffing pad, and wax sticks for color matching. Having these essentials on hand lets you address minor scratches immediately before they worsen. For coastal properties exposed to salt air and sand, keep extra supplies available since environmental stress increases damage risk.
How do you prevent scratches on hardwood floors in high-traffic areas?
Place furniture pads under all legs to reduce friction and abrasion. Use area rugs and runners in high-traffic zones, and remove outdoor footwear at entry points to minimize sand and grit. Clean floors regularly with appropriate solutions to prevent buildup that increases slipping and dragging. In beach houses, establish a sandy-feet protocol and consider matte or satin finishes over high-gloss, as they hide minor surface marks better. Regular preventative maintenance extends the life of your wood grain and finish.
This article was written using GrandRanker