 How-to
How to Install Hardwood Flooring on Concrete
Table of Contents
- Why Concrete Subfloors Need Special Attention
- How to Test Concrete Moisture Content
- Preparing the Concrete Slab for Installation
- Choosing a Moisture Barrier for Hardwood on Concrete
- Glue Down vs Floating Hardwood Installation
- Step-by-Step: Glue-Down Installation Process
- Common Mistakes and Troubleshooting Failed Installations
- Final Considerations Before You Start
- Frequently Asked Questions
Last Updated: September 8, 2026
Installing hardwood flooring on concrete fails more often from what happens beneath the boards than from the boards themselves. The concrete slab acts as a reservoir and wicking surface for ground moisture, so the primary battle is moisture vapor transmission. Nearly every failure traces back to skipped diagnostic steps. Below, we break down how to install hardwood flooring on concrete correctly, covering moisture testing, slab preparation, and the two viable installation methods.
Why Concrete Subfloors Need Special Attention
Solid wood flooring should not be installed directly on a concrete slab. Industry guidance emphasizes that direct contact exposes solid planks to moisture risks that cause cupping, crowning, and gapping, making engineered hardwood the preferred material for this application Carpet Exchange 2026 installation guide.
Concrete is porous and constantly exchanges moisture vapor with the air above it. A slab that looks dry can still release enough vapor to warp solid wood within months. Engineered hardwood features a plywood core that resists dimensional change far better than solid lumber, which is why it dominates this installation category.
The second issue is flatness. Concrete slabs rarely pour perfectly level, and any deviation transfers directly to your finished floor. High spots cause rocking boards; low spots create hollow sounds underfoot and stress tongue-and-groove joints over time.
How to Test Concrete Moisture Content
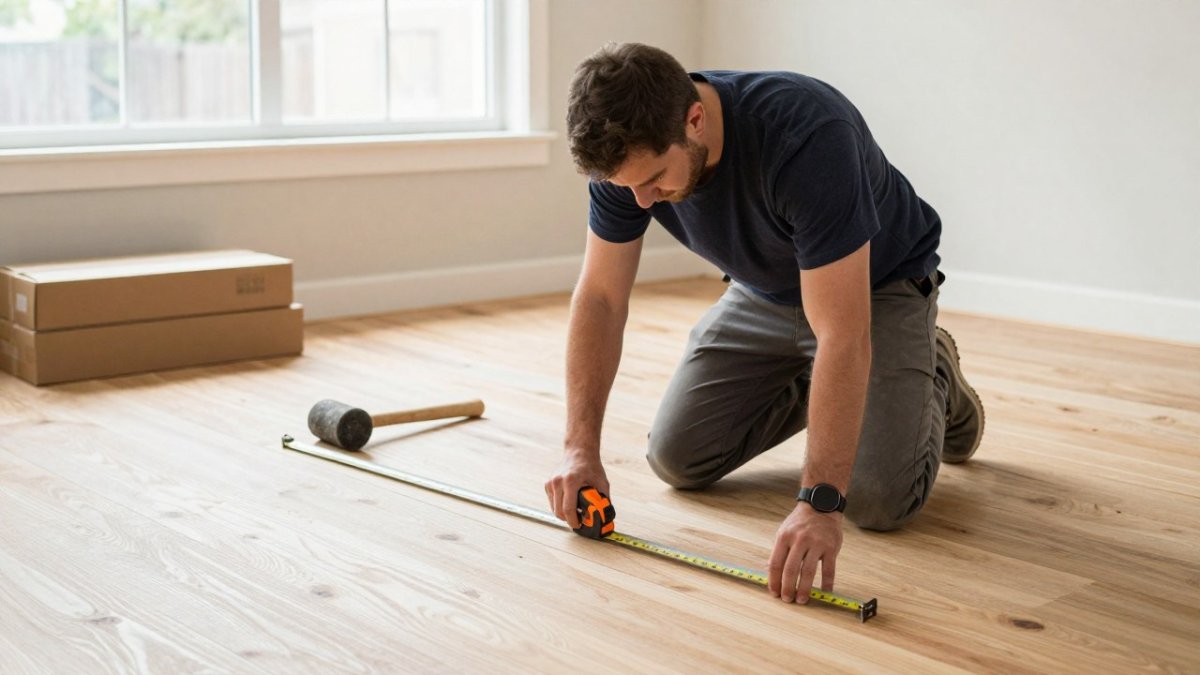
Testing concrete moisture content is a mandatory first step, not an optional precaution. Professional standards dictate that slabs must be tested in multiple areas of each room before any subfloor or flooring installation begins Hardwood Info installation guidance. The test you choose determines what you learn about the slab, and the results dictate which mitigation path you must take.
Choosing the Right Test Method
Two test methods dominate the industry, and they measure different things. The calcium chloride test (ASTM F1869) measures the moisture vapor emission rate (MVER) over 72 hours, reported in pounds per 1,000 square feet per 24 hours, capturing moisture actively moving through the slab surface. The relative humidity test (ASTM F2170) uses in-situ probes drilled into the slab to measure the percentage of moisture within the concrete itself, revealing moisture deep in the slab that is often higher than surface conditions suggest.
Most manufacturers require one or both tests before honoring warranties. The RH test is generally more reliable for predicting long-term performance because it measures the moisture reservoir in the slab rather than a transient surface condition. For slabs on grade or below grade, running both tests gives the fullest picture.
Interpreting the Numbers
For most residential slabs, an MVER above 3 pounds or an internal relative humidity above 75 percent signals trouble. At those levels, you need a moisture mitigation system before any adhesive will bond reliably. But borderline results require nuance:
- MVER between 3 and 5 pounds: A trowel-applied moisture retarder rated for this range is typically sufficient. Products like Bostik MVP-4 or MAPEI Planiseal MSP are designed for this band. The membrane cures to a hard film and the adhesive bonds directly to it.
- MVER above 5 pounds or RH above 85 percent: You need a two-coat epoxy moisture barrier system, not a simple retarder. These systems, such as Bostik's Novoplan or Ardex K-301, block vapor transmission at a much higher threshold. Some products are rated for MVER up to 10 or even 15 pounds.
- RH above 90 percent: At this level, the slab is actively saturated. No coating system will reliably hold back the volume of moisture moving through the concrete. You must address the source, drainage, groundwater, or vapor drive from below, before any flooring installation proceeds.
Testing Protocol That Produces Reliable Results
Test in at least three locations per room, including near exterior walls and any area where plumbing runs beneath the slab. A single test in the center tells you almost nothing about the moisture gradient. For the calcium chloride test, the slab must be clean and free of curing compounds, and the test area sealed off from air movement for the full 72 hours. For the RH test, probes must be drilled to the correct depth, typically 40 percent of slab thickness, and allowed to equilibrate for at least 24 hours.
Seasonal timing matters. A slab tested in August when the water table is low may read dramatically different than the same slab tested in March after heavy rain. If installing during a dry season, test again if the weather pattern shifts significantly before installation day.
When to Call a Professional
If your slab tests above the thresholds above, or you get inconsistent readings across test locations, stop and consult a flooring moisture specialist. They have equipment like the Tramex CMEX meter and can perform a full slab assessment, including checking for vapor drive from below and whether a below-slab vapor barrier exists. Many older slabs were poured without one, giving ground moisture an unimpeded path into the concrete. No surface-applied coating can fully compensate for a missing below-slab barrier in a high-water-table area.
Preparing the Concrete Slab for Installation
Once moisture tests come back acceptable, the slab needs proper preparation. Start by checking subfloor flatness: the industry standard allows no more than 3/16 inch of variation over a 10-foot span, and 1/8 inch over 6 feet. If your slab exceeds these tolerances, correct it before proceeding.
High spots require grinding with a concrete grinder. Low spots and depressions need a self-leveling underlayment compound poured and screeded flat. These compounds flow to a level plane and cure quickly, typically ready for flooring within 24 hours.
Cleaning comes next. The slab must be free of curing compounds, paint, grease, and loose debris, any contaminant creates a bond breaker between the adhesive and concrete. Vacuum thoroughly, wipe with a damp mop, and allow to dry completely. Finally, check alkalinity with a pH test kit; the ideal range for wood adhesives is between 7 and 9.
Choosing a Moisture Barrier for Hardwood on Concrete
A moisture barrier for hardwood on concrete is the insurance policy that protects your entire investment. Even when tests pass, conditions change seasonally, and a barrier adds protection against future moisture spikes.
Vapor Barriers vs. Vapor Retarders
The terms are often used interchangeably, but they mean different things. A vapor barrier blocks virtually all moisture transmission and is typically a sheet of polyethylene, usually 6 mil or thicker. A vapor retarder slows moisture movement but does not stop it completely; these are usually liquid membranes or mastics with embedded moisture-blocking properties.
For glue-down installations on slabs with borderline test results, a trowel-applied moisture retarder is the standard solution. These products are rolled or troweled onto the slab, allowed to cure, and the wood adhesive bonds directly to the membrane. For floating floors, a 6-mil polyethylene sheet laid over the slab serves as the barrier, with seams taped and the sheet run up the walls a few inches.
Dealing with Radiant Heating and Acoustics
Radiant heating systems embedded in concrete create a unique challenge. The slab temperature should never exceed 85 degrees Fahrenheit at the surface, and the heat should be cycled on gradually before installation to drive out residual moisture. Engineered hardwood performs acceptably over radiant heat because its cross-ply construction handles temperature cycling better than solid wood.
Acoustic concerns matter most in multi-story buildings or condominiums. A glue-down installation transmits impact noise directly through the slab. An acoustic underlayment, typically cork or rubber, can be bonded to the slab first to dampen sound. This adds height and cost but is often required by building codes in attached dwellings.
Glue Down vs Floating Hardwood Installation
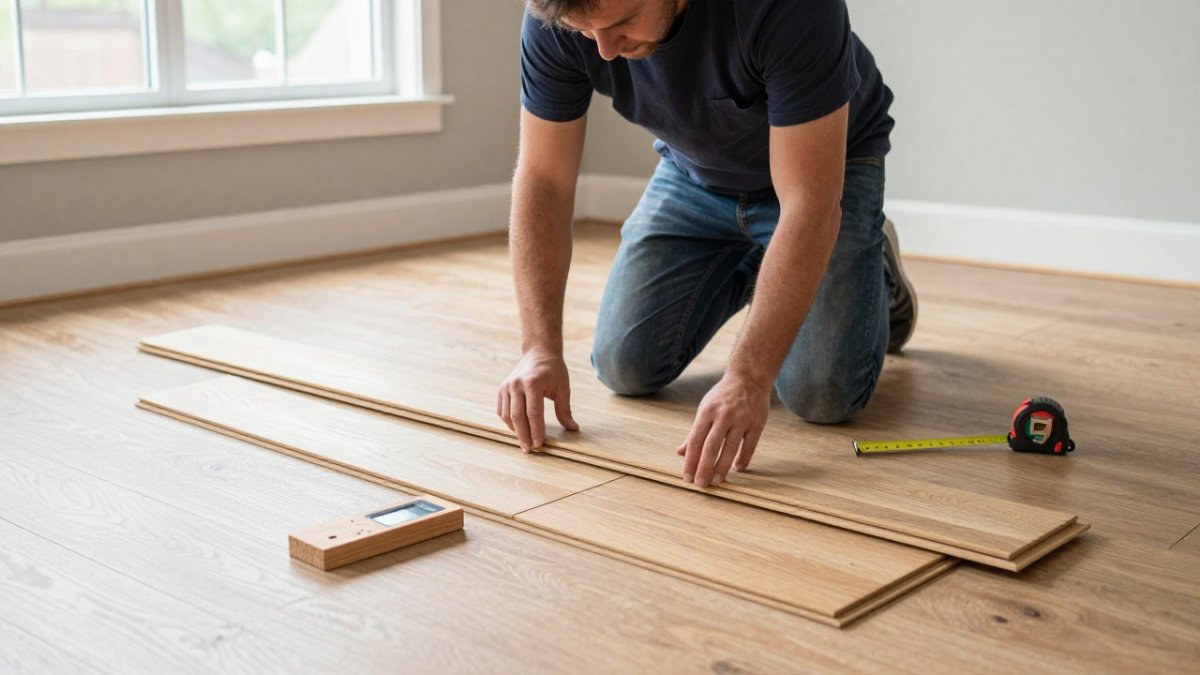
Two primary methods exist for installing hardwood over concrete: glue-down and floating Real Wood Floors installation overview. Your choice depends on the subfloor condition, the room's use, and whether you plan to stay long-term.
The glue-down method adheres each plank directly to the slab using a urethane or acrylic wood adhesive. It feels solid underfoot, reduces hollow sounds, and is preferred for large, open areas. The trade-off is permanence: removal is labor-intensive, and the slab requires thorough cleaning afterward.
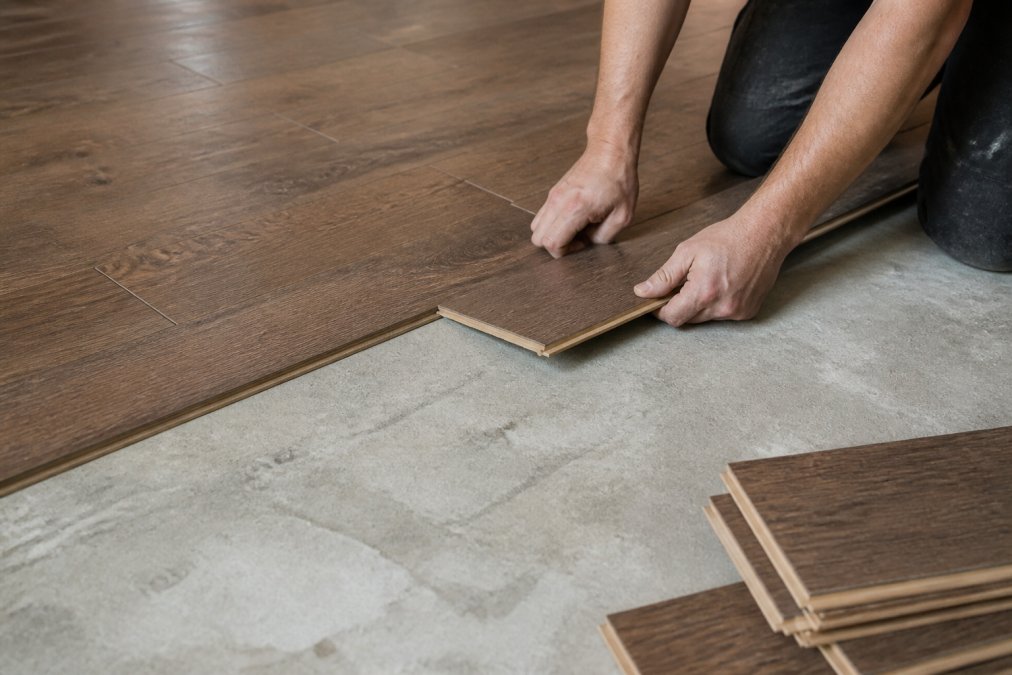
The floating floor method connects planks through a tongue-and-groove locking system, with the entire floor resting on an underlayment rather than being attached to the slab. Floating floors handle minor subfloor imperfections better, install faster, and can be taken up and reinstalled if you move. They also accommodate natural expansion and contraction more gracefully, which matters in rooms with wide temperature swings.
| Method | Subfloor Prep Required | Installation Time | Sound Underfoot | Removal Difficulty |
|---|---|---|---|---|
| Glue-Down | High: must be flat, clean, moisture-tested | Slower | Solid, quiet | Difficult |
| Floating | Moderate: flatness still matters, less critical | Faster | Can sound hollow | Easy to moderate |
The Glue-Down Method
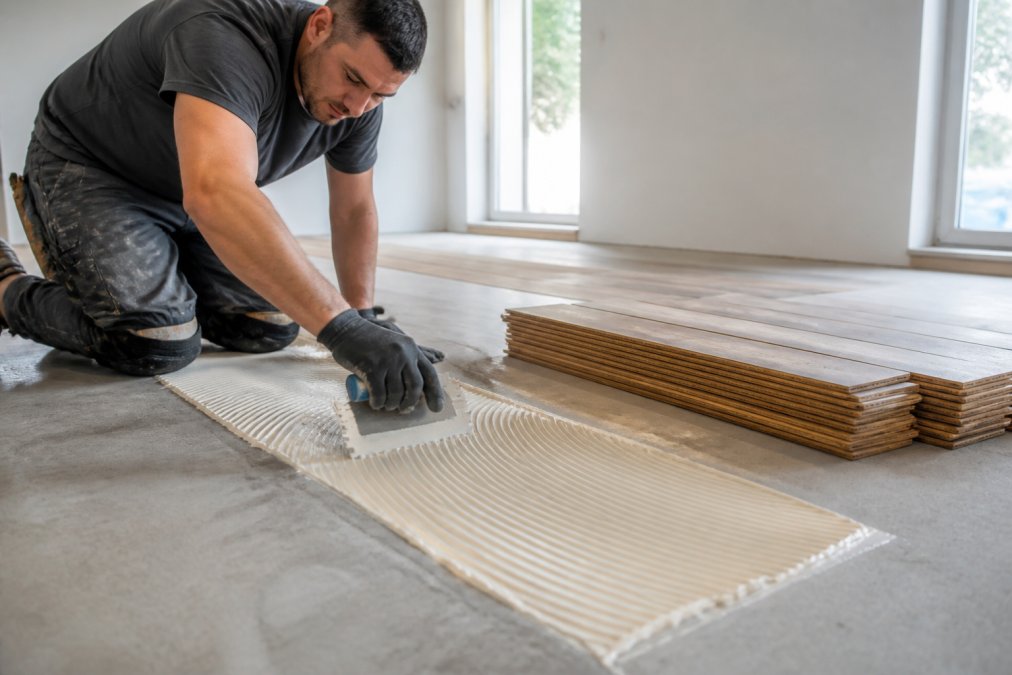
Full-trowel glue application using urethane or acrylic wood adhesive is the industry-standard method for installing engineered hardwood on concrete Sustainable Lumber Co. installation guidance. Urethane adhesives offer superior moisture resistance and flexibility, while acrylic adhesives are easier to clean up and have lower VOC emissions.
The Floating Floor Method
Floating installation is the more forgiving option for DIYers and for rooms where the slab has minor irregularities. The underlayment doubles as a moisture barrier and provides a slight cushion that masks small imperfections. Expansion gaps around the perimeter are critical: the floor needs 1/4 to 1/2 inch of space along every wall to move freely.
Step-by-Step: Glue-Down Installation Process
The glue-down process rewards patience and precision. Here is the sequence that produces a lasting result:
- Acclimate the flooring in the room for at least 72 hours. Stack the boxes with air space between them and keep the room at normal living temperature and humidity.
- Snap chalk lines as layout references. Start from the longest straight wall and account for the expansion gap along the perimeter.
- Apply the adhesive in manageable sections, roughly the width of three to four rows of planks. Use a notched trowel spread at a 45-degree angle to ensure proper coverage before installing the flooring immediately TEC Specialty adhesive application guide.
- Lay the first row with the tongue facing the wall, maintaining the expansion gap with spacers.
- Install subsequent rows, staggering end joints by at least 6 inches between adjacent rows. Tap each plank into place with a tapping block to protect the tongue.
- Roll the floor with a 100-pound floor roller after every few rows are installed. This ensures full adhesive transfer from the slab to the plank backing.
- Clean excess adhesive that seeps up between joints before it cures. Urethane adhesives become nearly impossible to remove once dried.
- Allow the adhesive to cure for the manufacturer's recommended time before walking on the floor or replacing baseboards.
Common Mistakes and Troubleshooting Failed Installations
Most installation guides stop when the last plank goes down. This section covers what happens when things go wrong, recognizing the signature of a specific failure mode tells you whether the fix is simple or whether the floor must come up entirely. Misdiagnosis leads to wasted money on repairs that do not address the root cause.
Adhesive Transfer Failure
The most frequent failure is inadequate adhesive transfer. If you pull up a plank and the adhesive covers less than 90 percent of the backing, your trowel notch is too small or the adhesive skinned over before you laid the plank. Working in smaller sections and checking transfer on the first few planks prevents this.
Adhesive failure that appears months later has a different signature. Planks that rock slightly underfoot, click when walked on, or show visible gaps at the ends indicate the bond is releasing. This traces back to one of three causes: the slab was not clean, the adhesive was applied over a slab with moisture above its rated threshold, or the wrong adhesive was used for the plank width. Wide-plank flooring, 5 inches or wider, requires adhesives with higher shear strength because the boards exert more force on the bond line as they expand and contract. Using a standard adhesive rated for 3-inch planks on a 7-inch plank floor is a recipe for bond failure within the first year.
Hollow Sounds and Their Causes
Hollow sounds across the floor indicate either insufficient adhesive coverage or an unlevel slab creating voids beneath the planks. Grinding down high spots and filling low spots before installation eliminates most hollow areas. If hollows appear after the fact, the only reliable fix is pulling up the affected planks and reinstalling.
To locate the exact source of a hollow sound, use a rubber mallet and tap across the floor in a grid pattern. A solid bond produces a dull, thudding sound; a void produces a sharper, more resonant tone. Mark the boundaries of each hollow area with painter's tape, then check whether the pattern correlates with slab irregularities. If hollow areas follow a plumbing run or an old saw cut, the cause is likely a void beneath the slab that shifted after installation.
Cupping: Reading the Direction of the Curve
Cupping across the width of planks points to moisture intrusion from below, the signature of an inadequate moisture barrier or a slab that tested borderline and was installed anyway. If cupping reverses when the room's humidity drops, the source is environmental. If it persists, the slab is the culprit, and the floor must come up.
The direction of the cup tells you where moisture is coming from. If the edges rise and the center dips, moisture is entering from below. If the center rises and the edges stay flat, a condition called crowning, moisture is entering from above, typically from a leak, flood, or chronic high humidity. Crowning can also occur when a cupped floor is sanded flat before the moisture source is addressed; the boards then dry and the sanded surface becomes concave.
Diagnosing Adhesive Softening and Delamination
A less common but more destructive failure is adhesive softening. This occurs when moisture migrating through the slab reacts with the adhesive, breaking down its chemical structure. The adhesive turns gummy or crumbly, and planks lift with minimal effort. The smell is distinctive, a sour, chemical odor signaling the adhesive is degrading. This failure is almost always caused by installing over a slab with moisture above the adhesive's rated tolerance, and no surface repair will fix it. The floor must be removed, the slab mitigated, and new flooring installed.
Delamination, where the wear layer separates from the plywood core, is a manufacturing defect or a sign that the flooring was exposed to excessive moisture during acclimation. If it appears in scattered boards shortly after installation, check whether the boxes were stored directly on the concrete slab during acclimation. Cardboard boxes wick moisture from concrete, and the bottom boards in each stack can absorb enough to weaken the bond between layers.
The Diagnostic Decision Tree
When a floor shows signs of failure, work through this sequence before pulling anything up:
- Check the room's relative humidity with a hygrometer. If above 60 percent, the issue may be environmental.
- Measure the slab's moisture content with a pin-type moisture meter. Readings above 12 percent on the wood or high readings on the concrete indicate active moisture movement.
- Look at the pattern of the failure. Random scattered boards suggest manufacturing or acclimation issues. Large contiguous areas suggest slab moisture or adhesive problems. Failures near exterior walls point to water intrusion from outside.
- Pull one affected plank in the least visible area, such as under a refrigerator or in a closet. Examine the adhesive residue on the slab and the plank backing. Crumbly adhesive means moisture attack. Clean separation with no residue means the adhesive never bonded. Adhesive still tacky means it never cured properly.
Final Considerations Before You Start
Installing hardwood flooring on concrete rewards careful planning over speed. Budget time for moisture testing, typically 72 hours for a calcium chloride test, plus acclimation time for the flooring itself. Rushing either step compromises the entire project.
Consider the room's function. Basements and rooms below grade demand the most rigorous moisture mitigation, while upper-level slabs over conditioned space are more forgiving. For coastal properties, where salt air and humidity compound the moisture challenge, a high-quality moisture retarder paired with engineered hardwood is the safest combination.
If this feels like more than you want to take on, professional installation removes the guesswork. We serve Suffolk County homeowners and contractors with flooring selection and expert installation for tricky subfloors, including older homes with uneven slabs and coastal properties battling moisture. Visit our showroom to see engineered hardwood options in person and discuss your project's specific conditions with our team. Get started with Hamptons carpet one floor and Home and ensure your hardwood flooring on concrete is installed right the first time.
Frequently Asked Questions
Can hardwood flooring be installed over concrete?
Yes, but you must use engineered hardwood rather than solid wood. Solid wood is prone to warping and cupping when exposed to the moisture that migrates through concrete. Engineered wood is constructed with a stable, cross-layered core designed to handle moisture fluctuations. Before installation, the slab must be tested for moisture and prepped correctly. A moisture barrier and the right installation method, such as glue-down or floating, are also essential to ensure the floor remains stable and lasts for years.
What do you put under hardwood floors on concrete?
For a glue-down installation, a trowel-applied urethane adhesive acts as the bond and often includes a built-in moisture retarder. For a floating installation, you will need a foam underlayment that provides a vapor barrier and sound dampening. In both cases, the concrete must first be sealed or have a vapor barrier installed if moisture test results are high. Choosing the right underlayment protects the hardwood from moisture and helps with subfloor flatness.
Is it better to glue or float an engineered wood floor on concrete?
Glue-down is the industry standard for a permanent, solid feel and is often required by manufacturers for warranty coverage. It involves adhering the planks directly to the slab with a urethane adhesive. Floating floors click together and rest on an underlayment without being attached to the concrete. Floating is faster and allows for expansion and contraction, which can be beneficial in rooms with high humidity changes. Glue-down generally feels more stable underfoot, while floating is more DIY-friendly.
How do you test concrete for moisture before installing hardwood?
Two tests are standard: the calcium chloride test and the relative humidity (RH) test. The calcium chloride test measures the moisture vapor emission rate over a 72-hour period by placing a test kit on the slab. The RH test uses probes inserted into holes drilled in the concrete to measure internal moisture. Both tests must be conducted in multiple areas of the room. A professional will interpret the results to determine if your slab is dry enough for a hardwood installation.