 How-to
How to Install Laminate Flooring in Southampton Homes
Last Updated: November 2, 2026
Quick Summary
To install laminate flooring in a Southampton home, first acclimate the planks for at least 48 hours and check the subfloor for flatness and moisture, since coastal humidity can cause warping. Then lay a vapor barrier and underlayment, stagger the end joints, leave a 1/4-inch expansion gap at the walls, and click the planks together.
- Leave unopened laminate cartons in the room for at least 48 hours before installing.
- Check the subfloor for flatness, with no more than 3/16 inch variation over 10 feet.
- Test subfloor moisture, especially on concrete and below-grade rooms, before installing.
- Stagger end joints by at least 6 inches between rows.
- Hire a professional if the floor is badly out of level or your condo requires approval.
Table of Contents
- Why Southampton Homes Need Special Planning for Laminate
- Laminate Flooring Installation Tools List
- Acclimation Time for Laminate Flooring Before You Start
- Preparing the Room and Checking the Subfloor
- Installing Underlayment, Planning Layout, and Laying the Planks
- Common Mistakes When Laying Laminate Flooring
- Deciding Whether to Hire a Professional Installer in Southampton
- Frequently Asked Questions
If you're planning to install laminate flooring in your Southampton home, the job is more involved than most DIY guides let on. Coastal humidity, older subfloors and condo or building rules can all change the plan. This guide walks you through each step, from preparing the room to deciding whether a professional should handle the work.
Why Southampton Homes Need Special Planning for Laminate
Southampton's salt air, humidity and sandy foot traffic make moisture the first thing to plan around. A floor that works fine in a dry inland home can cup or gap near the ocean.
Before you buy, check a few local factors:
- Humidity levels: Coastal homes often run damp, especially in summer.
- Foot traffic and sand: Sand acts like sandpaper on a floor surface. Choose a wear layer that suits the load.
- Older construction: Many Southampton houses have uneven or historic subfloors.
- Building rules: Condos and multi-unit buildings may require approval before any flooring goes in.
Planning these details early prevents expensive fixes later.
Laminate Flooring Installation Tools List
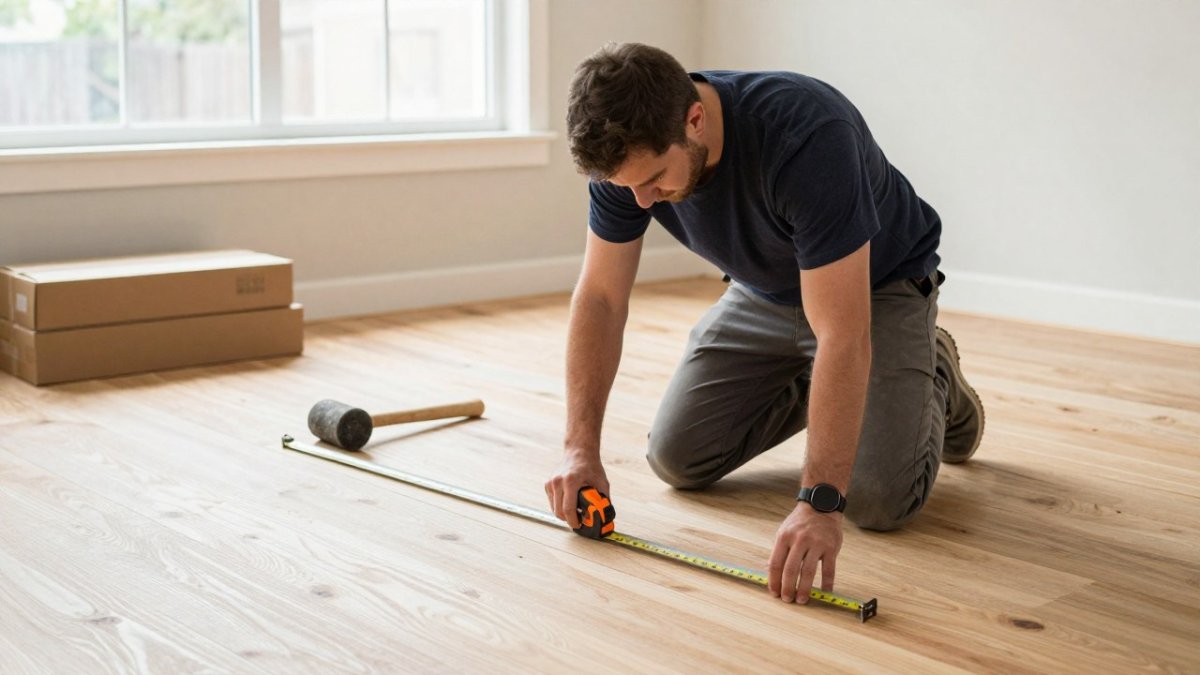
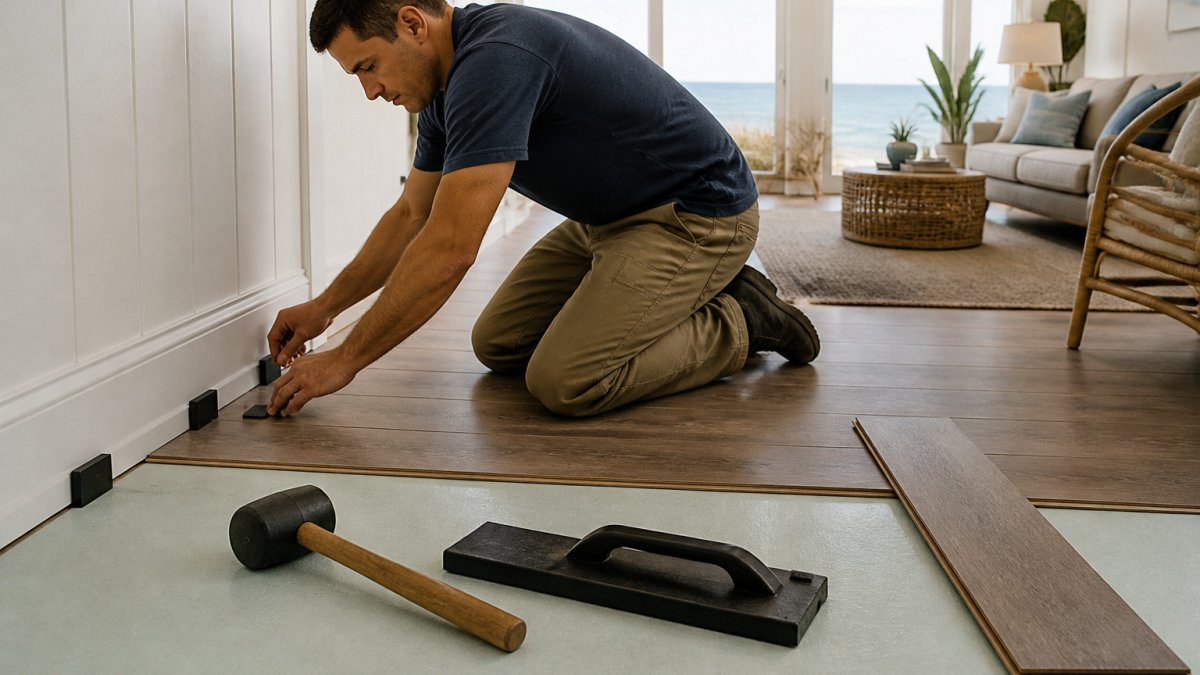
Gathering the right tools before you start keeps the project moving. A typical install generally calls for the following:
- Tape measure and pencil
- Spacers for the expansion gap at the walls
- Tapping block and rubber mallet
- Pull bar for the final row
- Jigsaw or circular saw for cutting planks
- Utility knife and straightedge
- Underlayment and vapor barrier
- Safety glasses and knee pads
Keep the list in one place so you aren't running to the store mid-install. A quick check of the plank packaging will also confirm whether you need a specific underlayment.
Acclimation Time for Laminate Flooring Before You Start
Laminate expands and contracts with humidity, so it needs time to adjust to your home before installation. Leave the unopened cartons flat in the room where they'll be installed for at least 48 hours. Many manufacturers recommend longer, so check the instructions on your product.
Skipping this step is one of the most common causes of gaps and buckling. Keep the room's temperature and humidity at normal living levels during this period.
Preparing the Room and Checking the Subfloor
Clear the room completely. Remove furniture, baseboards and any old flooring, then dispose of the old material responsibly. In older Southampton homes, expect to find layers of old flooring, cut nails, or patchy plywood underlayment that need to come up before you can judge the subfloor.
Once the room is empty, inspect the subfloor for debris, loose boards and nails. A clean, sound base makes the installation go smoothly. Walk the floor and listen for squeaks; screw down loose subfloor panels into the joists rather than driving new nails, and replace soft or water-stained sections of plywood before you go further.
Subfloor Flatness and Moisture Testing
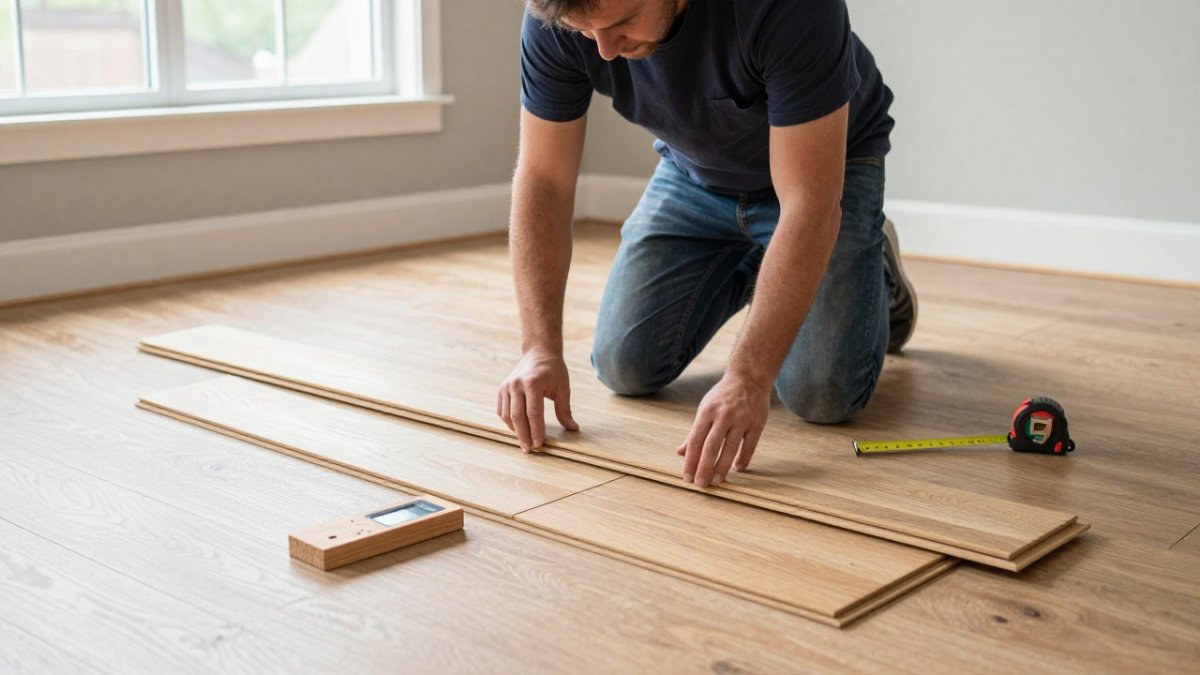
Laminate needs a flat base. A common manufacturer requirement is no more than 3/16 inch of variation over a 10-foot span, and many laminate warranties specify 1/8 inch over 6 feet. Check with a 6- or 10-foot straightedge or a long level laid in several directions across the room. Mark high spots and low spots with painter's tape so you can fix them in one pass.
Grind or sand high spots down; do not try to bridge them with underlayment. Fill low spots with a cement-based floor patch or leveling compound, following the bag directions for mixing and cure time. On wood subfloors, confirm the panels are at least 5/8 inch thick and securely fastened; on concrete, patch cracks and grind down ridges.
Moisture matters just as much as flatness. Test the subfloor with a moisture meter, especially on concrete slabs, below-grade rooms, and near kitchens, bathrooms, and exterior doors. For concrete, the standard field test is the calcium chloride test (ASTM F1869) or the in-situ relative humidity probe test (ASTM F2170); most laminate makers publish a maximum slab moisture emission or RH limit in their installation instructions, so read the number for your product before you buy underlayment. For wood subfloors, a pin-type meter reading compared with the plank moisture content tells you whether the house is dry enough to install.
If readings are high, fix the source before installing: correct grading and downspouts outside, repair plumbing leaks, and improve ventilation. Where a vapor barrier is appropriate, use a 6-mil polyethylene sheet or a manufacturer-approved underlayment with a built-in vapor barrier, lap seams 6 to 8 inches, and tape them. Do not install laminate over a wet slab, over a crawl space with no vapor barrier, or in a full bathroom, laundry room, or basement that has a history of standing water; laminate is not a waterproof floor, and water-resistant planks still need the subfloor and perimeter details done correctly.
Watch out: Installing over an unchecked damp subfloor can cause planks to warp, cup, or gap within weeks, and most manufacturers will deny a claim if the moisture test was never done.
The subfloor checks below set the limits a laminate install has to meet before any plank goes down.
| Check | Limit or method | Note |
|---|---|---|
| Flatness (manufacturer) | 3/16 in over 10 ft | Common requirement; check your product |
| Flatness (warranty) | 1/8 in over 6 ft | Typical laminate warranty figure |
| Wood subfloor thickness | At least 5/8 in | Panels must also be securely fastened |
| Concrete moisture test | ASTM F1869 or F2170 | Compare to your product's stated limit |
| Vapor barrier | 6-mil polyethylene | Lap seams 6 to 8 in and tape them |
| Poly seam overlap | 6 to 8 in | Tape all seams |
Installing Underlayment, Planning Layout, and Laying the Planks
Roll out the underlayment and vapor barrier, overlapping the seams as the product directs. Tape the seams so moisture can't creep up from below.
Plan your layout before you click the first plank. Here's how:
- Pick the longest, straightest wall as your starting point.
- Run planks parallel to the main light source, which hides seams.
- Stagger end joints by at least 6 inches between rows.
- Leave an expansion gap of about 1/4 inch at all walls, using spacers.
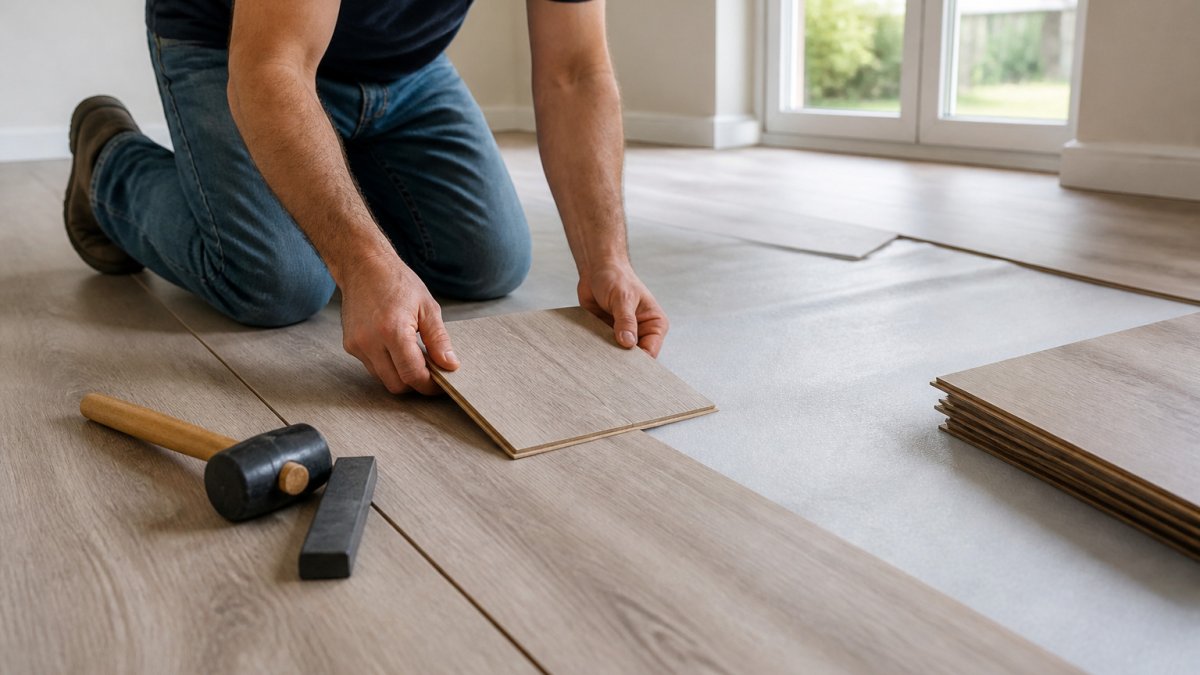
Lay the first row, then click each plank into the next. Use the tapping block and mallet to close the joints gently. For the final row, use the pull bar to lock planks in place. Cut the last planks to fit, and reinstall the baseboards or quarter-round trim to cover the expansion gap.
Common Mistakes When Laying Laminate Flooring
Most problems come from a few avoidable errors:
- Skipping acclimation before installation
- Ignoring moisture in the subfloor
- Forgetting the expansion gap at walls
- Placing end joints in a line instead of staggering them
- Hammering planks directly instead of using a tapping block
Watch out: Installing over an unchecked damp subfloor can cause planks to warp within weeks. Test moisture first.
Deciding Whether to Hire a Professional Installer in Southampton
DIY works well for a simple, flat room with a dry subfloor, standard baseboards, and no building approval to worry about. A professional makes more sense if your floor is badly out of level, you live in a condo or co-op that needs approval, the room has many angles and transitions, or the subfloor needs major repair before any plank goes down.
A few Southampton, NY specifics change the math:
- Older homes and uneven subfloors. Older homes often have out-of-level floors or layered flooring. Leveling, patching, or replacing subfloor panels can add hours or days to a job that looked simple on paper.
- Condos, co-ops, and multi-unit buildings. Buildings with shared floors may require approval from the board or management company before work starts. Ask for the building's alteration rules and any sound or insulation requirements before you buy materials.
- Permits. Permit requirements vary by town and by the type of work, so confirm with the local building department before you schedule the install.
- Coastal moisture and seasonal movement. A pro will test subfloor moisture, set expansion gaps correctly, and choose underlayment that suits a damp coastal house. Those details are where DIY installs most often fail.
On cost, plan for three buckets: materials (laminate, underlayment, vapor barrier, trim, transition strips), tools and consumables (spacers, tapping block, pull bar, saw blades, knee pads), and preparation (leveling compound, patch, subfloor repair, old-floor removal and disposal). Material prices vary by product, so get a current quote for the product you want.
For a clear cost estimate, contact Hamptons Carpet One Floor & Home directly. Pricing depends on the product, square footage and site conditions, so ask for a quote tailored to your home, and ask whether the quote includes old-floor removal, leveling, trim, and disposal.
Frequently Asked Questions
What do you put down before laying laminate flooring?
Most installers lay a foam or cork underlayment over a clean, dry, flat subfloor before the planks go down. The underlayment cushions the floor, reduces noise and adds a moisture barrier. Many laminate products include an attached pad, in which case an extra layer may not be needed. Check the manufacturer's instructions for your specific product, since some warranties require a particular underlayment. In coastal Southampton homes, a vapor barrier is especially worth considering over concrete or on ground-level floors where humidity and salt air can seep up from below.
How long does laminate flooring need to acclimate before installation?
Laminate flooring should sit unopened in the room where it will be installed for at least 48 hours, and many manufacturers recommend 72 hours or more. This lets the planks adjust to the room's temperature and humidity before they are fixed in place. Keep the room at normal living conditions during this period. Skipping acclimation is one of the most common reasons planks gap or buckle after installation, particularly in humid coastal homes where seasonal moisture changes are significant.
Do you cut the tongue off the first row of laminate?
Yes. For the first row, the tongue side of each plank is usually cut off so the groove faces the wall. This lets the first row sit flush against the wall with the expansion gap maintained. Use a jigsaw or a circular saw with a fine-tooth blade, measuring carefully so the cut edge lines up with the wall spacer. Keep the cut pieces, since the leftover end of the first plank in the row can often be reused to start the next row and reduce waste.
What are the most common installation mistakes to avoid with laminate flooring?
The most frequent errors include skipping acclimation, installing over an uneven subfloor, failing to leave a perimeter expansion gap, and laying planks without staggering the end joints. Ignoring moisture in the subfloor and forcing planks together with excessive force can also cause damage. Taking time to check flatness and moisture before starting prevents most of these problems.
Laminate flooring can give a Southampton home a durable, good-looking floor, but the details matter. If you'd like help choosing a moisture-resistant product or getting a fitting quote, reach out to Hamptons Carpet One Floor & Home today.