 How-to
How to Replace Damaged Boards in Old Floors
Table of Contents
- Tools and Materials You'll Need for Board Replacement
- Safety Precautions and Protective Gear
- Identifying and Assessing Damage in Old Hardwood Floors
- How to Remove Tongue and Groove Flooring
- Cutting and Fitting Your Replacement Board
- Matching Old Hardwood Floor Stain and Finish
- Cost to Replace Hardwood Floor Boards and Budget Planning
- Installing the New Board and Securing It Properly
Last Updated: August 7, 2026
Replacing a damaged board in an old floor requires careful assessment, proper tools, and patience, but it's absolutely achievable for a dedicated homeowner. This guide covers how to replace damaged boards in old floors step-by-step, from identifying the damage through securing your replacement board and matching the finish.
The most common damage patterns in older hardwood floors are moisture-related warping, deep gouges or dents, cupping from humidity changes, and localized rot. Before you start, you need to understand whether you're dealing with solid hardwood or engineered flooring, since the removal and installation techniques differ. You'll also need to source a matching board, a challenge with vintage wood that has specific grain patterns, color variation, and patina that newer lumber won't replicate.
Tools and Materials You'll Need for Board Replacement
Replacing a damaged board requires precision tools and protective gear. For extraction, you'll need a pry bar, wood chisel, and hammer for separating tongue and groove joints. For cutting, use a circular saw with a fine-toothed blade or an oscillating multi-tool with a blade attachment. A finish nailer enables blind nailing through the tongue, and a sanding block with 120-grit, 150-grit, and 220-grit sandpaper smooths the new board. You'll also need wood glue, painter's tape, wood stain in your floor's color, polyurethane, and wood filler for gaps.
Safety gear is non-negotiable: safety glasses, a dust mask or respirator, work gloves, and hearing protection if using power tools. Have a headlamp or work light ready, as old floors often sit in dim corners where visibility is poor.
Safety Precautions and Protective Gear
Working on hardwood flooring involves dust, sharp tools, and potential exposure to old finishes that may contain harmful substances. Wear safety glasses whenever using chisels, pry bars, or power tools. A dust mask rated N95 or better is essential when sanding, and a full respirator is advisable if your floor was finished before 1980.
Work gloves protect your hands from splinters and sharp edges. Hearing protection becomes necessary if you're using a circular saw or oscillating multi-tool for extended periods. Keep your work area well-ventilated, particularly when applying stain or polyurethane.
Before you begin, confirm that the subfloor beneath the damaged board is sound. If you find soft spots, water damage, or mold, the subfloor needs repair before you install a new board.
Identifying and Assessing Damage in Old Hardwood Floors
Run your hand across the damaged area and look for soft spots that indicate rot or water damage. Press with your fingernail; if it leaves an indentation, the wood has deteriorated beyond surface-level damage. Check the edges of the board: if they're cupped (edges higher than the center), moisture has caused dimensional change, and the board likely needs replacement.
For cosmetic damage like gouges or dents, assess whether the damage penetrates below the finish into the wood itself. Surface scratches can sometimes be sanded and refinished without replacing the board. Deep gouges that affect structural integrity warrant replacement.
Examine the tongue and groove joints on either side of the damaged board. If they're cracked, splintered, or warped, removal will be more difficult. Check whether your floor is solid hardwood or engineered flooring by looking at an exposed edge; engineered flooring has a plywood or high-density fiberboard core with a thin hardwood veneer.
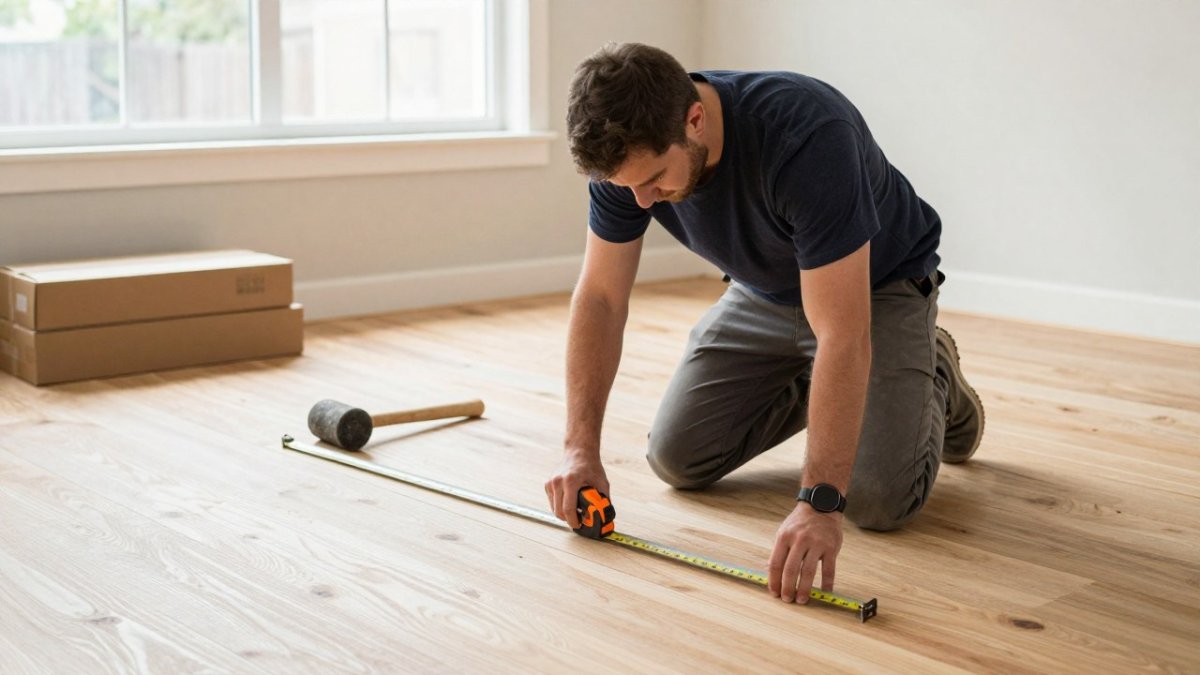
Measure the board's length, width, and thickness. For old floors, thickness is often 3/4 inch, though some run 5/8 inch. Width varies from 2 1/4 inches to 3 1/4 inches or wider. These measurements are critical for sourcing a replacement that fits properly.
How to Remove Tongue and Groove Flooring
Removing the damaged board is the most delicate step. Start by using your oscillating multi-tool or circular saw to cut the board lengthwise down its center, making two parallel cuts about 2-3 inches from each edge. This prevents you from accidentally cutting into the tongue and groove joints of adjacent boards.
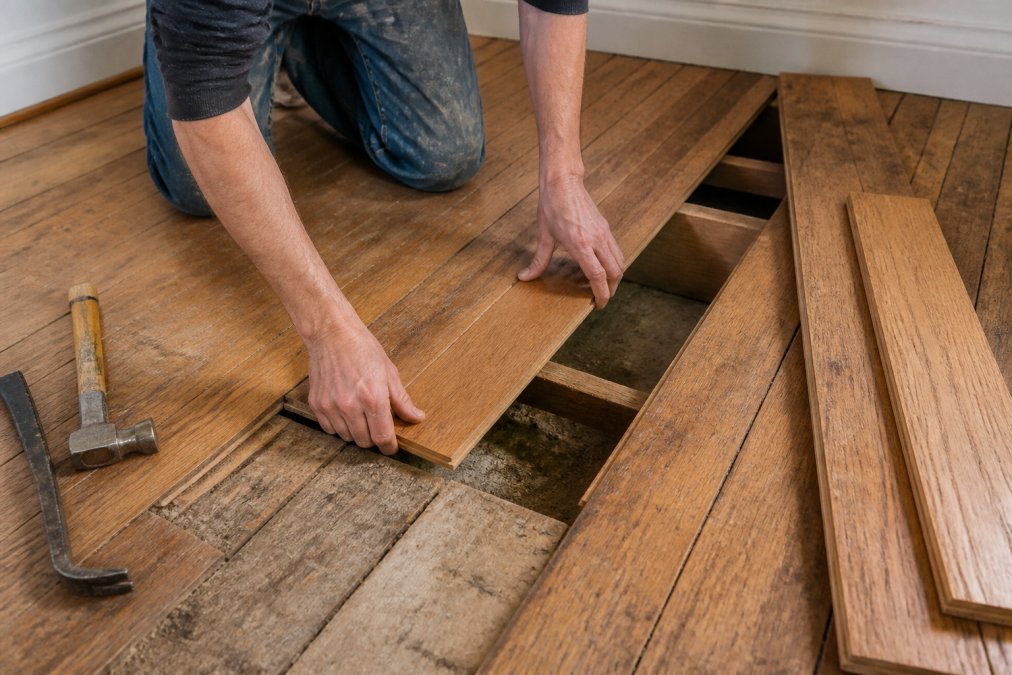
Next, make crosswise cuts near the ends of the board, about 6-12 inches from each end. These cuts divide the board into manageable sections. Use your pry bar and wood chisel to carefully lift and extract each section, working slowly from the center cut toward the edges. If you feel resistance, stop and reassess; forcing the board risks splitting adjacent planks or damaging the subfloor.
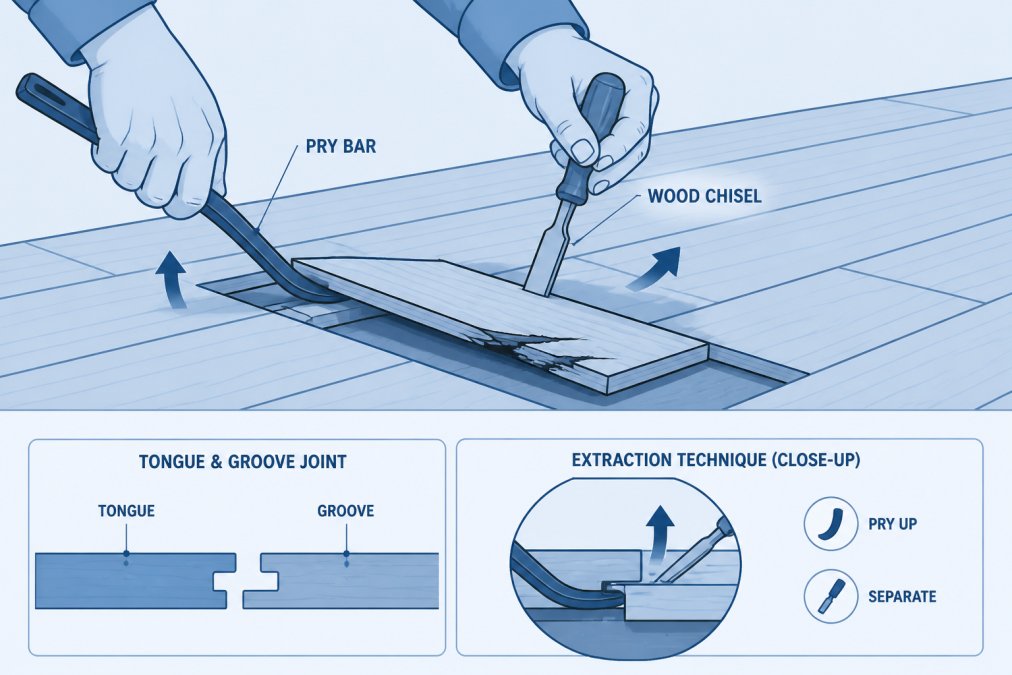
Once you've removed the main sections, use your chisel to carefully remove any remaining tongue or groove material stuck to the adjacent boards. Inspect the subfloor as you work. If it's wet, discolored, or soft, allow it to dry before proceeding. If there's mold or severe rot, you'll need to replace that section of subfloor as well.
Cutting and Fitting Your Replacement Board
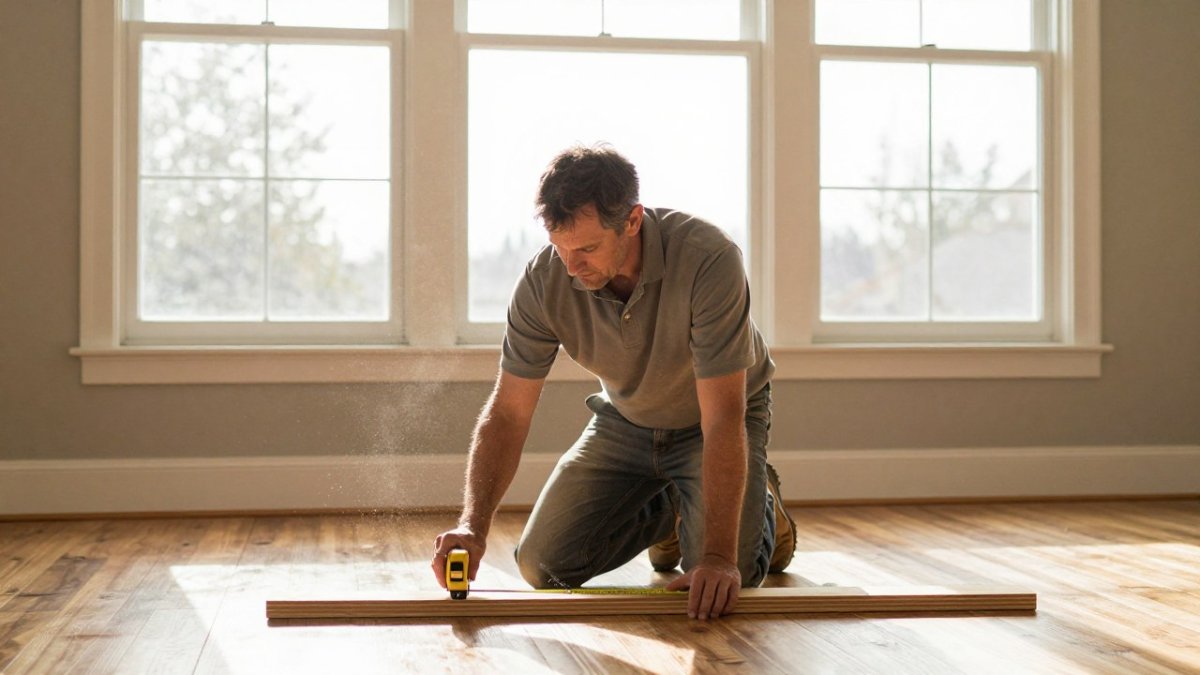
Measure your opening carefully: length, width, and the depth of the tongue and groove on all sides. Your replacement board must fit snugly without forcing. If your opening is slightly irregular, you may need to shim the subfloor or undercut your replacement board slightly.
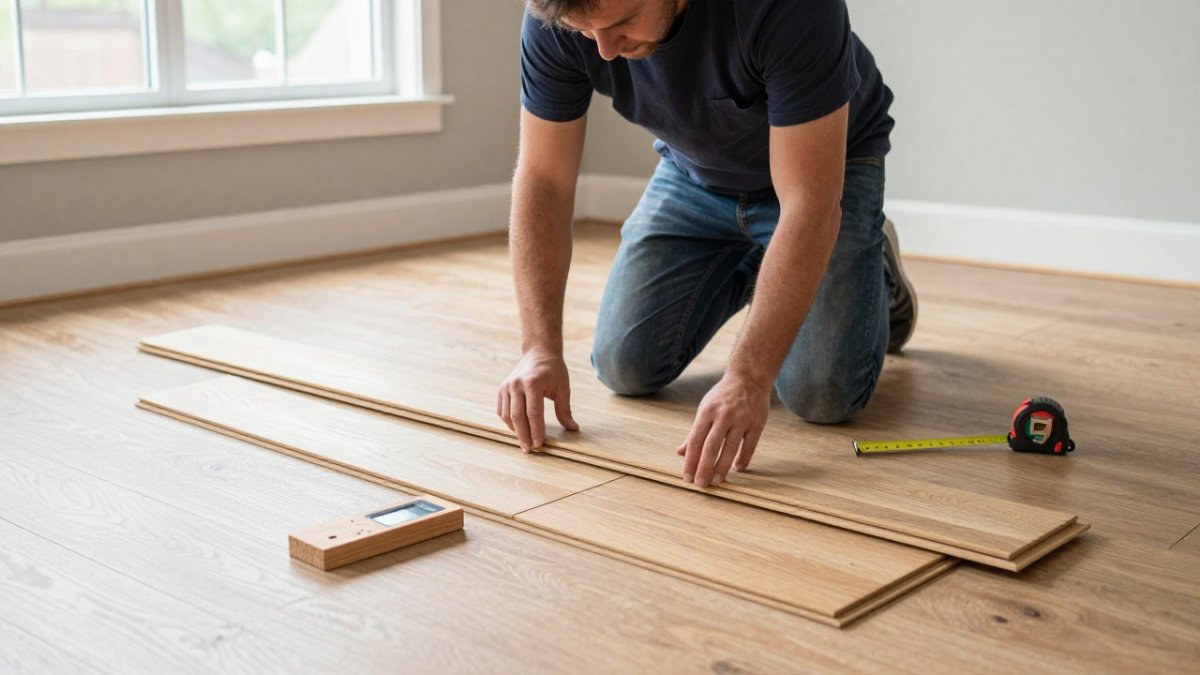
Use your circular saw to cut the replacement board to length. If the board has a tongue on one end and a groove on the other, you may need to remove the tongue from one end so the board can slide into place. Use your oscillating multi-tool to carefully cut away the tongue, leaving the groove intact. Test-fit the board in the opening before you commit to the final cut.
For boards near walls or obstacles, you may need to undercut the tongue, a technique where you cut away part of the tongue's underside so the board can slide over the adjacent board's groove without the tongue catching.
Sand your replacement board with 120-grit sandpaper to remove any mill marks or rough edges. Pay special attention to the edges and ends, which are often rougher than the face.
Matching Old Hardwood Floor Stain and Finish
New lumber, even if it's the same species as your old floor, has a different color and patina. Your goal is to match the stain and finish so the replacement board blends seamlessly.
Start by identifying your floor's stain color and finish type. Look at an inconspicuous area, under a rug or in a closet, and note the color depth and undertone. Determine the finish: is it a satin polyurethane, glossy, or oil-based coating? Satin finishes are most common on older floors.
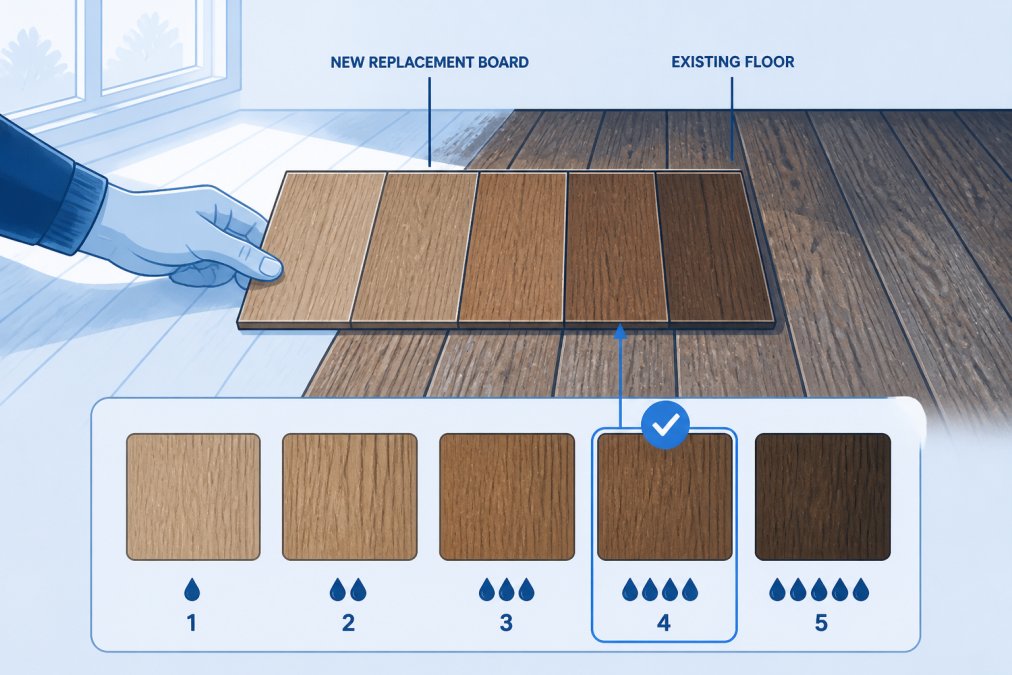
Visit a flooring supplier and request stain samples in colors that match your floor. Bring a sample of your old floor if possible. Apply the stain samples to your replacement board and let them dry completely before comparing in natural daylight, not under artificial light.
Once you've matched the stain color, sand your replacement board with 220-grit sandpaper. Wipe away all dust with a tack cloth. Apply wood conditioner if you're using a water-based stain. Apply your stain according to the manufacturer's instructions, typically one coat, and allow it to dry completely before applying finish.
For the polyurethane finish, use the same type (water-based or oil-based) as your existing floor. Apply one thin coat, allow it to dry, then lightly sand with 220-grit sandpaper. Apply a second coat. Matching the sheen is as important as matching the color.
Cost to Replace Hardwood Floor Boards and Budget Planning
The cost to replace hardwood floor boards varies depending on the board's size, wood species, whether you're using new or reclaimed lumber, and whether you're doing the work yourself or hiring a contractor.
If you're doing the work yourself, a single replacement board typically costs between $15 and $50 for new lumber. Reclaimed lumber to match vintage floors can run $100 to $300 per board. Stain and polyurethane for a single board cost $20 to $40 total. Tools like a pry bar, chisel, and sanding block are one-time investments, adding $50 to $150 to your initial cost.
If you're hiring a contractor, the cost typically ranges from $200 to $600 per board for labor and materials combined, depending on the board's location and the difficulty of sourcing a match. For specific pricing and to discuss your project, please contact Hamptons Carpet One Floor and Home directly.
Installing the New Board and Securing It Properly
Once your replacement board is cut, fitted, and finished, slide it into place carefully, ensuring the tongue engages fully with the groove of the adjacent board. Use your finish nailer to blind-nail the board through the tongue at a 45-degree angle, driving nails every 6-8 inches along the length. At the end of the board, you may need to face-nail and countersink the nail, filling the hole with matching wood filler.
If you're concerned about the board shifting, apply a small amount of wood glue to the tongue and groove joints before installation. Wipe away any excess glue immediately.
Allow any wood glue or filler to dry completely before walking on the floor. Once cured, your replacement board should feel solid and stable, blending seamlessly with the surrounding floor.
Replacing a damaged board in old floors is achievable if you take time to identify the damage correctly, source a matching board, and blend the stain and finish carefully. The difference between a visible repair and an invisible one comes down to patience and attention to detail. Hamptons Carpet One Floor and Home serves homeowners throughout Suffolk County and can help you source authentic replacement boards for historic properties. Contact us for guidance on your specific floor type and damage pattern.
Frequently Asked Questions
How much does it cost to replace a single damaged hardwood floor board?
The cost to replace hardwood floor boards varies based on the wood species, board size, whether you hire a professional, and local labor rates. Material costs for a single replacement board typically range from $15 to $50, but professional installation labor can add significantly to the total. Sourcing matching reclaimed lumber for older homes may increase costs. Contact Hamptons Carpet One Floor and Home for a detailed quote based on your specific floor type and damage.
Can I replace just one damaged board in an old hardwood floor myself?
Yes, you can replace a single board if you have basic carpentry skills and the right tools. The process involves identifying the damage, removing the damaged board using a pry bar and wood chisel, cutting a replacement to fit, and securing it with blind nailing or adhesive. However, matching the stain and finish to your existing floor requires patience and testing. If your floor has tongue and groove joints or is near walls, the job becomes more complex. Consider professional help if you're uncomfortable with any step.
How do I match the finish on a replacement floor board to my old hardwood?
Matching old hardwood floor stain requires careful observation and testing. First, identify your original wood species and stain color by examining unexposed areas. Purchase stain samples and test them on scrap wood of the same species. Apply the stain, let it dry completely, and hold it against your existing floor in natural light. You may need to blend multiple stain colors to match the patina and grain of vintage wood. Once matched, apply the same polyurethane finish your original floor has, sanding lightly between coats for a seamless blend.
What's the difference between repairing and replacing damaged hardwood floor boards?
Repair involves fixing the board in place using wood filler, sanding, and refinishing for minor surface damage or small dents. Replacement is necessary when the board has deep moisture damage, rot, cupping, or structural compromise that affects the subfloor. Moisture damage and expansion issues typically require full board replacement to prevent future problems. If damage is limited to the surface finish, repair is faster and cheaper. If the wood itself is compromised, replacement is the only lasting solution.
This article was written using GrandRanker