 How-to
How to Transition LVP to Carpet: A Step-by-Step Guide
Table of Contents
- Understanding LVP to Carpet Height Differences
- Tools and Materials You'll Need for the Transition
- Preparing Your Subfloor and Measuring the Gap
- Choosing the Best Transition Strips for LVP to Carpet
- Step-by-Step Installation Process
- Common Installation Mistakes and How to Avoid Them
- Long-Term Maintenance for Your LVP-to-Carpet Transition
- Conclusion
Last Updated: August 23, 2026
Transitioning luxury vinyl plank flooring to carpet requires precision, the right materials, and a clear understanding of how height differences affect the finished product. According to ConsumerAffairs flooring industry statistics, luxury vinyl tile sales jumped from 17% of the market in 2022 to 26% in 2023, making LVP one of the most installed hard surface options. That surge means more homeowners face the challenge of transitioning LVP to carpet seamlessly. At Hamptons Carpet One Floor & Home, we've guided countless homeowners through this process, and the difference between a professional result and a disappointing one often comes down to understanding the technical details before installation begins.
Understanding LVP to Carpet Height Differences
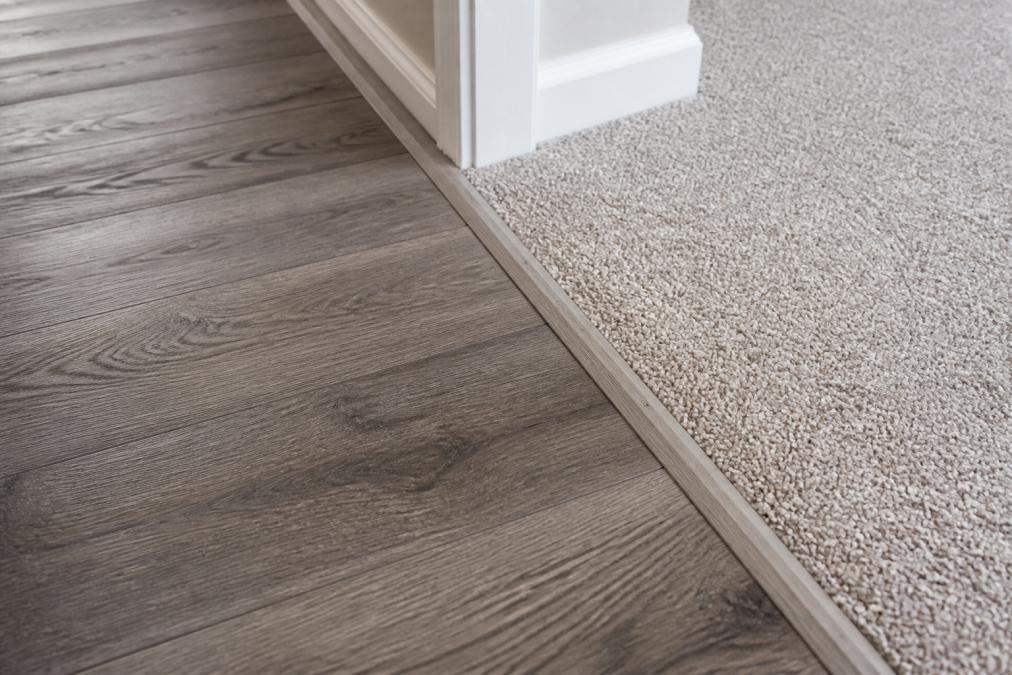
The height difference between luxury vinyl plank and carpet is the single most important factor determining which transition method you'll use. LVP sits directly on the subfloor, while carpet sits on top of padding, which adds thickness underneath. Standard LVP thickness ranges from 4mm to 6mm, while carpet combined with its padding typically adds 1 to 1.5 inches of height. That means your transition area could have a height difference anywhere from half an inch to over an inch, determining whether you need a reducer strip (which slopes downward), a T-mold (which sits flush between two floors of equal height), or an end cap (which covers the raw edge of the LVP).
In older homes or those with uneven subfloors, a subfloor high spot or dip greater than 3/16 inch over a 10-foot span will telegraph through LVP and create visible humps or valleys in your carpet (lvpinstallationguide.com). This is where proper preparation becomes critical.
Tools and Materials You'll Need for the Transition
Essential Tools:
- Tape measure (25-foot minimum)
- Carpenter's level (4-foot is ideal for checking subfloor flatness)
- Circular saw or miter saw (for cutting LVP end caps and trim)
- Utility knife (for trimming carpet and undercutting door jambs)
- Knee kicker (for stretching and positioning carpet)
- Power stretcher (for larger areas; consider renting if you don't own one)
- Hammer and nail set
- Tack strip installation tool or pneumatic nailer
- Shims (wood or plastic, for leveling high spots)
Materials You'll Need:
- Transition strip (T-mold, reducer, or end cap)
- Tack strips (also called gripper bars)
- Carpet padding (typically 6 to 8 pounds per cubic yard)
- Carpet seam sealer (if your carpet run requires seaming)
- Shims for subfloor leveling
- Adhesive or fasteners appropriate to your transition strip type
Preparing Your Subfloor and Measuring the Gap
Subfloor preparation determines whether your transition will be smooth or problematic. Start by removing any existing flooring in the transition area and vacuuming thoroughly to remove dust and debris. Inspect the subfloor for moisture; if you detect dampness, address it before proceeding.
Checking for Subfloor Unevenness
Use a 4-foot level to check the subfloor across the entire transition area. Any gap larger than 1/8 inch indicates a low spot; any hump indicates a high spot. Mark all high and low spots with chalk or a marker. High spots must be sanded down; low spots should be filled with self-leveling compound or shimmed up to match the surrounding surface.
For minor high spots (under 1/4 inch), use a belt sander to grind down the subfloor gradually. For larger issues, consider removing a section of the subfloor and replacing it, or use self-leveling concrete if you have a concrete subfloor. Shims work best for bringing low spots up to level, tap shims under the LVP planks at the transition point until the surface is flush.
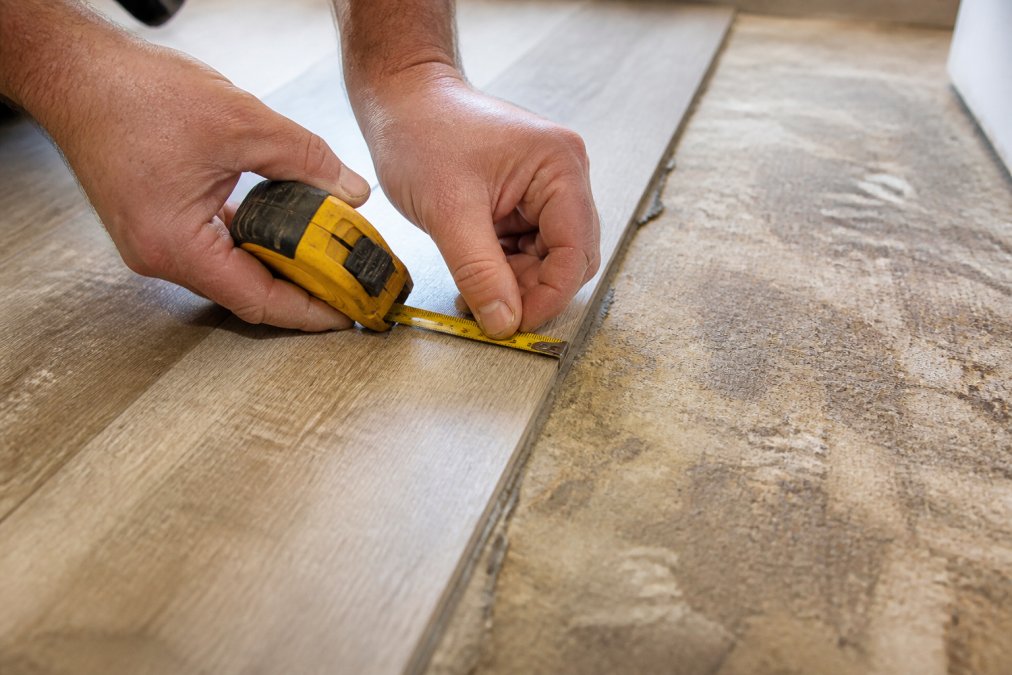
Once the subfloor is level, measure the height difference between the LVP surface and where the carpet will sit. A difference of 1/2 inch or less typically calls for a T-mold; anything greater requires a reducer strip that slopes down to the carpet level.
Choosing the Best Transition Strips for LVP to Carpet
Your transition strip choice affects both the aesthetics and durability of your flooring transition.
T-Molding vs. Reducer Strips vs. End Caps
T-Molding is designed for transitions between two flooring surfaces of the same height. It works well when your LVP and carpet sit at nearly identical heights, which is rare in most installations.
Reducer strips slope downward from the higher surface to the lower one, creating a gentle ramp. This is the most common choice for LVP-to-carpet transitions because it accommodates height differences gracefully. Reducers come in aluminum, vinyl, or laminate, with aluminum being the most durable for high-traffic areas and coastal environments.
End caps cover the raw edge of the LVP while allowing the carpet to tuck underneath. End caps work best when you're tucking carpet directly to the LVP without using a full transition strip. The market is shifting toward self-adhesive, user-friendly transition products that appeal to DIY installers.
Aesthetic vs. Functional Considerations
A transition strip that matches your LVP color creates a seamless look, while a contrasting strip can define the boundary between spaces. Consider the finish as well, wood-grain finishes blend naturally with warm-toned LVP and most carpet colors, while metallic finishes feel more contemporary. Matte finishes hide dust and footprints better than glossy ones.
Step-by-Step Installation Process
Undercutting Door Jambs
Before installing the transition strip, undercut door jambs so the carpet and padding can slide underneath smoothly. Use a handsaw or oscillating multi-tool with a metal-cutting blade, setting the blade height to match the thickness of your carpet plus padding (typically 1 to 1.5 inches). Make multiple passes rather than forcing the blade, and test-fit the carpet before final installation.
Installing Tack Strips and Carpet Padding
Install tack strips (gripper bars) around the perimeter of the room, leaving a 1/4 inch expansion gap from the wall. At the transition area, position the tack strip 1/4 inch away from the LVP edge. Secure tack strips with ring-shank nails or construction adhesive, spacing fasteners 12 inches apart for wood subfloors, 6 inches apart for concrete.
Once tack strips are secure, lay carpet padding over the entire area. Trim the padding so it meets the tack strip but doesn't overlap the LVP or extend into the transition area. Staple or glue the padding to the subfloor according to manufacturer instructions.
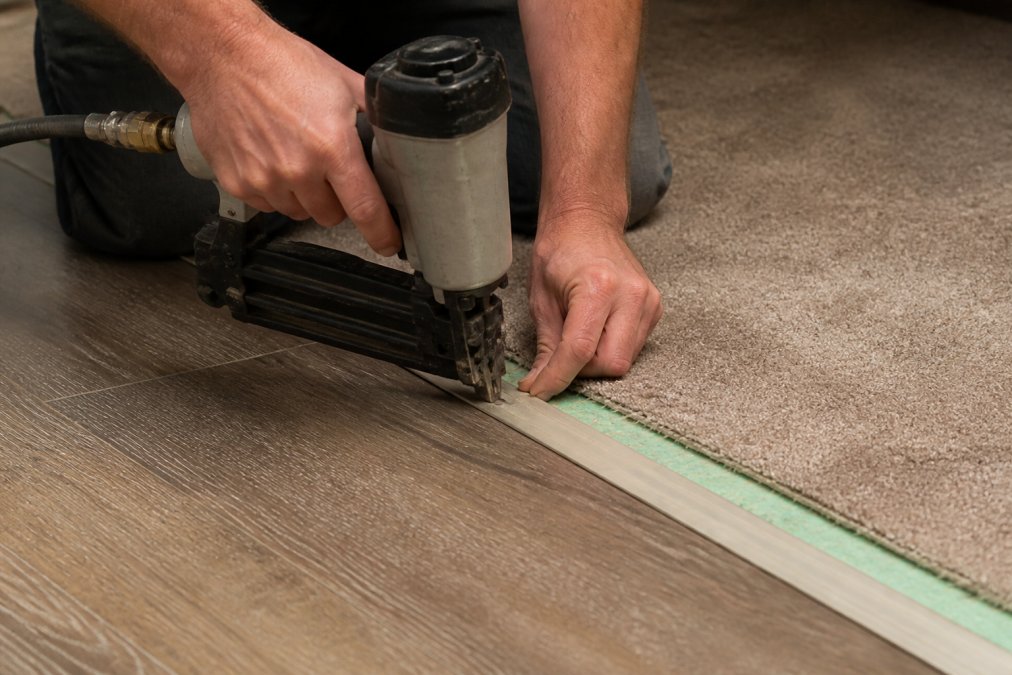
Stretching and Securing the Carpet
Carpet must be stretched to remove wrinkles and ensure even contact with the tack strips. Use a power stretcher to pull the carpet taut across the room, starting from one corner and working toward the transition area. Once stretched, trim the excess carpet and tuck the edge into the tack strip or under the transition strip. Seal any seams with seam sealer according to the carpet manufacturer's specifications.
Common Installation Mistakes and How to Avoid Them
Skipping subfloor preparation is the most common mistake. An uneven subfloor causes the transition strip to sit unevenly and the carpet to settle over time. Always check flatness with a level and address high spots or low spots before installation.
Installing the transition strip too high or too low creates a tripping hazard or allows the carpet edge to fray. The transition should sit flush with both the LVP and carpet surfaces.
Insufficient carpet stretch leads to wrinkles and premature wear. Use a power stretcher for any room larger than 100 square feet.
Ignoring expansion gaps allows the LVP to buckle when it expands in humid conditions. A 1/4 inch expansion gap is generally recommended for floating floors like LVP.
Using the wrong fasteners or adhesive for your subfloor type can cause transition strips to loosen or fail. Match fasteners to your subfloor: ring-shank nails for wood, powder-actuated fasteners for concrete.
Long-Term Maintenance for Your LVP-to-Carpet Transition
Vacuum the transition area weekly to prevent dirt and sand from accumulating underneath the carpet edge. Inspect the transition strip quarterly for signs of movement, loosening, or damage, and tighten fasteners immediately if they've loosened.
For self-adhesive transition strips, check the adhesive bond periodically. If the strip begins to lift at edges, clean the surface thoroughly and apply additional adhesive appropriate to the strip material. Carpet tucking may need adjustment over time as the carpet settles, if you notice the carpet edge pulling away from the tack strip or transition area, re-tuck it firmly.
Conclusion
Transitioning LVP to carpet successfully requires understanding height differences, choosing the right transition strip, and executing installation with precision. Whether you're managing this project yourself or hiring a professional, the steps outlined here ensure a durable, attractive result that will serve your home for years.
If you're ready to tackle this project and want expert guidance tailored to your specific flooring situation, Hamptons Carpet One Floor & Home can help. We carry a full range of transition strips, carpet padding, and installation materials, and our team understands the unique challenges of coastal properties and older homes. Contact us for a consultation and let's get your flooring transition right the first time.
=== FAQ ANSWERS (audit these too, same rules) ===
[1] Q: What is the best way to transition from LVP to carpet? A: The best approach depends on your height differential and traffic level. Start by measuring the gap between LVP and carpet, standard LVP thickness ranges from 4mm to 6mm. Use a reducer strip if the carpet sits higher than the LVP, or a T-molding for same-height transitions. Ensure your subfloor is level (no dips greater than 3/16 inch over 10 feet), install tack strips 1/4 inch away from the LVP edge, and use a knee kicker to stretch the carpet properly. Secure the carpet edge with tucking or seam sealer for durability.
[2] Q: Do I need a transition strip for LVP to carpet transitions? A: A transition strip is highly recommended for both safety and aesthetics. Without one, you create a tripping hazard and expose the carpet edge to fraying. Transition strips reduce foot traffic damage, create a polished look, and can last years with proper maintenance. Some installers tuck carpet directly to LVP with careful edge preparation, but this requires precision and leaves the carpet vulnerable. A quality transition strip is worth the investment for durability and peace of mind.
[3] Q: How do you handle an uneven subfloor when transitioning LVP to carpet? A: An uneven subfloor is one of the most common installation problems. Any high spot or dip greater than 3/16 inch over a 10-foot span will telegraph through LVP and create visible bumps. Use shims to level high spots before installing tack strips. For dips, you may need self-leveling compound or additional underlayment. A professional inspection during the preparation phase catches these issues before they cause problems. Skipping this step often leads to visible defects and premature wear in both the LVP and carpet.
[4] Q: What tools do I need to transition LVP to carpet? A: Essential tools include a tape measure, knee kicker (for stretching carpet), power stretcher (for larger areas), tack strips, transition strip or end cap, shims, a utility knife for trimming carpet and undercutting door jambs, carpet padding, seam sealer, and a mallet. You'll also need a straightedge to check subfloor flatness. For DIY installations, renting a power stretcher is often more cost-effective than buying one. Professional installers have specialized equipment that ensures proper tension and a secure, long-lasting result.
Frequently Asked Questions
What is the best way to transition from LVP to carpet?
The best approach depends on your height differential and traffic level. Start by measuring the gap between LVP and carpet, standard LVP thickness ranges from 4mm to 6mm. Use a reducer strip if the carpet sits higher than the LVP, or a T-molding for same-height transitions. Ensure your subfloor is level (no dips greater than 3/16 inch over 10 feet), install tack strips 1/4 inch away from the LVP edge, and use a knee kicker to stretch the carpet properly. Secure the carpet edge with tucking or seam sealer for durability.
Do I need a transition strip for LVP to carpet transitions?
A transition strip is highly recommended for both safety and aesthetics. Without one, you create a tripping hazard and expose the carpet edge to fraying. Transition strips reduce foot traffic damage, create a polished look, and can last years with proper maintenance. Some installers tuck carpet directly to LVP with careful edge preparation, but this requires precision and leaves the carpet vulnerable. A quality transition strip is worth the investment for durability and peace of mind.
How do you handle an uneven subfloor when transitioning LVP to carpet?
An uneven subfloor is one of the most common installation problems. Any high spot or dip greater than 3/16 inch over a 10-foot span will telegraph through LVP and create visible bumps. Use shims to level high spots before installing tack strips. For dips, you may need self-leveling compound or additional underlayment. A professional inspection during the preparation phase catches these issues before they cause problems. Skipping this step often leads to visible defects and premature wear in both the LVP and carpet.
What tools do I need to transition LVP to carpet?
Essential tools include a tape measure, knee kicker (for stretching carpet), power stretcher (for larger areas), tack strips, transition strip or end cap, shims, a utility knife for trimming carpet and undercutting door jambs, carpet padding, seam sealer, and a mallet. You'll also need a straightedge to check subfloor flatness. For DIY installations, renting a power stretcher is often more cost-effective than buying one. Professional installers have specialized equipment that ensures proper tension and a secure, long-lasting result.
This article was written using GrandRanker