 Comparison
Is Engineered Wood Flooring Worth It for Kitchens?
Table of Contents
- What Makes Engineered Wood Flooring Different
- Pros and Cons of Wood Floors in Kitchens
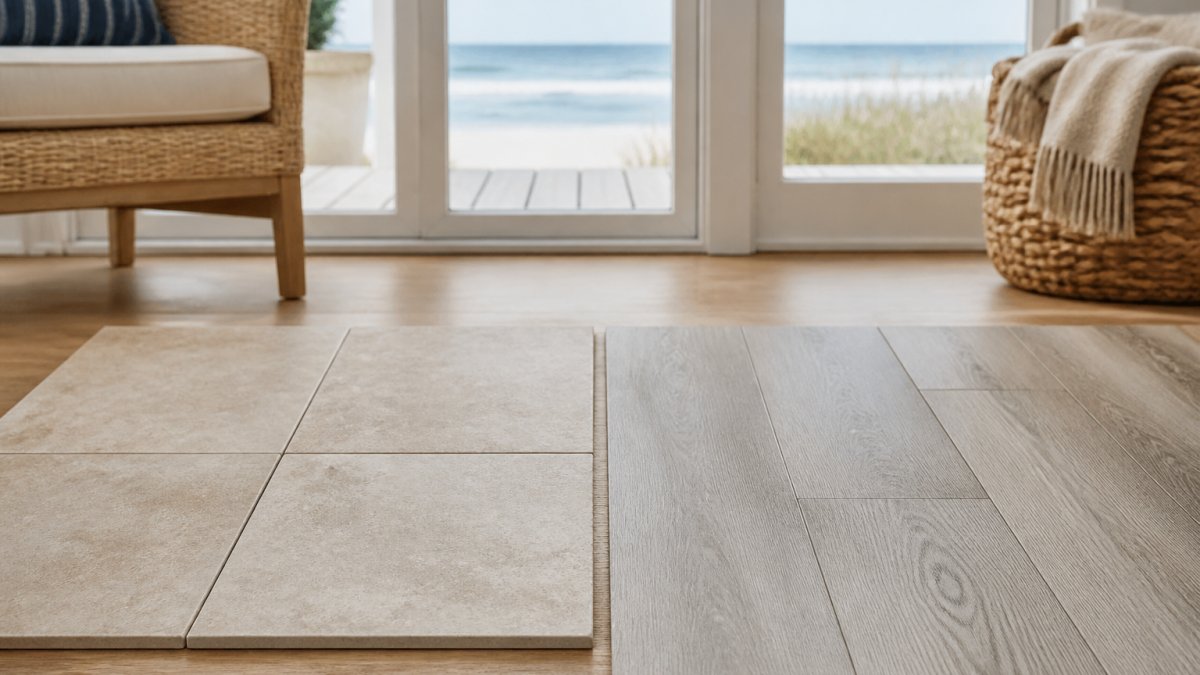
- Engineered Hardwood vs Solid Hardwood for Kitchens
- Moisture Resistance and Dimensional Stability in Kitchen Environments
- Engineered Wood Flooring Maintenance Tips for Kitchens
- Installation Methods and Subfloor Requirements for Kitchens
- Impact on Home Resale Value
- Frequently Asked Questions
Last Updated: September 12, 2026
What Makes Engineered Wood Flooring Different
Engineered wood flooring is a layered product built from a plywood core topped with a thin slice of real hardwood veneer. That construction is the entire reason it behaves differently in a kitchen than a solid plank. According to Consumer Reports' 2026 flooring testing, the substrate makes individual planks less susceptible to environmental swings than solid wood, which matters most in rooms with running water and daily temperature shifts.
Homeowners weighing a kitchen renovation often ask this constantly. The short answer: yes, engineered wood flooring is worth it for kitchens in most cases, if you understand how it handles moisture.
Plywood Core and Hardwood Veneer Construction
The plywood core is cross-layered, each ply perpendicular to the one below it. That cross-grain structure resists the expansion and contraction that cups and warps solid wood, while the hardwood veneer delivers the authentic grain buyers want.
Pros and Cons of Wood Floors in Kitchens
The pros and cons of wood floors in kitchens come down to beauty versus water exposure: warmth, resale value, and foot-traffic performance against a floor that needs spill protection and maintenance.
Pros:
- Authentic aesthetic that synthetic alternatives struggle to match
- Strong resale value, with hardwood and engineered hardwood installations returning 70-80% ROI (McMillan Floors' 2026 ROI analysis)
- Handles heat and heavy foot traffic better than solid wood
Cons:
- Susceptible to finish damage and water intrusion near the sink and dishwasher (Houzz's 2026 kitchen flooring guidance)
- Thin wear layers on budget products limit refinishing potential
- Requires consistent spill protection and a cleaning routine
Engineered Hardwood vs Solid Hardwood for Kitchens
Engineered hardwood wins for kitchens in nearly every scenario involving moisture. Solid hardwood is a single piece of wood, so it moves with humidity and reacts more dramatically to spills; engineered planks resist that movement because the plywood core counteracts it.
| Factor | Engineered Hardwood | Solid Hardwood |
|---|---|---|
| Dimensional stability | High, cross-grain core | Lower, moves with humidity |
| Moisture resistance | Better for kitchens | Poor near water sources |
| Refinishing potential | Limited by wear layer | Multiple times over decades |
| Installation method | Floating, glue-down, staple | Nail-down only |
| Best for | Kitchens, basements, concrete slabs | Living rooms, dry areas |
Solid hardwood still makes sense in dry, low-traffic rooms where you want a floor you can sand and refinish for decades. In a kitchen, that advantage rarely outweighs the moisture risk.
Moisture Resistance and Dimensional Stability in Kitchen Environments
Moisture resistance and dimensional stability are where engineered wood earns its place in a kitchen. The cross-layered core absorbs far less seasonal movement than solid wood, so planks stay flat through summer humidity and winter heating cycles.
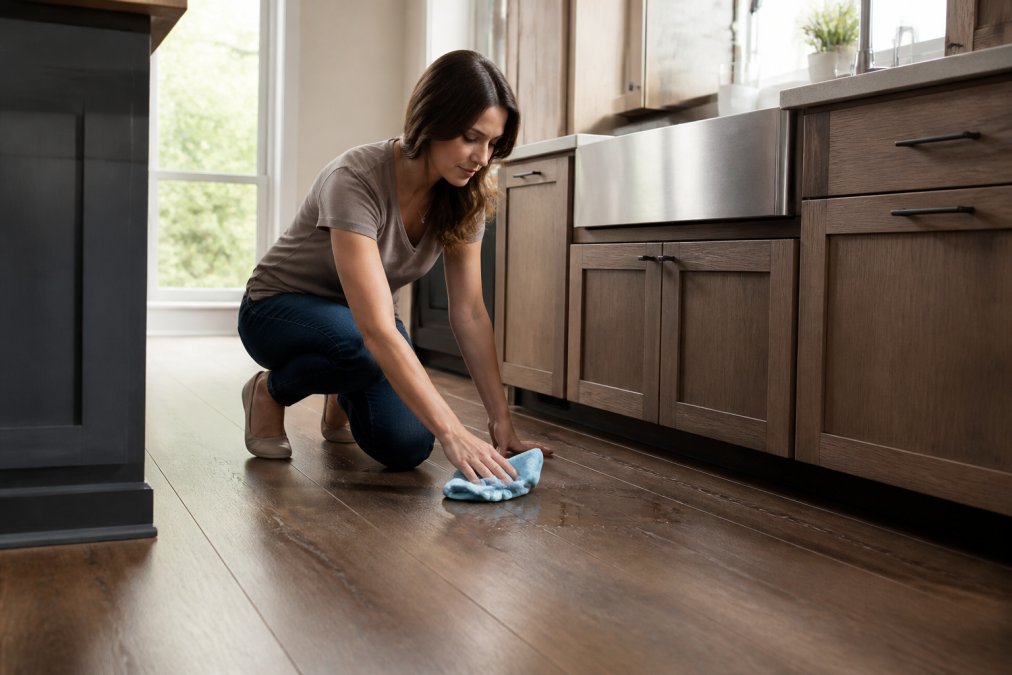
How Engineered Wood Handles Spills, Humidity, and Temperature Fluctuations
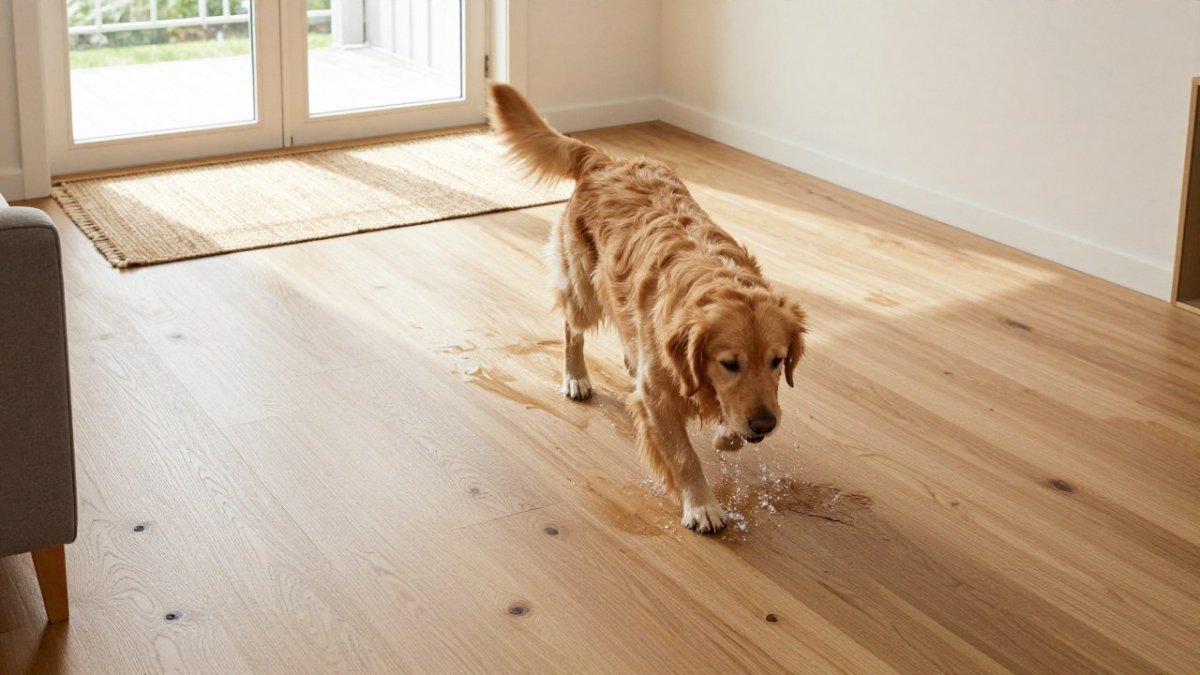
Standing water is still the enemy. Engineered planks tolerate spills you wipe up promptly, but water that sits at seams can seep into the core and cause cupping or delamination. Humidity swings near a dishwasher or refrigerator stress any wood floor.
Engineered Wood Flooring Maintenance Tips for Kitchens
Engineered wood flooring maintenance tips for kitchens start with one rule: deal with water immediately. Wipe spills within minutes, use mats at the sink and dishwasher, and keep indoor relative humidity steady. The difference between a floor that lasts 20 years and one that fails in five is how fast you catch the water you never see.
Daily Cleaning and Spill Protection Routine
A simple daily routine keeps a kitchen floor looking new for years:
- Sweep or vacuum with a soft brush to remove grit before it scratches the finish
- Wipe spills within minutes using a damp microfiber cloth, never a soaked mop
- Place a water-absorbent mat at the sink, dishwasher, and refrigerator
- Run a dehumidifier or maintain steady indoor humidity in coastal homes
- Avoid steam mops and standing water, which force moisture into the seams
Tracked-in sand acts like sandpaper on any finish, so a doormat at every entry and regular sweeping protect the wear layer more than any product. Keep indoor relative humidity in the 35-55% range year-round; below that, plank edges shrink and open seams, and above it, the core swells. A $15 hygrometer tells you more about your floor's risk than any cleaning spray.
The Failures Nobody Warns You About
Here is what actually goes wrong in kitchens, in the order it typically happens:
Cupping, plank edges rise higher than the center. This is the first visible sign of moisture reaching the core from below or from a slow leak above. Cupping from a one-time spill usually reverses as the plank dries; cupping that persists after two weeks of normal humidity means the core has absorbed water permanently.
Crowning, the center rises above the edges, usually after a severe, prolonged leak where the top veneer swells faster than the core. Crowning is rarely reversible.
Delamination, the veneer layer separates from the plywood core, often visible as a lifting edge or a hollow sound when you tap the plank. Once delamination starts, that plank is done, no refinishing or sanding fix.
Gapping at seams, planks pull apart at the joints, usually a humidity problem rather than a water problem. Winter heating drops indoor humidity, planks shrink, and seams open. If the gaps close in summer, it is seasonal movement, not a defect; if they stay open year-round, the installation may have skipped an expansion gap at the perimeter.
The pattern that catches homeowners is the slow leak. A dishwasher supply line, ice maker line, or refrigerator water filter housing can drip a few ounces a day for weeks behind a cabinet toe-kick where nobody looks. By the time plank edges near the appliance cup, the subfloor underneath is often wet too. That is why the highest-value maintenance habit in a kitchen is not mopping, it is pulling the refrigerator and dishwasher out once a year and running a finger along the floor behind them.
Repairing a Single Damaged Plank
What do you do when one plank is ruined and the rest of the floor is fine?
With solid hardwood, you sand and refinish the whole room. With engineered wood, the wear layer is too thin to sand down to bare wood, so the fix is plank replacement, and a single plank can usually be replaced without tearing up the room:
- Identify the plank. Confirm it is the same thickness and profile as the surrounding floor. If you kept spare planks from the original installation, this is where they earn their storage space.
- Cut the plank out. A flooring contractor uses a circular saw set to the plank depth, or an oscillating multi-tool, to cut a rectangle out of the center of the damaged plank without cutting into the neighbors.
- Remove the cut section. Pry it up in pieces. If the floor is glued down, this takes patience and a stiff scraper.
- Prep the new plank. Trim the tongue off the replacement plank so it drops in flat, then apply construction adhesive to the back.
- Set and weight it. Press the plank into place, tap the seams tight, and weight it overnight. A face-nailed finish nail at each end hides under color-matched putty.
A single-plank repair is easier on a floating floor than a glue-down floor, but both are routine for an experienced installer. The catch is color match: engineered wood from the same product line can vary by production run, so planks bought two years later may not match. That is the strongest argument for buying 5-10% extra square footage at install time and storing it.
Installation Methods and Subfloor Requirements for Kitchens
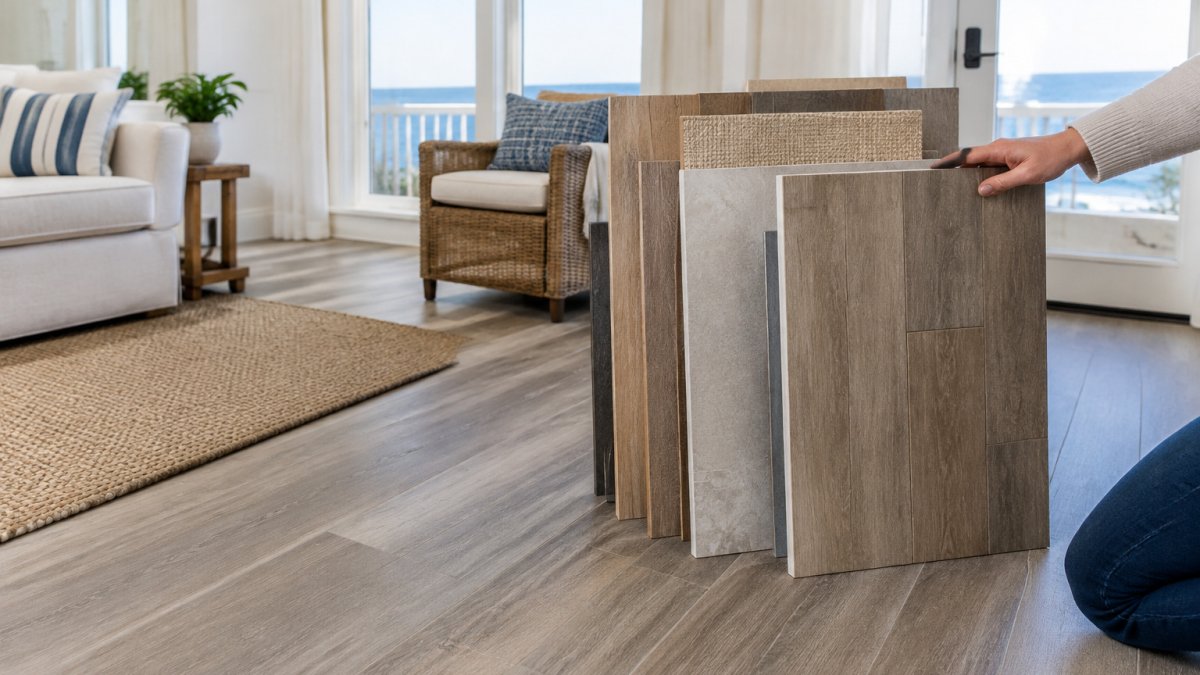
Installation method and subfloor condition decide whether a kitchen floor lasts. Engineered planks can be floated, glued down, or stapled, and concrete slabs common in coastal homes accept glue-down or floating installations that solid hardwood cannot handle. But a kitchen subfloor has different loads, moisture sources, and obstacles than a living room, and the install has to account for all three.
Choosing Between Floating, Glue-Down, and Staple-Down
Each method has a different failure mode in a kitchen; the right choice depends on your subfloor and how much water risk you will accept.
Floating, planks lock together and rest on underlayment without fasteners. Fastest and cheapest to install, and the easiest to repair a single plank later. The trade-off: a floating floor moves as a unit, so a large kitchen needs an expansion gap at every wall and cabinet base, and standing water can wick under the whole floor through the perimeter. It is the most common choice over concrete slabs and existing hard floors.
Glue-down, planks are adhered directly to the subfloor with flooring adhesive. This is the most dimensionally stable option and the best choice for kitchens with a history of moisture, because it limits how much a single plank can move and reduces the hollow sound underfoot. It is also the hardest to repair, pulling one plank means cutting it out and scraping adhesive. Glue-down is standard over concrete slabs and radiant heat.
Staple-down or nail-down, planks are fastened to a wood subfloor. This traditional method gives a solid, quiet floor, but requires plywood or OSB and does not work over concrete. In kitchens it is fine as long as the subfloor is dry and the fasteners do not penetrate a moisture barrier.
| Method | Best subfloor | Kitchen fit | Single-plank repair |
|---|---|---|---|
| Floating | Concrete, existing hard floor, plywood | Good, with perimeter gaps | Easiest |
| Glue-down | Concrete, plywood, radiant heat | Best for moisture-prone kitchens | Hardest |
| Staple/nail-down | Plywood or OSB only | Good in dry kitchens | Moderate |
Subfloor Moisture and Flatness Specs That Actually Matter
"Flat, clean, and dry" is not a spec. Here is what the numbers look like in practice:
- Flatness: Most manufacturers call for the subfloor to be flat within 3/16 inch over a 10-foot span, or 1/8 inch over 6 feet. A hump under the refrigerator or a dip near the sink will telegraph through a floating floor and open seams. Self-leveling compound fixes dips; a belt sander or grinder knocks down high spots.
- Moisture content of a wood subfloor: Typically within 2-4 percentage points of the engineered planks, measured with a pin or pinless moisture meter. A subfloor reading 14% when the planks read 8% will dry out after install and pull the floor apart.
- Concrete slab moisture: Measured with a calcium chloride test or an in-situ relative humidity probe. A common threshold is 3 lbs per 1,000 sq ft per 24 hours on the calcium chloride test, or 75-80% RH on the probe. Failing slabs need a moisture-mitigating epoxy or vapor-retarding adhesive.
- Vapor barrier: Over a concrete slab, a 6-mil polyethylene sheet or manufacturer-approved vapor-retarding underlayment goes down before the floor. Over a wood subfloor on a crawl space, the vapor barrier belongs on the crawl space ground, not under the planks.
- Underlayment: Floating floors need an underlayment with a built-in or separate vapor barrier and sound-dampening layer. Glue-down floors do not use underlayment, the adhesive bonds directly to the subfloor. Using the wrong underlayment under glue-down is a common, expensive mistake.
Kitchen-Specific Install Details
A few things come up in kitchens that do not come up in bedrooms:
Appliance cutouts and toe-kicks. The floor has to run under the dishwasher and refrigerator, not stop at the cabinet line, or the appliances sit at the wrong height and the dishwasher will not slide out for service. Plan the layout so the dishwasher opening clears the finished floor height.
Cabinet bases and expansion gaps. Floating floors need a gap at every fixed obstruction, including cabinet toe-kicks and island bases, hidden with shoe molding or quarter round. Skip it and the floor will buckle against the cabinets in the first humid season.
Sink and dishwasher moisture. The highest-risk zone is the 3 feet around the sink and the cabinet bay under the dishwasher. Some installers apply a bead of silicone at the perimeter of these zones or use a waterproof membrane under the planks there. Not standard, but cheap insurance.
Radiant heat. Glue-down engineered wood is generally compatible with radiant heat; floating is sometimes allowed with a specific underlayment; staple-down over radiant heat usually voids the warranty. Check the spec sheet before committing.
Impact on Home Resale Value
Flooring upgrades move resale value more than most homeowners expect. Home buyers are willing to pay $5,000-$6,500 more for homes with hardwood flooring, according to National Association of Realtors data via Opendoor. New flooring installations can lift overall home value by 3-5%, and hardwood specifically can return around 118% on new installations (Opendoor's 2026 home value data).
That math makes engineered wood one of the few kitchen upgrades that pays you back, and buyers touring a coastal home notice a floor that looks like real wood and holds up to beach living. The catch is repairability: a damaged engineered plank usually has to be replaced rather than refinished, so keeping spare planks from the same production run is worth the storage space.
Choosing a kitchen floor means balancing the look you want against how much water and traffic it will actually face. Choosing a kitchen floor means balancing the look you want against how much water and traffic it will actually face. We help homeowners across Suffolk County match the right engineered product to their space, from moisture-resistant cores for coastal kitchens to wear layers rated for heavy foot traffic. Our team handles subfloor prep and installation so the floor performs the way the spec sheet promises. Get started with Hamptons carpet one floor and Home and install a kitchen floor built to handle real life.
Frequently Asked Questions
What are the downsides of engineered wood flooring in kitchens?
Engineered wood flooring can still be damaged by standing water and prolonged moisture exposure, leading to cupping, warping, or delamination. Thin wear layers on some budget products limit how many times the floor can be refinished, reducing long-term durability compared to solid hardwood. Finish damage from dropped knives or heavy foot traffic is also possible. However, many of these risks are manageable with prompt spill cleanup, proper sealing, and choosing products with thicker wear layers.
Is engineered hardwood more water-resistant than solid hardwood?
Yes, engineered hardwood is generally more water-resistant than solid hardwood because its plywood core uses cross-grain construction that resists expansion and contraction from humidity changes. This dimensional stability makes engineered wood less prone to cupping and warping in kitchen environments. That said, neither option is waterproof. Standing water can still cause damage to both, so quick cleanup and a protective finish remain essential regardless of which type you choose.
How does engineered wood flooring hold up against kitchen spills?
Engineered wood flooring handles occasional spills well if you wipe them up promptly. The factory-applied wear layer, often aluminum oxide or polyurethane, provides a protective barrier against moisture reaching the wood. However, spills left standing for hours can seep into seams and cause water intrusion. In high-spill zones like around the sink or dishwasher, use mats or rugs and reseal seams periodically to extend the floor's life.
Does installing engineered wood in a kitchen affect home resale value?
Yes, engineered wood flooring can positively affect resale value. Hardwood and engineered hardwood installations deliver a 70 to 80 percent return on investment, according to McMillan Floors 2026 data. New flooring can increase overall home value by 3 to 5 percent. The National Association of Realtors also found buyers are willing to pay $5,000 to $6,500 more for homes with hardwood flooring, making it a strong choice for resale.