 Ultimate guide
Is Waterproof Laminate Safe for Bathrooms? 2026 Guide
Table of Contents
- What Waterproof Laminate Actually Means for Bathrooms
- Waterproof Laminate vs Luxury Vinyl Plank: Which Handles Bathroom Moisture Better
- How to Install Waterproof Laminate in Bathrooms: Step-by-Step
- Pros and Cons of Waterproof Laminate in Bathrooms
- When Waterproof Laminate Is the Wrong Choice for Your Bathroom
- Maintenance, Mold Prevention, and Long-Term Care
- Certification Standards and Warranty Coverage to Look For
- Frequently Asked Questions
Last Updated: September 22, 2026
What Waterproof Laminate Actually Means for Bathrooms
Waterproof laminate is a flooring product whose surface layer and click-lock joints resist moisture from spills and splashes, but it is not impervious to standing water or flooding. For a bathroom, that distinction decides everything. We field this question constantly from coastal homeowners, and the honest answer is: yes, with conditions.
Waterproof vs. Water-Resistant: The Real Difference
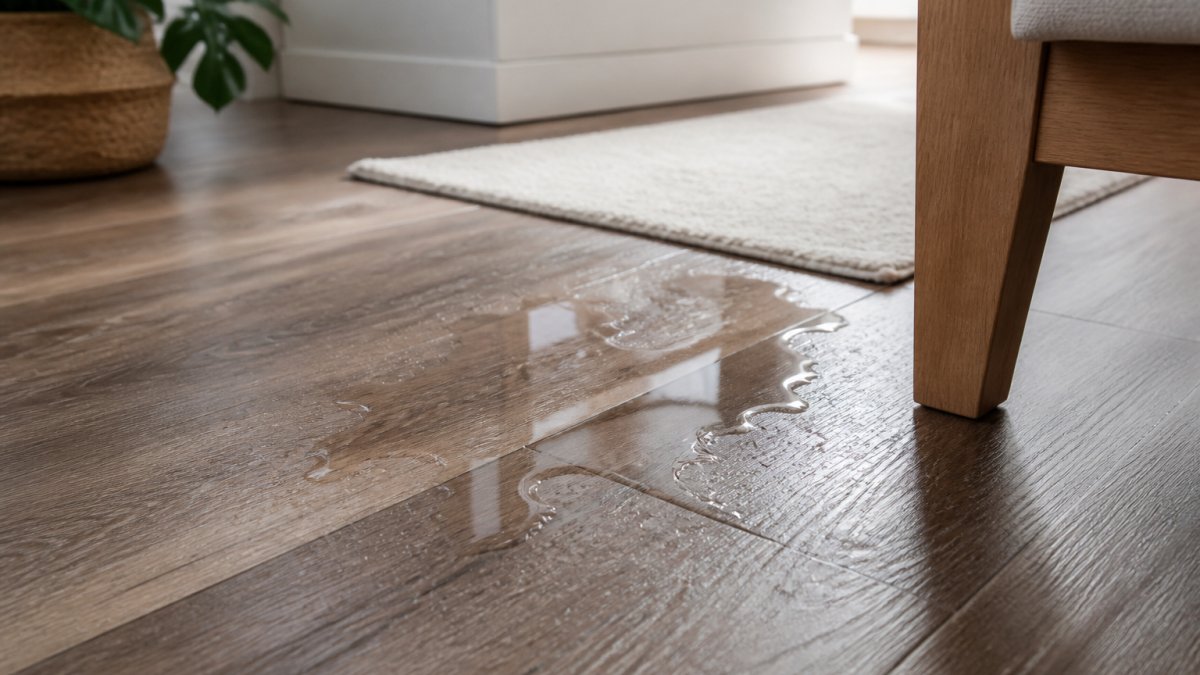
Water-resistant laminate withstands humidity and occasional damp mopping. Waterproof laminate adds a sealed surface layer and treated joints that block liquid from reaching the core for a limited window, minutes to hours, not days. A splash by the vanity is fine. A slow leak behind the toilet that goes unnoticed for a week is not.
Why the Core Material Matters More Than the Label
Most waterproof laminate still uses a wood-based high-density fiberboard core. Unlike the PVC core in vinyl, HDF cores sustain permanent damage once moisture penetrates the seams, a distinction ConsumerAffairs documented in February 2026.
Waterproof Laminate vs Luxury Vinyl Plank: Which Handles Bathroom Moisture Better
Luxury vinyl plank wins on raw moisture tolerance. Its core contains no wood fiber, so standing water poses far less risk than it does to laminate. Industry guidance for 2026 continues to recommend SPC vinyl over laminate for master ensuites and other high-moisture areas, per Portofino Flooring's bathroom flooring guide.
| Factor | Waterproof Laminate | Luxury Vinyl Plank |
|---|---|---|
| Core material | Wood-based HDF | PVC or SPC |
| Standing water risk | High | Low |
| Feel underfoot | Warmer, harder | Softer, cooler |
| Best room | Powder room | Full bath |
| Resale perception | Good | Very good |
Core Construction and Water Resistance
SPC vinyl's stone-polymer core gives it dimensional stability HDF cannot match. Laminate compensates with denser cores and sealed click-lock systems, which work well until a seam fails.
Cost, Comfort, and Resale Considerations
Laminate costs less upfront. Vinyl holds up better in resale because buyers in moisture-prone markets recognize it as the safer choice for wet rooms. Neither is a mistake if installed in the right room.
How to Install Waterproof Laminate in Bathrooms: Step-by-Step
Correct installation separates a floor that lasts from one that swells within a season. The sequence below assumes a full bathroom with a vanity, toilet, and tub or shower, where laminate fails most often. For a powder room, skip steps 3 and 7.
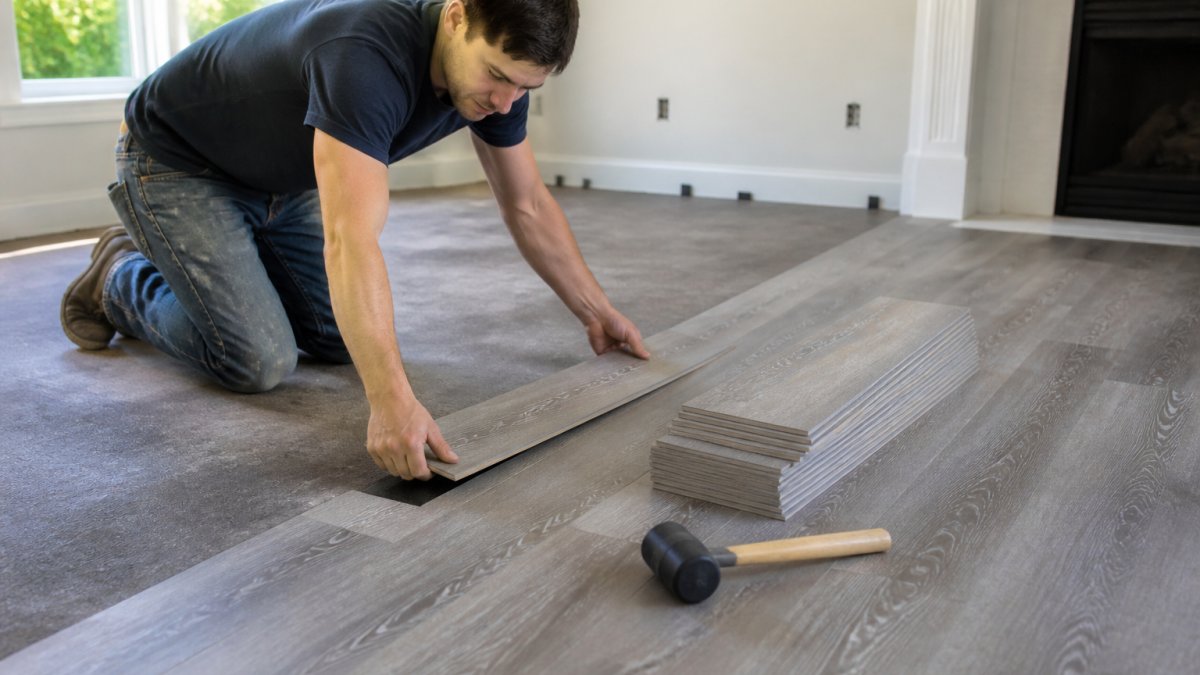
- Acclimate the planks in the room for 48 to 72 hours at normal indoor relative humidity. Stack them flat, leave the cartons open. Planks that go down cold will gap at the seams once the room warms up.
- Test the subfloor for moisture before anything else. A moisture meter should read under the manufacturer's limit, commonly 4% to 5% for wood subfloors and 3 lbs per 1,000 sq ft per 24 hours for a calcium chloride test on concrete. If you don't own a meter, a flooring installer will run the test for a service call fee.
- Install a moisture barrier over concrete or any subfloor with elevated readings. A 6-mil polyethylene sheet with lapped and taped seams is the standard choice. Run it up the wall a few inches behind the baseboard.
- Lay the underlayment rated for bathroom use, taped at every seam. Foam underlayment with an attached vapor barrier is common; do not double up a separate barrier and an attached one, because trapped moisture between layers causes its own problems.
- Leave a 1/4-inch expansion gap at all walls and around the toilet flange. This gap is not optional, laminate moves with humidity, and a floor pinned tight against the wall will buckle in the middle of the room.
- Cut and fit planks around the vanity and fixtures with minimal seams. Every cut edge near a water source is a future failure point, so plan the layout so cut edges land under the vanity or against a wall rather than mid-walkway.
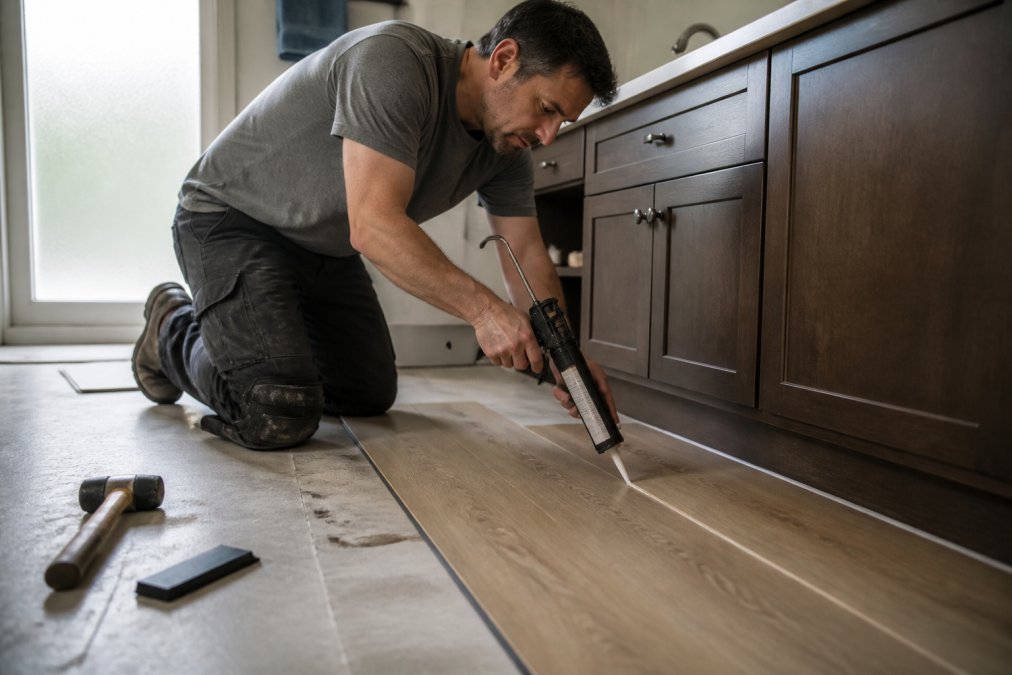
- Seal every cut edge and perimeter with 100% silicone sealant. This is the step that actually makes the floor waterproof in practice, and it is the step most DIY installs skip.
Subfloor Preparation and Moisture Barrier
Subfloor prep is where most bathroom laminate jobs fail. Concrete slabs wick moisture upward year-round, and wood subfloors near a shower can hold more moisture than they release. Two failure patterns recur:
- A slab that reads dry in summer and wet in winter. Moisture vapor moves through concrete seasonally. A barrier installed on a dry July reading can trap vapor against the planks by January.
- A wood subfloor with a slow toilet leak. The leak soaks the subfloor from above, the laminate hides it, and by the time the planks cup, the subfloor has begun to delaminate.
Sealing Seams and Edges: The Sealant Application Guide
Sealant is your real waterproofing layer. The product label describes the plank; the sealant describes the floor. The sequence that holds up:
- Choose 100% silicone sealant, not latex or siliconized acrylic caulk. Latex shrinks as it cures and re-wets when splashed, exactly the wrong behavior next to a toilet or tub.
- Clean and dry the surfaces where the sealant will bond. Silicone will not stick to dust, soap film, or a damp edge.
- Apply a continuous bead along every perimeter edge where the floor meets the wall, around the toilet flange, and at any cut edge within a few feet of a water source.
- Tool the bead smooth with a silicone applicator or a soapy finger. A tooled bead bonds to both surfaces; an untooled bead sits on top and peels.
- Cure fully, typically 24 hours, before the room sees moisture. A shower taken six hours after sealing can wash the bead out.
- Re-inspect twice a year. Silicone at the toilet base and along the perimeter fails first, and it fails quietly.
Pros and Cons of Waterproof Laminate in Bathrooms
The case for laminate is real, but so are its limits. The honest ledger:
Pros:
- Lower cost than most vinyl and tile options
- Warmer and more rigid underfoot than vinyl
- Realistic wood look at a fraction of hardwood pricing
- Faster installation with click-lock systems
- Surface resists splashes and daily humidity
Cons:
- Wood-based core swells permanently if water reaches it
- Seams are the weak point, not the surface
- Not suitable for full baths with tubs or showers
- Requires resealing over time
- Flooding or long-term pooling voids most warranties
When Waterproof Laminate Is the Wrong Choice for Your Bathroom
Skip laminate entirely if the room has a tub, a shower, or a floor drain. Industry experts consistently recommend limiting laminate to powder rooms rather than full master ensuites, per Portofino Flooring's 2026 guidance.
Maintenance, Mold Prevention, and Long-Term Care
Prevention beats remediation, but the more useful question is what happens when prevention fails. Most guides stop at "wipe up spills." Here is the five-year picture.
Routine Care That Actually Extends the Floor's Life
- Wipe up standing water within minutes, not hours. The surface layer buys you time; it does not buy you a day.
- Run the exhaust fan during and after every shower, and leave it running 15 to 20 minutes after you step out. Humidity is the slow leak you cannot see.
- Keep indoor relative humidity below 60% where possible. A cheap hygrometer costs less than a single replacement plank.
- Damp-mop with a well-wrung microfiber pad. Never flood the floor or use a steam mop, steam drives moisture into the seams from above.
- Inspect the sealant at the toilet base and along the perimeter twice a year. Reapply silicone at the first sign of cracking, peeling, or a gap you can slide a fingernail into.
What Long-Term Water Damage Looks Like Under the Planks
A slow leak, a failing toilet wax ring, a hairline crack in a shower pan, a supply line that drips once an hour, does not announce itself. The laminate surface stays flat while damage spreads underneath. The typical progression:
- Months 1 to 6: Moisture wicks into the HDF core through a seam or cut edge. Plank edges swell slightly, a faint ridge you can feel with a bare foot but not see.
- Months 6 to 18: Swollen edges cup upward. The seam opens. Water enters faster than it can dry, and the underlayment beneath stays damp.
- Year 2 and beyond: Mold and mildew colonize the damp underlayment and subfloor. The surface may still look acceptable from standing height, which is why homeowners often discover the problem only when they pull up the floor for an unrelated repair.
Remediation: What to Do When You Find Moisture Damage
If you find mold or a soft spot under laminate, the repair is not a cleaning job. It is a removal job. The sequence most flooring contractors follow:
- Stop the water source first. Replacing planks over an active leak just resets the clock.
- Remove the affected planks and any planks within a few feet of the visible damage. Swollen HDF cannot be dried back into shape, and mold that has reached the underlayment will not be killed by surface treatment.
- Inspect the underlayment and subfloor. If the underlayment is damp or discolored, it comes out. If the subfloor shows staining, softness, or a musty smell, it needs to dry fully, or be replaced, before anything goes back down.
- Treat the subfloor with a mold-specific cleaner rated for the surface, then let it dry completely. A moisture meter reading back at baseline signals it's safe to proceed.
- Replace the underlayment and planks, and re-seal every perimeter and cut edge with 100% silicone before the room sees moisture again.
When to Call a Professional
If the affected area is larger than a few planks, if the subfloor is soft underfoot, or if you smell mustiness anywhere in the room, bring in a flooring contractor and, if mold is confirmed, a mold remediation specialist. Bathroom mold that has reached the subfloor is a remediation project, not a flooring project. Handling the mold first and the floor second is the only sequence that holds.
Certification Standards and Warranty Coverage to Look For
Certification is your best filter. The North American Laminate Flooring Association sets performance benchmarks that include moisture resistance requirements, according to Cali Floors' laminate bathroom guide. Look for the NALFA seal before anything else.
Beyond certification, check three things:
- Wear layer rating: AC4 is the industry standard for durability in moisture-prone areas, per Soni Interiors Supply's 2026 recommendations.
- Thickness: 10 to 12 mm is recommended for high-performance waterproof laminate in residential use.
- Warranty language: Read the exclusions. Most warranties void coverage for flooding, standing water, and bathroom installations in full baths.
Frequently Asked Questions
What are the downsides of waterproof laminate flooring in bathrooms?
Waterproof laminate resists spills and splashes, but it is not impervious to flooding or long-term standing water. Many products still use a wood-based high-density fiberboard core, which can swell permanently if moisture penetrates the seams. Industry experts recommend limiting laminate to powder rooms without showers or tubs. For full bathrooms, luxury vinyl plank with a PVC core offers better protection against water ingress and plank swelling.
Can moisture cause mold under waterproof laminate flooring?
Yes. If water seeps through unsealed seams or edges, it can trap moisture beneath the planks and create conditions for mold and mildew. Proper installation with a moisture barrier, silicone sealant at the perimeter, and an expansion gap helps prevent water ingress. Keeping indoor relative humidity below 60% and wiping up standing water promptly also reduces mold risk. If you notice warping or a musty smell, address it immediately to avoid subfloor damage.
What type of laminate flooring is best for bathrooms?
Look for planks with an AC4 durability rating and a thickness of 10 to 12 mm. These specifications, combined with a high-density core and a sealed click-lock system, are the current standard for moisture-prone residential spaces. Verify that the product carries NALFA certification, which confirms it meets moisture resistance requirements. Even with these features, limit installation to powder rooms or half-baths for best results.
Is waterproof laminate durable enough for high-traffic bathrooms?
AC4-rated waterproof laminate handles high foot traffic well when installed correctly. The wear layer resists scratches and surface finish damage, making it suitable for busy powder rooms. However, in bathrooms with showers or tubs, constant humidity and splash zone exposure test the seam integrity over time. Sealing all edges with silicone caulk and maintaining a strict maintenance protocol extends the floor's lifespan in these conditions.
Choosing bathroom flooring comes down to matching the product to the room, not to the label on the box. Hamptons carpet one floor and Home helps Suffolk County homeowners get that match right the first time, with moisture-tested subfloor prep, careful sealant work, and product guidance built around coastal conditions. If you're weighing waterproof laminate against vinyl for a powder room or a beach house bath, stop by and we'll walk you through the options that actually hold up.