 Ultimate guide
Laminate Flooring Installation: Step-by-Step Guide
Table of Contents
- Laminate Flooring Installation Tools and Materials Required
- Laminate Flooring Underlayment Requirements and Moisture Testing
- How Long Does It Take to Install Laminate Flooring
- Preparing Your Subfloor and Acclimating Planks
- Step-by-Step Laminate Flooring Installation Process
- Laminate Flooring Installation Mistakes to Avoid
- Post-Installation Care and Repairing Damaged Planks
- Conclusion
Laminate Flooring Installation: Step-by-Step Guide
Last Updated: July 4, 2026
Getting laminate flooring installation right separates a floor that looks beautiful for a decade from one that buckles, gaps, and fails within two years. Success depends on moisture management and preparation, two areas where most DIY installers cut corners. This guide covers everything from subfloor assessment to post-installation repairs, with specific attention to the moisture and expansion issues that cause most failures.
Laminate Flooring Installation Tools and Materials Required
You'll need specific tools to install laminate flooring correctly. Cheap tools make cuts uneven, spacing inconsistent, and installation slower than necessary.
Essential Tools
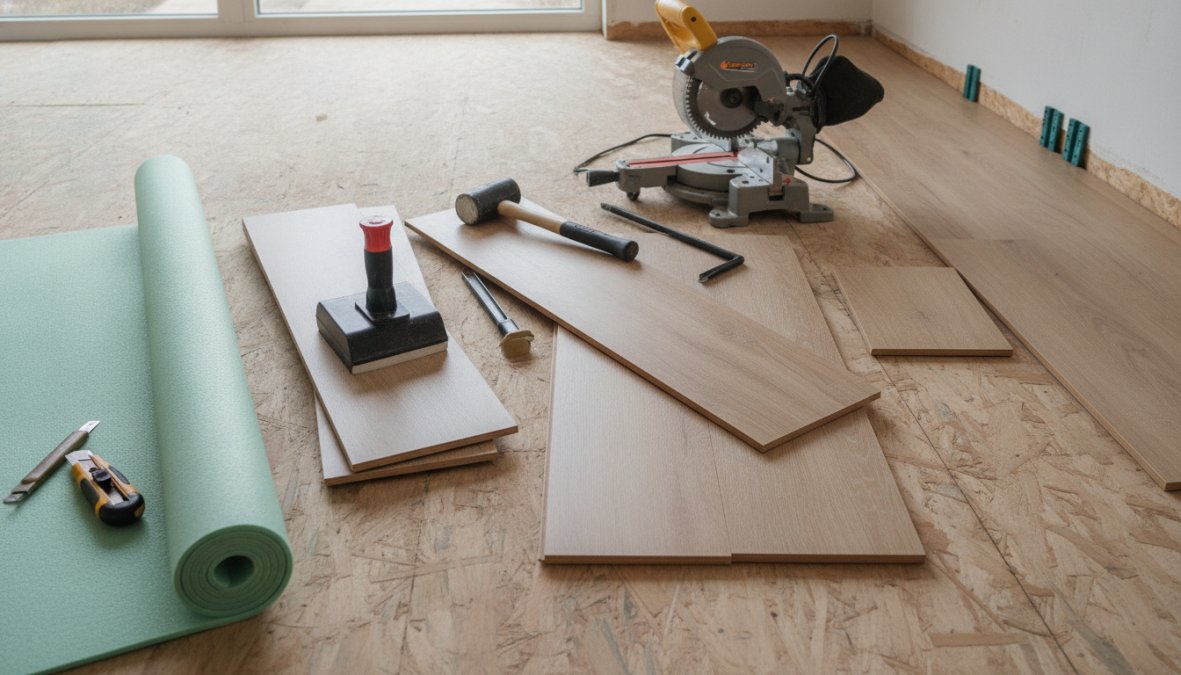
A quality miter saw or table saw is non-negotiable for crosscutting planks. A jigsaw handles curved cuts around door frames. You'll need a tapping block and rubber mallet to seat planks without damaging the locking mechanism, and a pull bar for fitting the last row into tight spaces.
Use 1/4-inch spacers to maintain consistent expansion gaps around room perimeters. A moisture meter tests subfloor conditions before you start, and a leveling compound addresses high spots that could cause movement. A table saw with a fine-tooth blade produces cleaner cuts than standard blades.
Hand tools include a carpenter's square, pencil, measuring tape, safety glasses, and a knee kicker to fit planks together. Hearing protection matters during cutting.
Materials and Supplies
Beyond the laminate planks, you need underlayment rated for your subfloor type. Vapor barrier underlayment is essential over concrete or in moisture-prone areas. Order 10% extra planks to account for cuts and mistakes.
Transition molding covers gaps between laminate and adjacent flooring. Quarter-round or baseboard trim hides the expansion gap around room edges.
| Tool/Material | Purpose | When Needed |
|---|---|---|
| Tapping block | Seats planks without damage | Every plank installation |
| Pull bar | Fits last row in tight spaces | Final rows near walls |
| Moisture meter | Tests subfloor moisture | Before starting |
| Spacers | Maintains expansion gaps | Around entire perimeter |
| Leveling compound | Smooths subfloor high spots | If subfloor exceeds 1/8" variance |
| Underlayment | Provides cushion and moisture barrier | Under all planks |
| Transition molding | Covers gaps at room edges | Where laminate meets other flooring |
Laminate Flooring Underlayment Requirements and Moisture Testing
Underlayment is your moisture defense system. Choose the wrong type and your floor will swell and warp within months, especially in humid climates.
Choosing the Right Underlayment
Standard foam underlayment works over wood subfloors in dry conditions. Vapor barrier underlayment is essential over concrete slabs, crawl spaces, or moisture-prone areas, it blocks moisture from rising through the floor. Acoustic underlayment reduces sound transmission in multi-story homes. Thickness matters: thinner underlayment (2mm) works over smooth subfloors, while thicker options (3-4mm) accommodate minor irregularities and provide better comfort.
Moisture Meter Testing and Vapor Barrier Installation
Test subfloor moisture before buying underlayment or planks. Moisture content above 12% indicates a problem requiring solution before installation. Wood subfloors should read 9-12%. Concrete slabs require a calcium chloride test; if moisture vapor transmission exceeds 3 pounds per 1,000 square feet per 24 hours, you need a vapor barrier.
Install vapor barrier underlayment with the plastic side facing up. Overlap seams by 6 inches and tape them with waterproof tape to create a continuous moisture barrier. Without proper sealing, moisture migrates through seams and defeats the entire purpose.
How Long Does It Take to Install Laminate Flooring
A 500-square-foot room typically takes 8-12 hours of actual work spread over 2-3 days, including prep and finishing. Complex room layouts with obstacles, door frames, and uneven subfloors extend time significantly. A perfectly rectangular room might take 6-8 hours; one with multiple doorways could stretch to 15+ hours.
Preparation adds time many guides ignore. Subfloor assessment and leveling can take 2-4 hours. Acclimating planks requires 48-72 hours before installation. Professional installers typically charge $3-5 per square foot, reflecting their speed and expertise. Plan for the full duration rather than rushing, as hurried installations lead to alignment problems and expansion issues.
Preparing Your Subfloor and Acclimating Planks
What happens in this phase determines whether your floor succeeds or fails. Rushing through prep is the most common mistake leading to callbacks.
Subfloor Assessment and Leveling
Walk the entire floor feeling for high spots and dips. A straightedge reveals imperfections; anything over 1/8 inch variance in 10 feet requires attention. High spots can be sanded down; dips are easier to fix with leveling compound, which self-levels and hardens in 24 hours.
Check for squeaks by driving additional screws (not nails) into joists to eliminate movement. A squeaky subfloor will eventually squeak through your laminate. Remove all existing flooring, laminate over carpet or old tile creates an unstable base that allows movement and breaks the locking mechanism.
Acclimation Process
Laminate planks must acclimate to your home's temperature and humidity for 48-72 hours before installation. Stack them flat in the room where they'll be installed, with spacers between layers for air circulation. This prevents post-installation expansion and contraction that causes buckling and gaps.
Humidity matters more than temperature. Aim for 45-55% humidity during acclimation and installation. Leave planks in their original packaging during acclimation; the packaging protects them and allows controlled moisture exchange.
Step-by-Step Laminate Flooring Installation Process
Laying the First Row and Setting Expansion Gaps
Start along the longest, straightest wall. If the wall is wavy, snap a chalk line parallel to it, offset by the plank width plus 1/4 inch for the expansion gap. Place spacers along the wall to maintain this gap, it allows planks to expand and contract without buckling.
Lay the first plank with the groove side facing the wall and the tongue facing into the room. Stagger seams in the next row by at least 12 inches to distribute stress and prevent weak points. If your first row runs against an out-of-square wall, rip planks lengthwise to fit the gap rather than forcing them into a straight line.
Installing Planks and Staggering Seams
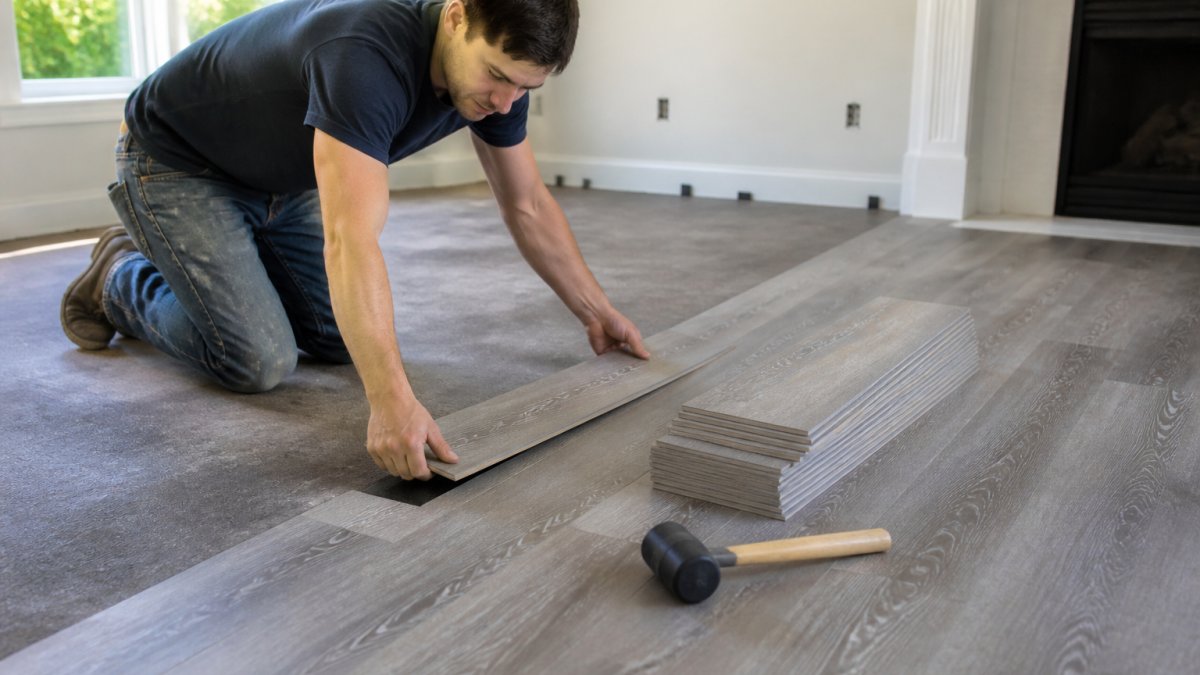
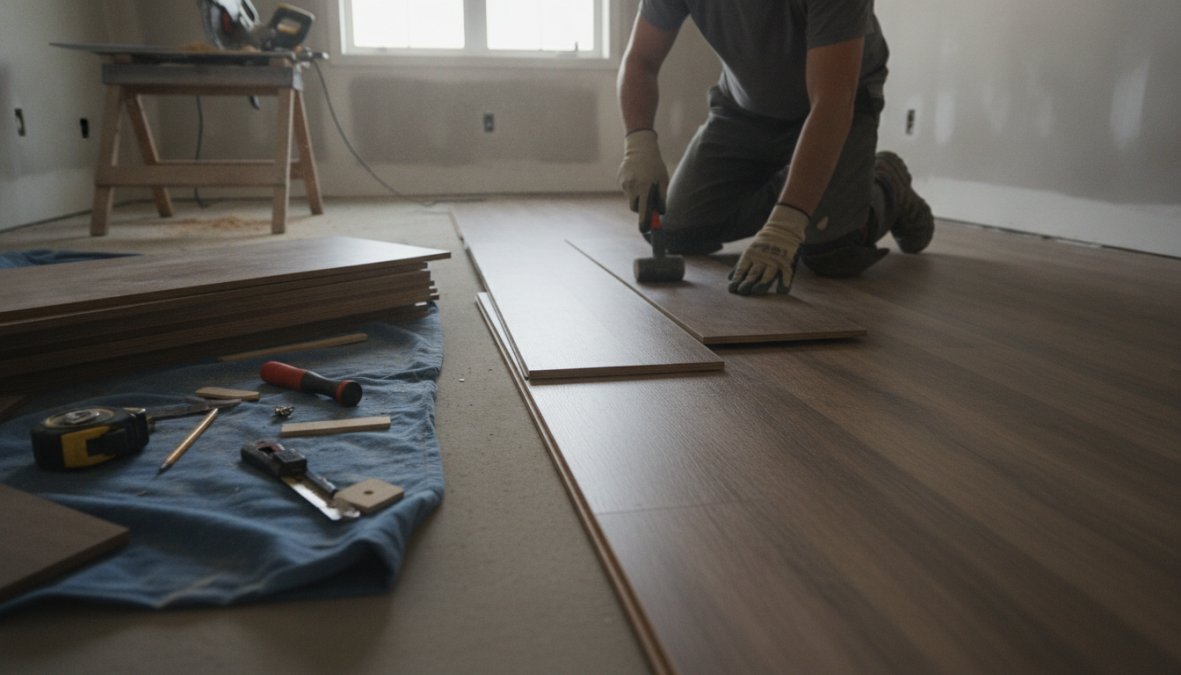
Connect planks using the click-lock system by inserting the tongue at a 45-degree angle into the groove, then pressing down. A tapping block and rubber mallet help seat stubborn planks without damaging the locking mechanism.
Staggered joints prevent weak spots by offsetting each row by at least 12 inches from the row below. This distributes the floor's weight across locking mechanisms rather than concentrating stress at aligned joints. Check alignment frequently with a straightedge every 3-4 rows to prevent crooked rows from compounding across the floor.
Cutting Planks and Navigating Obstacles
A table saw produces the cleanest crosscuts; a jigsaw handles curves around door frames and obstacles. Always wear safety glasses and hearing protection. Mark cut lines clearly with a pencil.
For door frames, undercut the jamb so the plank can slide underneath rather than butting against it. For obstacles like radiators, cut notches in planks to fit around them with approximately 1/4 inch of clearance so the plank can move slightly without binding. Use transition molding at door openings to cover gaps where laminate meets adjacent rooms.
Laminate Flooring Installation Mistakes to Avoid
Skipping moisture testing is the single largest mistake. You can't see moisture problems until they're visible as swelling or gaps. Test before you start.
Installing over an uneven subfloor causes movement and noise as planks rock over high spots, breaking the locking mechanism over time. Insufficient expansion gaps create buckling, even 1/8 inch is better than none. Aligned seams in adjacent rows create weak points where stress concentrates and the locking mechanism fails.
Rushing acclimation skips the moisture equilibration step. Planks installed before acclimation will expand or contract after installation, creating gaps or buckling. Damaging the locking mechanism during installation ruins planks, always use a tapping block and rubber mallet, never hit planks directly with a metal hammer.
Post-Installation Care and Repairing Damaged Planks
Finishing Touches and Transitions
Install transition molding at doorways and where laminate meets other flooring types. Apply baseboard or quarter-round trim around the room perimeter to hide the expansion gap and protect the wall from moisture and damage.
Clean the floor thoroughly. Laminate dust from cutting can scratch the surface if left during initial use. Vacuum, then wipe with a barely damp cloth and let it dry completely before moving furniture onto it.
Repairing Damaged Planks
Minor surface scratches can be filled with laminate repair markers. Deep gouges or water damage require plank replacement. Remove spacers and transition molding, then carefully pry up the damaged plank and slide in a replacement.
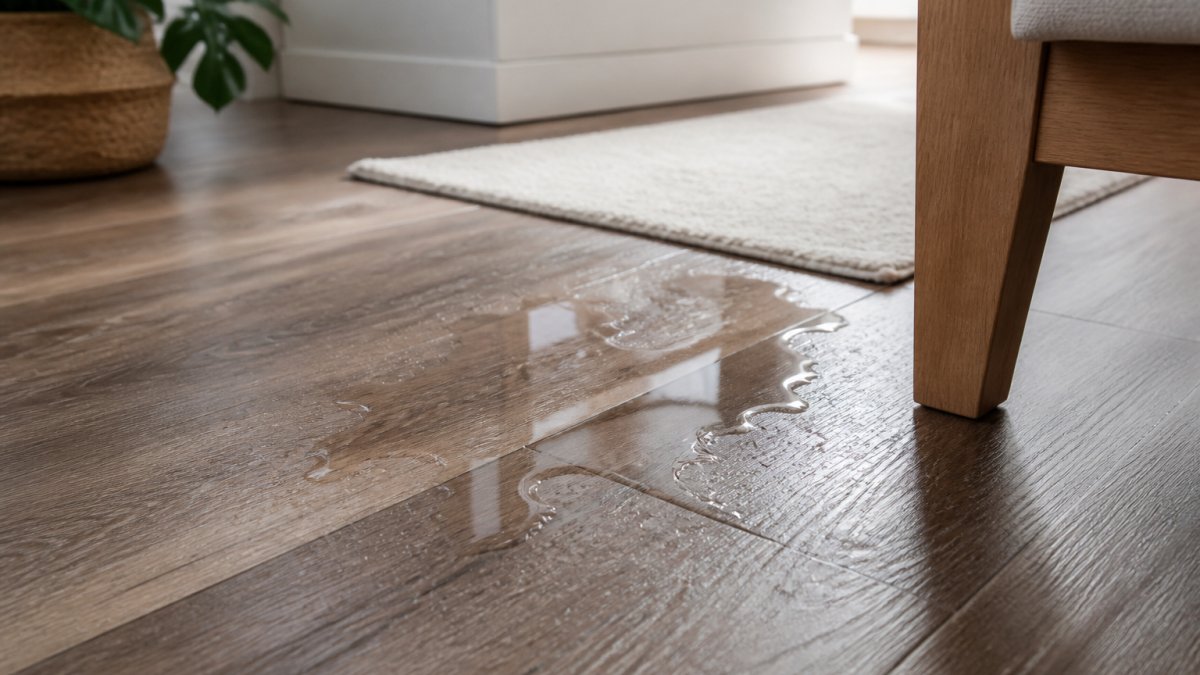
For planks in the middle of the floor, you may need to remove multiple rows to access the damaged one. Prevention is easier than repair: use area rugs in high-traffic zones, wipe up spills immediately, and maintain 45-55% humidity year-round with a humidifier in winter and dehumidifier in summer. This prevents the expansion and contraction cycles that stress the locking mechanism.
Installing laminate flooring correctly requires patience, attention to detail, and respect for moisture. The difference between a floor that lasts 15 years and one that fails in 2 years often comes down to whether you tested moisture, maintained expansion gaps, and staggered seams properly. Understanding these principles ensures your investment lasts.
Frequently Asked Questions
Do you need underlayment for laminate flooring?
Yes, underlayment is essential for laminate flooring installation. It provides a moisture barrier, reduces noise, cushions the floor, and helps with acoustic performance. Underlayment also protects your subfloor and extends the life of your laminate by creating a vapor barrier that prevents moisture damage. Most manufacturers require underlayment to maintain warranty coverage, so always check product specifications before installation.
What tools do I need to install laminate flooring?
Essential laminate flooring installation tools include a table saw or miter saw for cutting planks, a tapping block and rubber mallet for securing click-lock systems, a pull bar for tight spaces, spacers for maintaining expansion gaps, a moisture meter for testing subfloor conditions, a jigsaw for curved cuts around obstacles, a level for checking subfloor flatness, and a measuring tape. You'll also need safety equipment like safety glasses and work gloves. A power drill and circular saw can speed up the process significantly.
Does laminate flooring need to acclimate before installation?
Yes, acclimation is critical for laminate flooring installation success. Planks must sit in the installation room for 24-72 hours (depending on climate conditions) to adjust to the temperature and humidity levels. This prevents expansion and contraction after installation, which can cause buckling or gaps. Store planks flat in their original packaging in the room where they'll be installed. Skipping acclimation is one of the most common laminate flooring installation mistakes that leads to warping and locking mechanism failures.
Can you install laminate flooring over existing tile?
You can install laminate flooring over tile if the tile is stable and well-adhered to the subfloor. First, test moisture content with a moisture meter to ensure levels are acceptable. Fill any grout gaps with leveling compound to create a smooth, level surface, laminate requires a subfloor that's flat within 3/16 inch over 10 feet. Apply a vapor barrier over the tile before installing underlayment. However, if the tile is loose or the subfloor underneath is compromised, remove the tile first to ensure proper installation and avoid future problems with your floating floor.
This article was written using GrandRanker