 How-to
Preventing Floor Scratches From Outdoor Patio Sand
Table of Contents
- How Outdoor Patio Sand Causes Floor Scratches
- How to Seal Paver Joints to Prevent Sand Migration
- Polymeric Sand vs Regular Sand for Patios
- Best Floor Mats for Sand Tracking
- Furniture Protection: Felt Pads, Glides, and DIY Coatings
- Seasonal Maintenance and Cleaning Routines
- Repairing Existing Scratches and When to Call a Professional
- Frequently Asked Questions
Last Updated: September 20, 2026
How Outdoor Patio Sand Causes Floor Scratches
Preventing floor scratches from outdoor patio sand starts with understanding how those tiny grains travel. Sand is essentially tiny rock, and when it gets trapped under furniture legs or shoes, it acts like sandpaper against your floors. This guide breaks down the causes and the fixes.
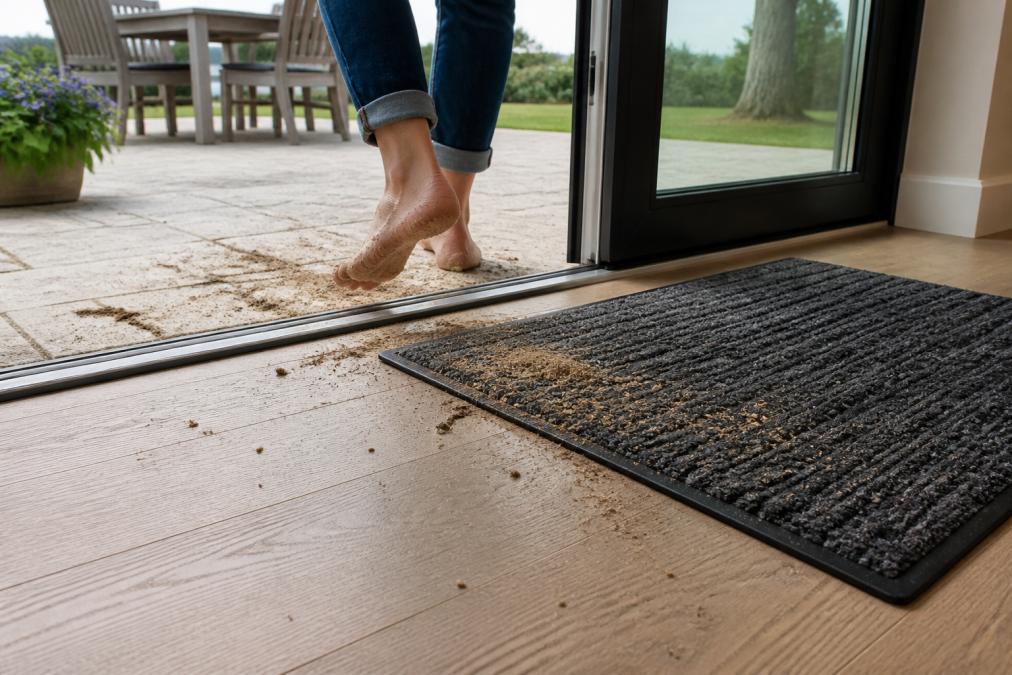
The problem begins outside. Sand settles into paver joints, and every footstep or chair movement kicks it loose. That debris then rides inside on shoes and pet paws.
Surface abrasion is the technical term for what happens next. The grit grinds against wood, tile, or stone, wearing down the finish over time. In coastal homes, this happens fast because sand is everywhere.
A few things make it worse:
- Loose joint sand that never gets stabilized
- No mats at entryways to trap debris
- Furniture legs without protective pads
- Gritty floors that never get a deep clean
The good news? Each of these has a fix.
How to Seal Paver Joints to Prevent Sand Migration
Sealing paver joints is the single most effective way to stop sand from migrating indoors. The best method uses polymeric sand, which hardens when activated with water and locks grains in place. But the difference between a joint that holds for five years and one that fails in one season comes down to prep, joint depth, and cure discipline, not the brand on the bag.
Here is the basic process:
- Remove loose sand and debris from the joints
- Sweep fresh polymeric sand into the gaps
- Compact the surface lightly
- Mist with water to activate the binder
- Let it cure fully before walking on it
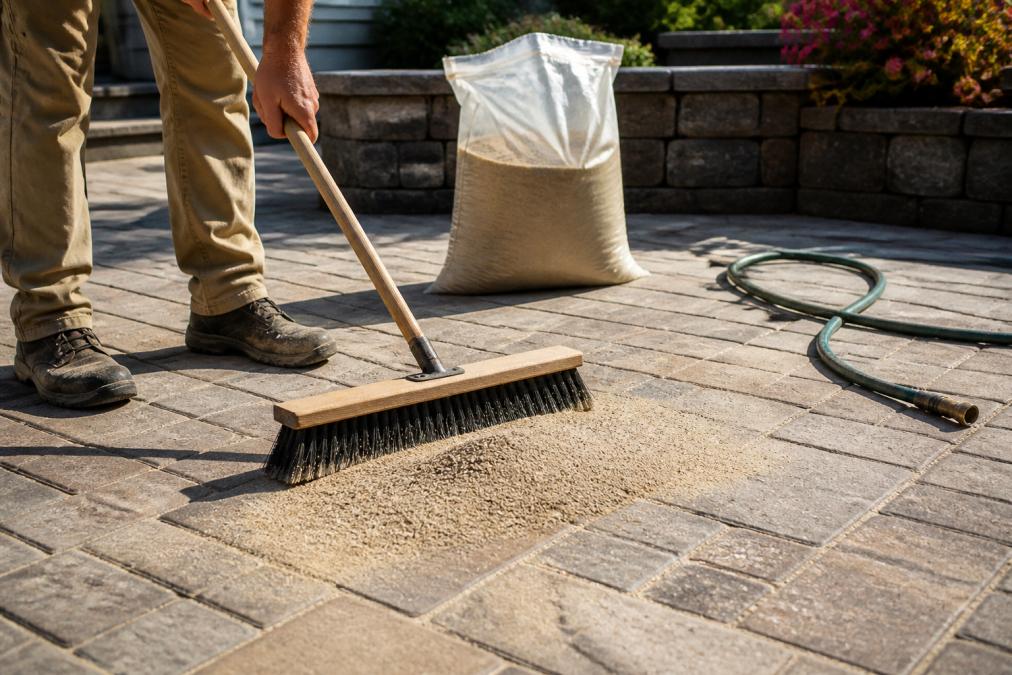
According to Sakrete's guidance on polymeric sand, applying the sand at full joint depth prevents shifting and stops debris from migrating.
Why Grain Size and Hardness Matter More Than You Think
Not all sand abrades equally. The "sandpaper effect" that scratches floors is driven by two properties: grain size and silica content. Silica (quartz) is harder than most flooring finishes, so a single quartz grain trapped under a chair leg can cut a groove with each slide. Coarse, angular grains do more damage than rounded, fine grains because they concentrate force on a smaller contact point.
Step-by-Step Polymeric Sand Application
A clean, dry surface matters most. Any moisture in the joints before you start will ruin the bond.
- Step 1: Clear old sand with a stiff brush or screwdriver. Joints should be cleaned to roughly 1 to 1.5 inches deep for standard pavers.
- Step 2: Pour polymeric sand and spread it with a broom, working in small sections so it does not set before you finish.
- Step 3: Work it into every joint until they are full and level with the paver surface, not mounded above it.
- Step 4: Blow off excess sand from the paver surface. Any film left behind will haze once wet.
- Step 5: Water gently until the sand darkens, then let it set. A light mist that soaks the joint is enough; a hard spray washes the binder out.
Troubleshooting Common Application Problems
- Hazing on the pavers: Usually excess sand left on the surface before watering. Re-sweep and re-mist, or use a manufacturer-approved haze remover.
- Joints still loose after curing: The sand was not compacted or watered deeply enough. Reapply in the affected area.
- Sand washing out at the edges: Water was applied too hard, or the joint was not filled to full depth. Refill and re-mist gently.
- Weeds returning within a season: The joint was not filled to depth, leaving room for seed to sit above the binder.
Polymeric Sand vs Regular Sand for Patios
Polymeric sand wins for joint stabilization, while regular sand is cheaper but needs constant refilling. If your goal is stopping tracked-in grit, polymeric is the clear choice.
Here is how they compare:
| Feature | Polymeric Sand | Regular Sand |
|---|---|---|
| Binding | Hardens when wet | Stays loose |
| Lifespan | Several years | Months |
| Weed control | Strong | Weak |
| Best for | Active patios | Low-traffic areas |
Best Floor Mats for Sand Tracking
Walk-off mats are your first line of defense indoors. A good mat traps grit before it reaches your living space.
Look for these features:
- Coarse, textured surface to scrape grit
- Rubber backing to stop slipping
- Machine-washable for easy cleaning
- Sized long enough for two or three steps
Furniture Protection: Felt Pads, Glides, and DIY Coatings
Felt pads and glides reduce friction between furniture legs and your floor, which is where most scratches start. This is the cheapest fix on this list and one of the most effective, but the right choice depends on the furniture material, the leg shape, and the surface underneath.
Which Furniture Materials Cause the Most Damage
Not all furniture legs abrade equally. The material of the leg determines how much grit it traps and how hard it presses that grit into the floor:
- Metal legs (cast aluminum, steel, wrought iron): Highest risk. Metal edges are hard and thin, concentrating force on a small contact point. A metal leg with a burr or rough weld will gouge wood and stone quickly.
- Wood legs: Moderate risk. Wood is softer than metal but can splinter, and a splintered edge acts like a chisel. Finished wood legs also pick up grit in the grain.
- Plastic and resin legs: Lowest risk on their own, but plastic glides can harden and crack with UV exposure, exposing sharp edges.
- Wicker and rattan: Low scratch risk, but the weave traps sand that then drops under the base.
Pad and Glide Options by Surface
- Felt pads: Best for wood and tile, quiet and smooth. Choose thick, dense felt (at least 1/4 inch) over thin adhesive-backed sheets.
- Plastic glides: Better for carpet and heavy furniture. Nail-on glides stay put better than adhesive ones on rough legs.
- Silicone cups: Good for outdoor furniture on stone. They grip without scratching and resist UV better than felt.
- DIY coatings: Dip legs in a rubberized coating for extra grip. This is the fix for vintage or heavy furniture legs that do not fit standard store-bought pads.
A common mistake is using the wrong pad for the surface. Felt on carpet grabs and falls off. Plastic on wood can scratch if grit gets trapped underneath.
DIY Protective Coatings for Odd-Shaped Legs
Standard pads fail on tapered, turned, or oversized legs. For those, a coating works better than a pad:
- Plasti Dip or liquid rubber: Dip the leg bottom 1/2 inch, let it cure, and repeat for a thicker layer. Works on metal, wood, and plastic.
- Heat-shrink tubing: Slide over the leg end and shrink with a heat gun. Good for metal legs on outdoor furniture.
- Self-fusing silicone tape: Wrap the leg base and press the layers together. No adhesive residue, and it conforms to curves.
- Felt-and-glue custom cut: Trace the leg footprint onto thick felt, cut, and attach with contact cement for a custom pad.
Seasonal Pad Checks
Pads fail silently. Add a quick check to your seasonal routine: in spring and fall, lift each piece of furniture and inspect the pads for compression, cracking, or missing adhesive. Replace any pad that has flattened to less than half its original thickness, and re-dip any coated leg where the coating has worn through. This five-minute check prevents the slow grind that turns a small scratch into a refinishing job.
Seasonal Maintenance and Cleaning Routines
A simple seasonal routine keeps sand from building up and scratching your floors. Spring and fall are the best times to reset your defenses.
Use this schedule:
| Season | Task | Frequency |
|---|---|---|
| Spring | Re-sweep joints, check mats | Once |
| Summer | Rinse patios, wash mats | Monthly |
| Fall | Reapply polymeric sand | Once |
| Winter | Deep clean floors | Monthly |
Repairing Existing Scratches and When to Call a Professional
Light scratches can sometimes be buffed out, but deep gouges from abrasive sand usually need professional help. Community flooring discussions note that minor fixes often fall short for deep damage.
Try these first:
- Wood touch-up markers for small, shallow marks
- Buffing compound for light surface scuffs
- Stone polish for minor tile dullness
Frequently Asked Questions
What are the downsides of using polymeric sand?
Polymeric sand can develop a hazy film on pavers if not swept off thoroughly before wetting. It also requires dry conditions during application and proper compaction. If applied too thin, it may crack or fail prematurely. However, when installed correctly at full depth, it significantly reduces sand migration and abrasive debris compared to regular sand.
How do I keep sand from tracking into my home?
Use a dual-mat system at every exterior door: a coarse outdoor mat to trap sand and a finer indoor mat to absorb moisture. Vacuum or shake mats weekly. Also stabilize paver joints with polymeric sand and apply a sealant to reduce loose grains. These steps cut down on the abrasive debris that scratches hardwood and tile.
Does polymeric sand harden like concrete?
Polymeric sand hardens into a flexible, semi-solid joint filler, not rigid concrete. It binds sand particles together while allowing slight movement from freeze-thaw cycles. This flexibility prevents cracking and keeps joints stabilized, which reduces sand migration onto your floors and patios.
What is a good alternative to polymeric sand?
For areas with heavy rain or freezing temperatures, resin-based joint sand or stabilized joint sand are alternatives. They offer similar binding but may cost more. Some homeowners use crushed stone or gravel for drainage, but these allow more debris migration. Polymeric sand remains the most common choice for paver patios in coastal regions.