 How-to
Preventing Mold and Mildew Under Beach House Flooring
Last Updated: November 3, 2026
Quick Summary
Preventing mold and mildew under beach house flooring starts with testing your concrete slab for moisture before installation, then installing a vapor barrier or moisture mitigation system to block it. Keep indoor humidity in a moderate range with a properly sized dehumidifier, and choose water-resistant materials like luxury vinyl plank or porcelain tile.
- Salt air, fog, and sandy soil push indoor humidity higher than inland homes, trapping moisture under floors.
- The calcium chloride test runs 60 to 72 hours and reports vapor emission rate per 1,000 square feet per 24 hours.
- In-situ relative humidity probes need at least 24 hours to equilibrate before readings are taken.
- Laminate flooring can be a weaker coastal choice because its core swells when moisture gets in.
- Damp spaces need drying within 24 to 48 hours to stop mold growth, per CDC guidance.
Table of Contents
- Why Beach House Flooring Grows Mold in Coastal Climates
- Step 1: Test Your Concrete Slab for Moisture Before You Install
- Step 2: Install a Vapor Barrier and Moisture Mitigation System
- Step 3: Choose the Best Flooring for Beach Houses
- Step 4: Pick the Right Dehumidifier for Coastal Homes
- Step 5: Watch for Signs of Mold Under Laminate Flooring
- Step 6: Maintain Expansion Gaps, Ventilation, and Smart Monitoring
- Schedule a Moisture Assessment With Hamptons Carpet One Floor and Home
- Frequently Asked Questions
Why Beach House Flooring Grows Mold in Coastal Climates
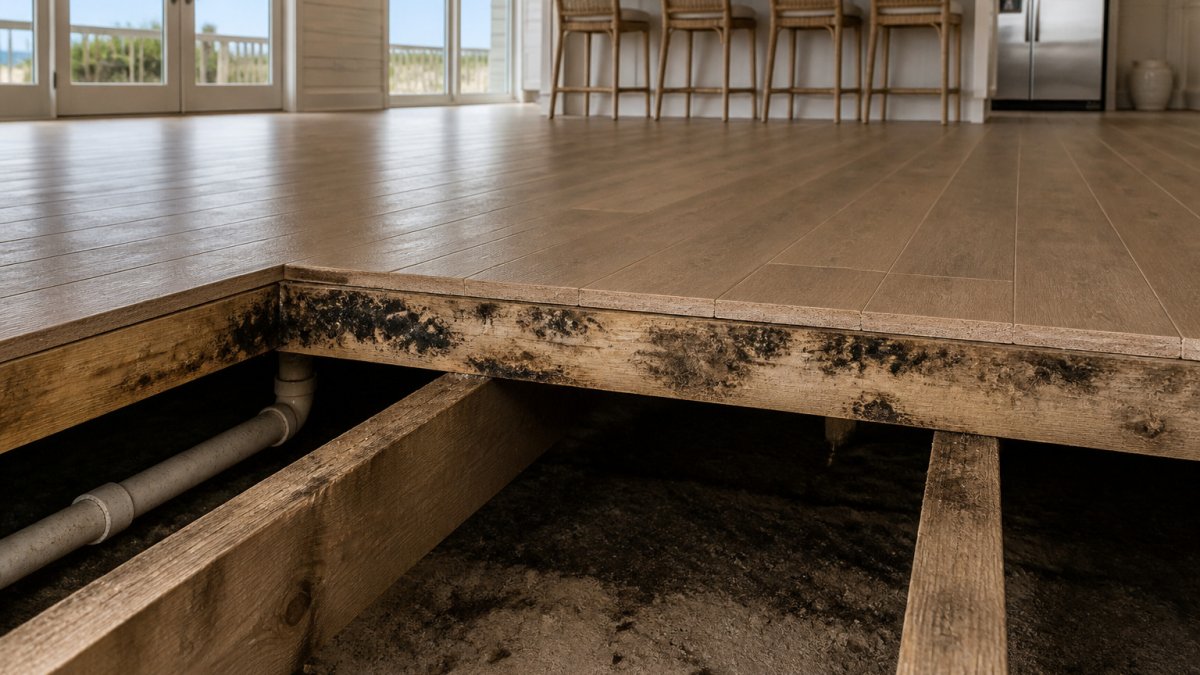
Mold under beach house flooring is a moisture problem, not a cleaning problem. In Southampton, NY, the ocean air, high humidity, and sandy soil create a damp environment that traps moisture under floors. That trapped moisture feeds mold and mildew growth.
Coastal homes face three moisture sources at once:
- Salt air and fog push indoor humidity higher than inland homes
- Concrete slabs pull groundwater up through tiny pores
- Sand and salt track in and hold dampness against the floor
The floor can look fine on top while the subfloor underneath tells a different story.
How Salt Air and Humidity Affect the Subfloor
Salt air raises indoor relative humidity, and humid air condenses on cool surfaces like a concrete slab. That condensation feeds mildew growth in the dark space under your flooring.
A concrete slab also pulls moisture from the soil below. This upward pull is called hydrostatic pressure. When the dew point inside the subfloor assembly stays high, water collects where you can't see it.
The fix starts with testing. You can't manage moisture you haven't measured.
Step 1: Test Your Concrete Slab for Moisture Before You Install
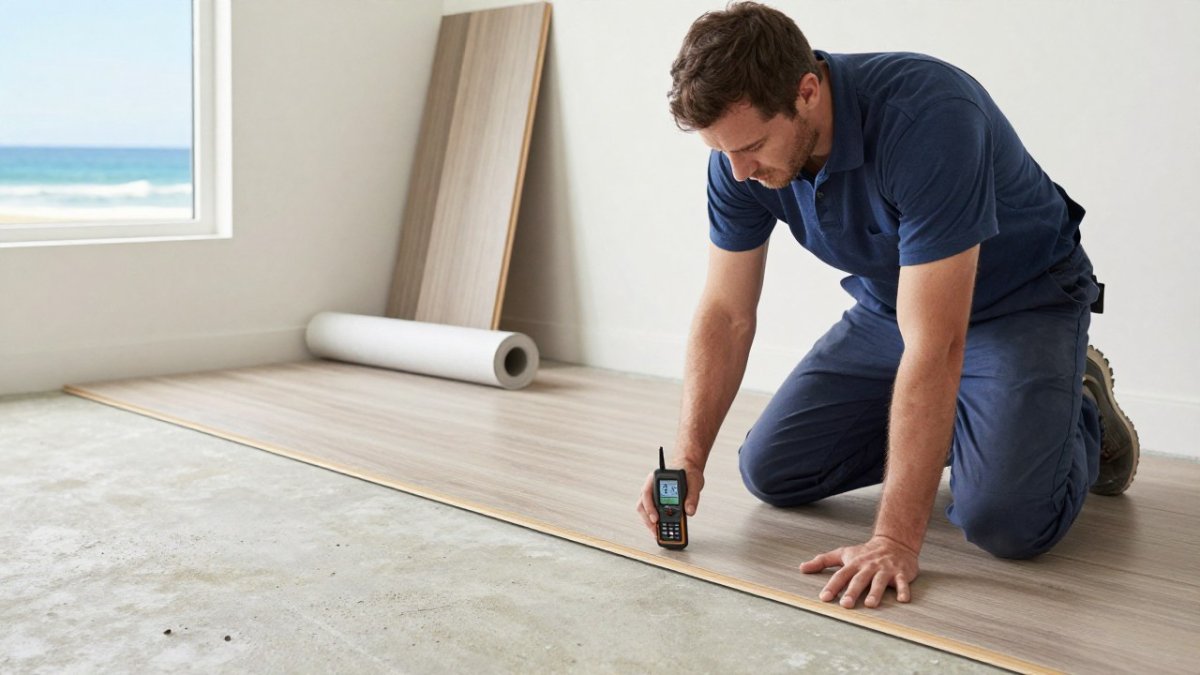
Moisture testing is a step that is often skipped, and it helps prevent problems after installation. Test the slab before any flooring goes down, and get the numbers in writing.
A slab that looks dry can still release enough vapor to ruin laminate within a year. In Southampton, where the water table sits high and sandy soil drains poorly, slabs stay damp longer than inland pours.
The Three Accepted Test Methods
The ASTM International standards for concrete moisture testing define the accepted methods. Most practitioners use one of three:
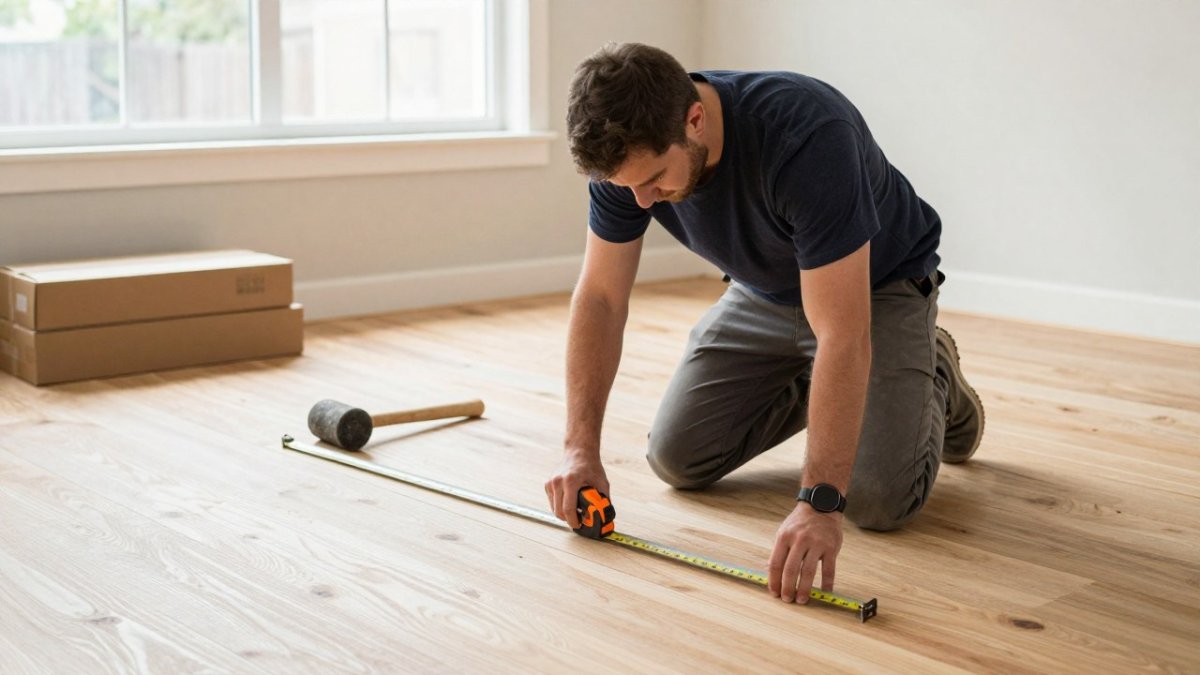
- Calcium chloride test (ASTM F1869): A dish of calcium chloride sits sealed under a plastic dome for 60 to 72 hours. The dish absorbs vapor and is weighed before and after. Results are reported in pounds of moisture per 1,000 square feet per 24 hours. This test measures vapor emission rate.
- In-situ relative humidity probe (ASTM F2170): Holes are drilled into the slab, sleeves are inserted, and probes measure the relative humidity inside the concrete. Probes equilibrate for at least 24 hours before readings are taken. Results are reported as percent relative humidity.
- Plastic sheet test (ASTM D4263): A sheet of plastic is taped to the slab for 16 to 24 hours. Condensation under the sheet indicates moisture is present. This is a qualitative check, not a numeric reading, and it should never be the only test used before installation.
What the Numbers Mean
Acceptable readings depend on the flooring and the adhesive. Always follow the flooring manufacturer's published limits, because those numbers override general rules of thumb.
How to Run a Test Properly
- Clean the slab and let it sit at normal room temperature for at least 48 hours before testing.
- Confirm the HVAC is running so the space is at the conditions the floor will live in.
- Run the chosen test for its full required duration. Cutting the calcium chloride test short skews the reading low.
- Record the readings, the test method, the date, and the technician's name.
- Compare the results against the flooring manufacturer's limits before ordering material.
A plastic sheet test is a qualitative check, so use a numeric test method for any slab that will carry laminate, engineered hardwood, or glue-down flooring.
Southampton-Specific Testing Notes
Houses that sit vacant for stretches can see slab humidity rise, so test with the reading reflecting real conditions. Confirm any vapor retarder under the slab is intact before relying on the results.
If the readings come back high, do not install flooring and hope for the best. Move to moisture mitigation before any material goes down.
Step 2: Install a Vapor Barrier and Moisture Mitigation System
A vapor barrier blocks moisture from reaching your flooring. Moisture mitigation goes further by sealing the slab itself.
A common approach for a coastal home:
- Roll out a vapor barrier with a low permeability rating
- Overlap seams and seal them with the maker's tape
- Add a moisture mitigation coating on high-reading slabs
A belly pan under a raised beach house works the same way. It keeps ground moisture from rising into the floor structure.
If your home sits on a crawlspace, check that the space is sealed and vented correctly. Damp crawlspace air rises straight into your subfloor.
Step 3: Choose the Best Flooring for Beach Houses
The best flooring for beach houses is water-resistant and tolerates minor moisture swings. Commonly suited options for beach houses include luxury vinyl plank, porcelain tile, and engineered hardwood with a moisture-rated core.
Material Compatibility: What Works Over Concrete and What Doesn't
Not every floor belongs over a concrete slab. Here's how the main options compare:
| Material | Works Over Concrete? | Moisture Tolerance | Best For |
|---|---|---|---|
| Luxury vinyl plank | Yes, with barrier | High | Whole-home coastal use |
| Porcelain tile | Yes | Very high | Ground-level, wet rooms |
| Engineered hardwood | Yes, with mitigation | Medium | Living areas |
| Laminate flooring | Only with tested barrier | Low | Dry inland rooms |
| Solid hardwood | No, not on slab | Very low | Upper floors only |
The right underlayment matters as much as the floor itself. Use a moisture-rated underlayment made for concrete, and skip the foam pads that trap dampness.
Step 4: Pick the Right Dehumidifier for Coastal Homes
A dehumidifier for coastal homes keeps indoor humidity in the safe zone. Keeping relative humidity in a moderate range helps limit mold and mildew, and very dry air can cause wood flooring and trim to shrink.
Sizing matters more than brand. Match the unit's pint rating to your square footage and how damp the space runs. A common pattern is to start with the square footage and then add capacity for a damp crawlspace, a below-grade room, or a house that sits empty for weeks.
Sizing by Pint Capacity
Dehumidifier capacity is rated in pints of water removed per 24 hours at standard test conditions. Check the manufacturer's rating against your space and how damp it runs. A Southampton beach house with a damp crawlspace may need a unit one size larger than the square footage suggests. A house that sits empty for weeks needs a unit that can run unattended, which usually means a ducted system or a portable with a condensate pump and a drain line.
Refrigerant vs. Desiccant Units
- Refrigerant (compressor) dehumidifiers generally perform best in warmer spaces.
- Desiccant dehumidifiers generally keep working in cooler spaces such as crawlspaces and unheated basements, though they typically cost more to run.
A crawlspace in a beach house often stays cool even in summer, so a refrigerant unit there may ice up and stop removing moisture. Match the technology to the space temperature, not just the square footage.
Placement and Drainage
- Put the unit where air circulates, not in a closed closet.
- Run a condensate hose to a drain or outside. A unit that fills its tank and shuts off stops protecting the floor.
- Keep interior doors open so air reaches every room, and leave closet doors ajar.
Other Humidity Controls Worth Adding
- Run the HVAC on a low setting even when the house is empty, and set the fan to circulate.
- Use a hygrometer to track humidity in each room, not just one central spot.
- Service the HVAC system yearly to keep it pulling moisture.
Watch out: a dehumidifier that's too small for the space runs nonstop and still leaves damp air in corners, while an oversized unit short-cycles and never pulls the space down. Size it right the first time.
Smart Monitoring for Vacant Beach Houses
Smart home monitoring tools, such as Wi-Fi humidity sensors, can alert you to humidity changes in areas like the crawlspace, which may help you respond sooner. Pair such sensors with leak detection near the slab and under sinks.
Step 5: Watch for Signs of Mold Under Laminate Flooring
Signs of mold under laminate flooring can appear before visible mold does, so catching them early can help you avoid a larger repair.
Look for these warning signs:
- A musty, earthy smell that won't clear
- Dark spots or staining near seams and edges
- Floorboards that cup, buckle, or feel soft
If you spot any of these, pull back a board and check the subfloor. Mold remediation is generally easier when it starts early. For health guidance on indoor damp and mold, see the U.S. Environmental Protection Agency mold resources.
The U.S. Centers for Disease Control and Prevention guidance on mold notes that damp spaces need drying within 24 to 48 hours to stop mold growth. That timeline matters after any leak or storm.
Step 6: Maintain Expansion Gaps, Ventilation, and Smart Monitoring
Expansion gaps let your floor move with temperature and humidity changes. If gaps fill with sand or sealant, the floor buckles and traps moisture.
Your maintenance checklist:
- Vacuum sand from expansion gaps every season
- Check that gaps stay clear at walls and doorways
- Keep vents and returns unblocked for ventilation
Smart home monitoring tools can alert you to humidity changes under the floor, which may help you respond sooner.
Sealing gaps and keeping air moving also cuts salt air damage to finishes over time. Small habits protect a big investment.
Schedule a Moisture Assessment With Hamptons Carpet One Floor and Home
Moisture problems hide under the floor until they're expensive. A moisture assessment finds them first.
Homeowners across Suffolk County can contact us about flooring for coastal conditions. Contact us for current pricing and details on how we handle moisture testing, underlayment, and installation.
Visit the Hamptons Carpet One Floor and Home website for current information or a quote.
Frequently Asked Questions
How do you prevent mold growth under flooring in coastal homes?
The core defense is stopping moisture before it reaches the subfloor. Test the concrete slab for moisture, install a vapor barrier rated for your slab's permeance, and keep indoor relative humidity in a moderate range with a dehumidifier. Leave expansion gaps so air can circulate, and dry any water intrusion promptly. In coastal climates, salt air and seasonal humidity make these steps non-negotiable, especially under beach house flooring that sits over a crawl space or slab.
What are the signs of mold under laminate flooring?
Watch for a musty odor that lingers even after cleaning, cupping or buckling at plank seams, dark staining visible through gaps, and allergy-like symptoms that ease when you leave the house. Laminate is especially vulnerable because its core is wood-based and swells when moisture reaches it from below. If you notice soft spots or a hollow sound when walking, pull back a plank near the wall and inspect the subfloor before the problem spreads.
Can mold grow under luxury vinyl plank flooring in humid climates?
Yes. Luxury vinyl plank itself resists water, but mold can grow in the space beneath it, on the subfloor or trapped underlayment, when moisture accumulates. That is why LVP installations over concrete still need a vapor barrier and a tested slab. In humid coastal climates, pair LVP with a dehumidifier and a hygrometer so you can confirm indoor humidity stays in the safe range rather than assuming the flooring alone solves the problem.
What is the best flooring for a beach house to resist mold?
Porcelain tile and luxury vinyl plank are commonly suited to beach house flooring because neither is wood-based. Porcelain handles ground-level moisture and sand well, while LVP offers a warmer feel and faster installation over a properly mitigated slab. If you want carpet in bedrooms, consider moisture-resistant options, and keep a dehumidifier running during humid months.