 Ultimate guide
Preventing Squeaky Floors in Older Homes: A 2026 Guide
Table of Contents
- Why Older Homes Are More Prone to Squeaky Floors
- How to Identify the Source of a Squeak: A Visual Diagnostic Guide
- Preventing Squeaky Floors in Older Homes: Non-Invasive Fixes First
- How to Fix Squeaky Floorboards from Above: Step-by-Step
- Best Tools for Fixing Squeaky Floors in Older Homes
- Special Considerations for Historic and Heritage Home Floors
- Squeaky Floor Repair Cost: What to Expect for DIY and Pro Jobs
- Preventing Squeaky Floors in Older Homes Long-Term: Pro Tips
Last Updated: June 13, 2026
Older homes creak. That is not a charm feature, it is a structural warning sign most homeowners ignore until the squeak becomes impossible to sleep through. Preventing squeaky floors in older homes is one of the most common concerns we hear at Hamptons carpet one floor and Home, where we serve Suffolk County homeowners dealing with aging floor systems that have shifted, dried out, and loosened over decades. Below, we break down exactly why squeaks happen, how to find them, and how to fix them permanently.
Most guides treat every squeak the same. A squeak caused by seasonal wood expansion needs a completely different fix than one caused by a failed fastener or a sagging joist. Misdiagnosing the source is how homeowners end up with a floor that sounds fine in January and screams again by July. The five strategies we cover range from no-cost lubrication tricks to structural repairs that require a drill and a professional eye.
Why Older Homes Are More Prone to Squeaky Floors
Squeaky floors in older homes result from decades of wood movement, fastener fatigue, and subfloor degradation working together. A floor installed in 1960 has experienced thousands of humidity cycles, each one expanding and contracting the hardwood by small but cumulative amounts. Over time, those movements loosen nails, open gaps between planks, and allow the subfloor to separate from the joists beneath.
How Wood Movement and Seasonal Changes Create Friction
Wood is hygroscopic, it absorbs and releases moisture based on ambient humidity. According to the National Wood Flooring Association's guidelines on wood movement, hardwood flooring can change its moisture content by several percentage points across seasons, causing measurable expansion and contraction. In older homes without modern humidity control, this movement is more extreme.
The squeak itself is friction: two surfaces that should be stationary rubbing against each other, a loose plank shifting against its neighbor, a nail working back and forth in its hole, or a board sliding across the subfloor. A whole-home dehumidifier can reduce seasonal movement enough to stop friction entirely in mild cases.
Installation Errors and Aging Fasteners in Older Floor Systems
Many pre-1980 hardwood floors were face-nailed or blind-nailed with cut steel nails that have since corroded or worked loose. Modern installations use ring-shank nails or cleats that grip the wood grain, but older fasteners had no such mechanical advantage. As wood dried and shrank, nail shanks lost their friction hold and began allowing vertical movement in the planks.
Installation errors compound this. Floors laid without adequate expansion gaps eventually buckled or developed tight spots that transferred stress to neighboring boards. Subfloors installed without proper adhesive or sufficient fastener spacing develop bounce, which amplifies squeak frequency.
How to Identify the Source of a Squeak: A Visual Diagnostic Guide
Identifying the exact source of a squeak is the step most DIY guides skip, which is why so many repairs fail. Squeaky floor diagnosis is the process of isolating which component, the finish floor, the subfloor, or the floor joist, is generating friction, so you can apply the correct fix.
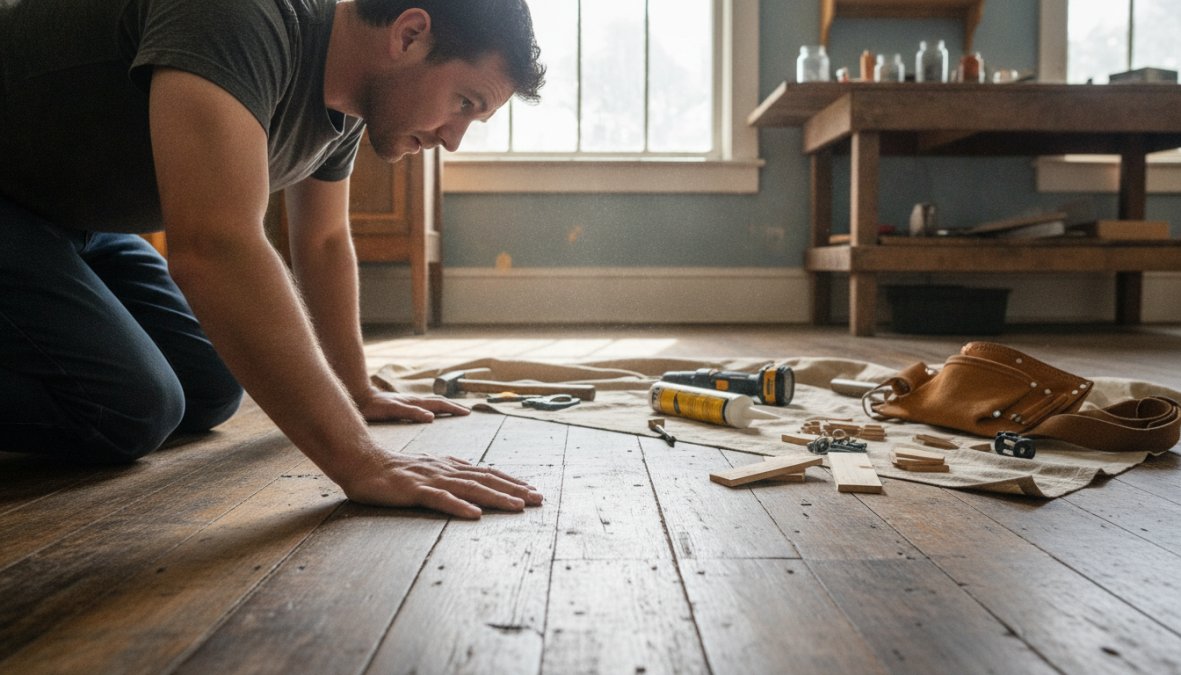
Start by walking the floor slowly and mapping every squeak location on a simple room sketch. Note whether the squeak occurs under full weight, on the step down, or only in one direction.
Mapping Squeaks from Above vs. Below
If you have basement or crawl space access, diagnosing from below is far more accurate. Have someone walk the floor while you watch from underneath, you will often see the subfloor flexing, a joist moving, or a gap opening and closing. Mark problem areas with chalk directly on the framing.
From above, a squeak localized to a single board that sounds sharp and high-pitched usually indicates a loose finish floor plank. A lower, broader creak spanning several boards typically points to subfloor movement. A squeak that follows the direction of the joists suggests joist-to-subfloor separation.
Signs the Problem Is the Subfloor, Joists, or Floor Planks
Use this framework to narrow down the source before picking up a single tool:
- Loose floor plank: Squeak is tight and localized; board has slight vertical movement when pressed; squeak stops when you hold the board down
- Subfloor separation: Squeak is wider in area; floor feels slightly springy; sound is deeper and more resonant
- Joist movement: Squeak follows a straight line across the room; audible from the floor below; may involve structural deflection
A common mistake is assuming the squeak originates where you hear it. Sound travels through wood easily, and the actual friction point can be several feet from where it sounds loudest.
Preventing Squeaky Floors in Older Homes: Non-Invasive Fixes First
The right approach starts with the least invasive option and works up from there. Cutting into a finished floor or driving screws through refinished hardwood is irreversible, exhaust non-invasive methods before committing to anything structural.
Talcum Powder, Lubricants, and Gap Filling for Creaking Boards
Talcum powder is the classic temporary fix: sprinkle it along the joints between squeaking boards, work it into the gaps with a soft brush, and walk the floor to drive it deeper. The limitation is real, it washes out with cleaning and needs reapplication every few months.
For a longer-lasting option, powdered graphite or a silicone-based lubricant applied to the joint line outperforms talcum powder and resists moisture. Avoid petroleum-based products, which can stain light-colored hardwood. For boards that have shrunk apart and are catching at the edges, use a flexible filler rated for wood floors, not a rigid caulk.
Humidity Control and Moisture Content Management
Controlling moisture content is the most durable prevention strategy. A portable dehumidifier in a humid basement directly reduces the moisture subfloor panels absorb. Whole-home humidification in dry winters keeps hardwood from contracting to the point where gaps form. According to the EPA's guidelines on indoor humidity and home health, maintaining indoor relative humidity between 30% and 50% protects both building materials and occupant health.
How to Fix Squeaky Floorboards from Above: Step-by-Step
Fixing squeaky floorboards from above is the most practical approach when there is no basement access and the squeak source has been confirmed as a loose plank or subfloor separation.
Total Time: 30-90 minutes per affected area Difficulty: Intermediate
Using Screws, Shims, and Underlayment for Lasting Repairs
What You'll Need:
- Variable-speed drill
- 1-5/8" or 2" fine-thread drywall screws (or purpose-made squeak repair screws)
- Stud finder
- Shims (for subfloor-to-joist gaps)
- Wood filler or color-matched putty
- Talcum powder (for testing after repair)
Step 1: Locate the joist [Time: 5 minutes] Use a stud finder to locate the floor joist nearest the squeak. Screws driven into solid framing hold permanently; screws driven into subfloor only will work loose.
Step 2: Pre-drill a pilot hole [Time: 2 minutes] Drill a pilot hole at a slight angle through the finish floor and subfloor, aimed toward the joist center. Pre-drilling prevents the hardwood from splitting.
Step 3: Drive the fastener [Time: 2 minutes] Drive a fine-thread screw until the head sits just below the surface. Purpose-made squeak repair kits include a snap-off screw designed to break at the surface level, simplifying the finish step.
Step 4: Fill and blend [Time: 10 minutes] Fill the screw hole with color-matched wood filler or putty. Blend with a putty knife and allow to dry before sanding flush.
Expected Result: The board should no longer move vertically when pressed. Test with talcum powder along the joint to confirm friction is eliminated.
For subfloor-to-joist gaps accessed from above, thin wood shims coated in construction adhesive can be driven into the gap from a nearby register opening or a small access cut.
Best Tools for Fixing Squeaky Floors in Older Homes
| Tool | Purpose | Notes |
|---|---|---|
| Stud finder | Locate joists for accurate screw placement | Magnetic models work on older nails |
| Variable-speed drill | Drive screws without splitting planks | Torque control is critical |
| Squeak repair kit | Snap-off screws for invisible repairs | Squeeeeek No More is a common brand |
| Shims | Fill subfloor-to-joist gaps | Cedar shims compress well |
| Powdered graphite | Lubricate joints without residue | Longer-lasting than talcum powder |
| Oscillating multi-tool | Cut small access openings if needed | Useful for subfloor shimming |
| Moisture meter | Diagnose humidity-related movement | Pin-type models work on hardwood |
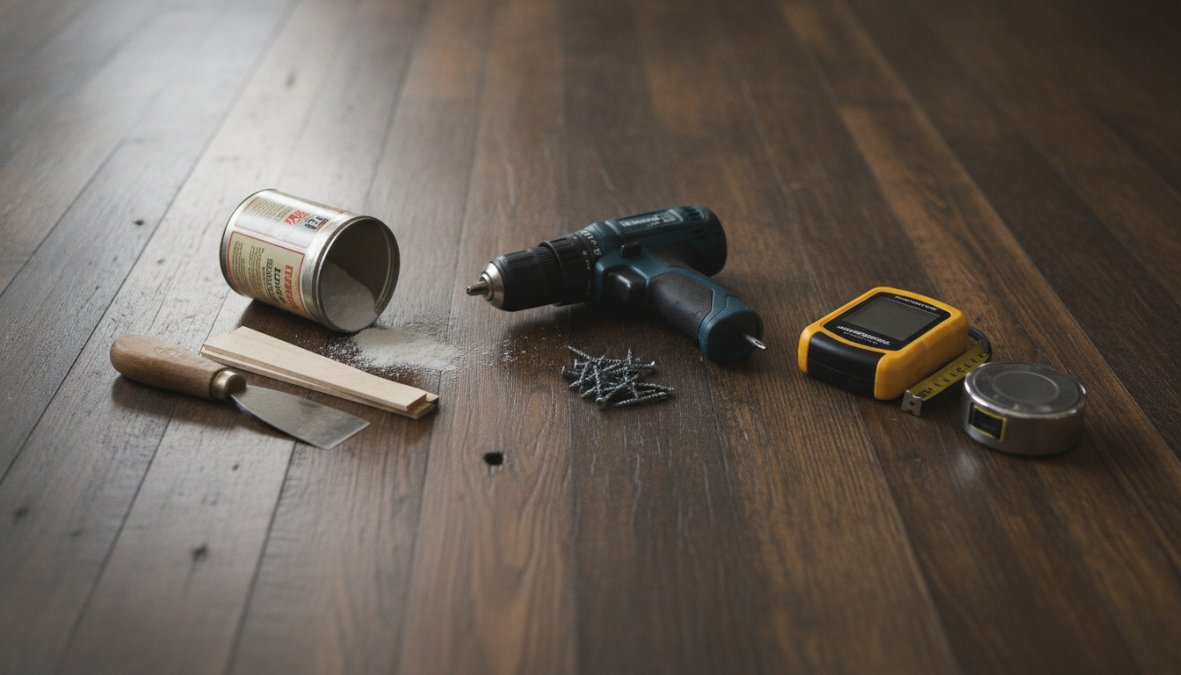
The moisture meter deserves special mention. A reading above 12% moisture content in a hardwood floor plank means the wood is still absorbing moisture, any mechanical fix you apply now may loosen again as the wood continues to move.
Special Considerations for Historic and Heritage Home Floors
Historic home floors present a genuine dilemma that generic squeak-fix guides ignore. The hardwood flooring in a pre-1940 home is often old-growth wood, denser, tighter-grained, and more dimensionally stable than anything available today. Destroying it with unnecessary fasteners or surface cuts is a mistake you cannot undo.
Preserving Original Hardwood Flooring While Eliminating Squeaks
The priority in a heritage home is non-invasive repair first, always. Before drilling a single hole in century-old heart pine or quartersawn white oak, exhaust every surface lubrication and humidity control option. When mechanical repair is unavoidable, work from below whenever possible, driving screws up through the subfloor from the basement leaves the surface completely intact.
For floors that cannot be accessed from below, consider the trade-offs honestly:
- Non-invasive (preferred): Powder lubrication, humidity control, flexible gap filler, no surface damage, may need repeat treatment
- Minimally invasive: Snap-off screws with color-matched fill, small nearly invisible surface marks, permanent mechanical fix
- Invasive: Board removal and re-nailing, complete fix, but risks splitting irreplaceable old-growth planks
According to the National Park Service's preservation briefs on historic wood floors, the guiding principle for historic structure repair is to use the least invasive method that achieves the desired result.
Squeaky Floor Repair Cost: What to Expect for DIY and Pro Jobs
| Repair Type | DIY Cost | Professional Cost | Durability |
|---|---|---|---|
| Talcum powder / graphite | Under $10 | N/A | Seasonal |
| Squeak repair screw kit | $15-30 | $100-200 per area | Long-term |
| Subfloor shimming (from below) | $20-50 materials | $200-500 | Permanent |
| Subfloor replacement (section) | $100-300 materials | $500-1,500+ | Permanent |
| Full joist reinforcement | Not recommended DIY | $1,000-3,000+ | Permanent |
The DIY cost for most fixing squeaky floorboards from above scenarios is genuinely low, under $50 for materials if the problem is limited to a few boards. Professional costs escalate quickly when subfloor replacement or joist work is involved. The skill requirement for a basic screw-and-fill repair is low; the skill requirement for diagnosing a structural joist problem correctly is high.
Preventing Squeaky Floors in Older Homes Long-Term: Pro Tips
Long-term prevention requires addressing the underlying causes of wood movement, not just the symptoms. The most effective strategy combines humidity management, periodic fastener inspection, and proactive underlayment replacement when floors are refinished, that is the ideal moment to address loose fasteners, add construction adhesive to subfloor seams, and replace worn underlayment.
A few pro-level habits most homeowners never hear about:
- Check perimeter gaps annually. The expansion gap around the room perimeter should be 3/4" minimum. If baseboards are installed tight against the floor, the floor has nowhere to expand and will buckle or squeak under pressure.
- Inspect crawl space ventilation. Poor ventilation drives moisture into subfloor panels from below. Adding vents or a vapor barrier is a permanent fix that protects the entire floor system.
- Use ring-shank nails when re-nailing. Ring-shank nails hold three to four times better than smooth-shank nails in aging wood.
When to Call a Professional for Structural Floor Repairs
Call a professional when the squeak is accompanied by any of the following: visible floor deflection, a crack in the subfloor visible from the basement, a joist showing signs of rot or insect damage, or a squeak pattern running in a straight line across a large area. These are signs of structural floor system problems, not surface friction. According to the International Association of Certified Home Inspectors' standards for floor systems, floor systems showing deflection or joist damage require professional assessment before any finish repairs are attempted.
DIY repair is appropriate for isolated loose planks and surface friction. If you are certain the squeak is a loose plank, fix it yourself. If you are not certain, spend the money on a professional diagnosis before you start drilling.
Squeaky floors in older homes are not inevitable, but they require a more systematic approach than most guides admit. Hamptons carpet one floor and Home works with Suffolk County homeowners on floor covering solutions that address both the surface and the subfloor conditions beneath it. If you are planning a floor replacement or refinish and want to solve the squeak problem permanently at the same time, reach out to the Hamptons carpet one floor and Home team to discuss your options before the project starts.
Frequently Asked Questions
Why do floors in older homes squeak more than in newer construction?
Older homes develop squeaky floors primarily because wood expansion and contraction over decades loosens fasteners, separates floor planks from the subfloor, and causes joists to shift. Seasonal movement, changes in humidity, and original installation errors compound over time. Unlike newer construction with engineered underlayment and modern fasteners, older floor systems were built with materials that are now aged, dried out, or no longer structurally tight, making preventing squeaky floors in older homes an ongoing maintenance priority.
What are the best tools for fixing squeaky floors without major demolition?
The best tools for fixing squeaky floors with minimal disruption include a stud finder to locate joists, a drill for driving screws through the subfloor, finish-head screws sized for your floor thickness, talcum powder or powdered graphite for lubrication between boards, wood shims for gap filling under loose planks, and a dehumidifier to manage moisture content. For above-floor repairs on finished hardwood flooring, a breakaway screw kit allows you to drive fasteners without leaving visible holes.
Is squeaky floor repair expensive, and can I do it myself?
Squeaky floor repair cost varies widely depending on the method. DIY non-invasive fixes, like talcum powder, lubrication, or screw kits, typically cost under $30 in materials. More involved repairs using shims or subfloor screws may run $50-$150 in supplies. Professional repairs for structural issues involving floor joists, subfloor replacement, or refinished floors can range from a few hundred to over $1,000 depending on the scope. Most surface-level squeaks in older homes are very manageable as DIY repair projects.
Do squeaky floors in older homes indicate structural damage?
Not always, most squeaks are caused by friction between loose boards, dried-out fasteners, or normal seasonal wood movement rather than structural failure. However, if squeaking is accompanied by visible floor sagging, soft spots, or bouncing underfoot, the floor joist or subfloor may be compromised and warrants a professional inspection. Preventing squeaky floors in older homes through regular humidity control and prompt repairs helps ensure minor issues don't escalate into problems that affect the structural integrity of the floor system.
Can you fix squeaky floorboards from above without removing the floor?
Yes. Learning how to fix squeaky floorboards from above is the most practical approach in finished rooms. Methods include injecting construction adhesive into gaps between planks, driving finish screws at an angle into the subfloor, using a breakaway screw kit designed for hardwood flooring, or applying talcum powder between boards as a temporary fix. These above-floor techniques preserve your existing hardwood flooring and avoid the cost and disruption of pulling up floor planks or accessing the space below.
This article was written using GrandRanker