 Ultimate guide
Tips for Installing Floors in Historic Homes: 2026 Guide
Table of Contents
- Understanding Historic Flooring Needs Before You Start
- Historic Home Renovation Permits and Preservation Codes
- Asbestos and Lead Paint Mitigation: The Safety Step Most Guides Skip
- Subfloor Preparation for Historic Homes
- Leveling Uneven Floors in Old Houses
- Best Flooring Materials for Historic Homes
- Key Tips for Installing Floors in Historic Homes Without Costly Mistakes
- Conclusion
Last Updated: June 11, 2026
Historic homes present flooring challenges that standard renovation guides simply do not cover, and the tips for installing floors in historic homes that actually work require a fundamentally different approach than what you'd apply to a new build. At Hamptons carpet one floor and Home, we've helped Suffolk County homeowners navigate everything from Victorian-era wide plank flooring to bungalow subfloor repairs, and the mistakes we see most often come from treating historic renovations like ordinary ones. Below, we'll show you exactly how to assess, plan, and execute a flooring project that honors your home's architectural heritage without sacrificing durability or safety.
Most guides jump straight to material selection and skip the structural, legal, and hazardous material steps that define whether a historic flooring project succeeds or fails. The sections ahead cover all of it, in the order it actually needs to happen.
Understanding Historic Flooring Needs Before You Start
Historic flooring restoration means evaluating, preserving, and where necessary replacing original floor systems while maintaining period-appropriate materials, methods, and historic integrity. This separates restoration from standard renovation, and the two require different decisions at every step.
Historic homes were built differently. Floor joists were hand-cut, spacing was inconsistent, and wood species like old-growth heart pine, Douglas fir, or chestnut no longer exist in commercial supply chains. Original floors can be irreplaceable, and that changes the calculus on every decision you make.
Identifying Your Home's Architectural Era
The architectural era determines which materials are period-appropriate and which would look out of place:
- Pre-1900 Victorian era: Wide plank flooring, typically 4-8 inches, in oak, pine, or chestnut.
- 1900-1930 Craftsman and bungalow: Narrower 2.25-inch strip oak became standard as sawmill technology improved.
- 1930-1960 Colonial Revival and early mid-century: Parquet and herringbone layouts in oak or maple appeared more frequently.
This is not just an aesthetic exercise. Historical district guidelines in many Suffolk County municipalities require replacement materials to match the original in species, width, and finish. Getting it wrong can trigger a permit violation after the work is complete.
Restoration vs. Replacement: Making the Right Call
Restoration makes sense when original floors have structural integrity, wear is surface-level, and the wood is thick enough to sand. Many original floors were installed at 3/4 inch and can handle two to three sandings before becoming too thin to refinish safely. Replacement becomes the right call when subfloor damage is beyond repair, moisture has caused warping sanding cannot fix, or the original material contained hazardous substances like asbestos-backed flooring common in mid-century homes.
Historic Home Renovation Permits and Preservation Codes
Permitting is the step homeowners most consistently skip, and it carries the most serious consequences. Historic home renovation permits are not optional in designated historical districts, and flooring work is not exempt simply because it is interior.
According to the National Park Service's guidance on historic preservation, properties listed on the National Register of Historic Places or within a local historic district are subject to review for any work that alters character-defining features, which includes original flooring in many cases.
When You Need a Permit in a Historical District
If your home is in a designated historical district or is individually landmarked, assume you need a permit and verify before starting work. Permit requirements typically apply when:
- You are removing original flooring that is a character-defining feature
- You are installing new flooring in a way that raises floor height and affects door clearances or trim
- You are making structural repairs to floor joists or subfloor systems
- The property is subject to a historic preservation easement
Suffolk County homeowners should check with their local municipality and the New York State Historic Preservation Office before starting work. The review process can take several weeks, build it into your timeline.
Asbestos and Lead Paint Mitigation: The Safety Step Most Guides Skip
Homes built before 1980 frequently contain asbestos in floor tile adhesives, vinyl sheet flooring backing, and resilient tile products. Homes built before 1978 may have lead paint on baseboards, trim, and subfloor surfaces disturbed during removal. Disturbing asbestos-containing materials without proper containment releases fibers that cause mesothelioma. Lead dust is particularly dangerous for children and pregnant women.
The correct sequence before any flooring removal in a pre-1980 home:
- Test first. Hire a certified inspector to test for asbestos in any resilient flooring, adhesive, or backing. Professional XRF testing is more reliable than DIY swabs for lead.
- Review results before touching anything. If asbestos is present in a non-friable state and you are not disturbing it, encapsulation may be an option. If removing it, licensed abatement contractors are required in New York State.
- Follow lead-safe work practices. As referenced in EPA's lead renovation and repair guidelines, the EPA's RRP rule requires certified contractors for any work disturbing painted surfaces in pre-1978 homes above a minimum threshold.
Asbestos abatement can add significant time and cost to the schedule. Plan for it, do not discover it mid-project.
Subfloor Preparation for Historic Homes
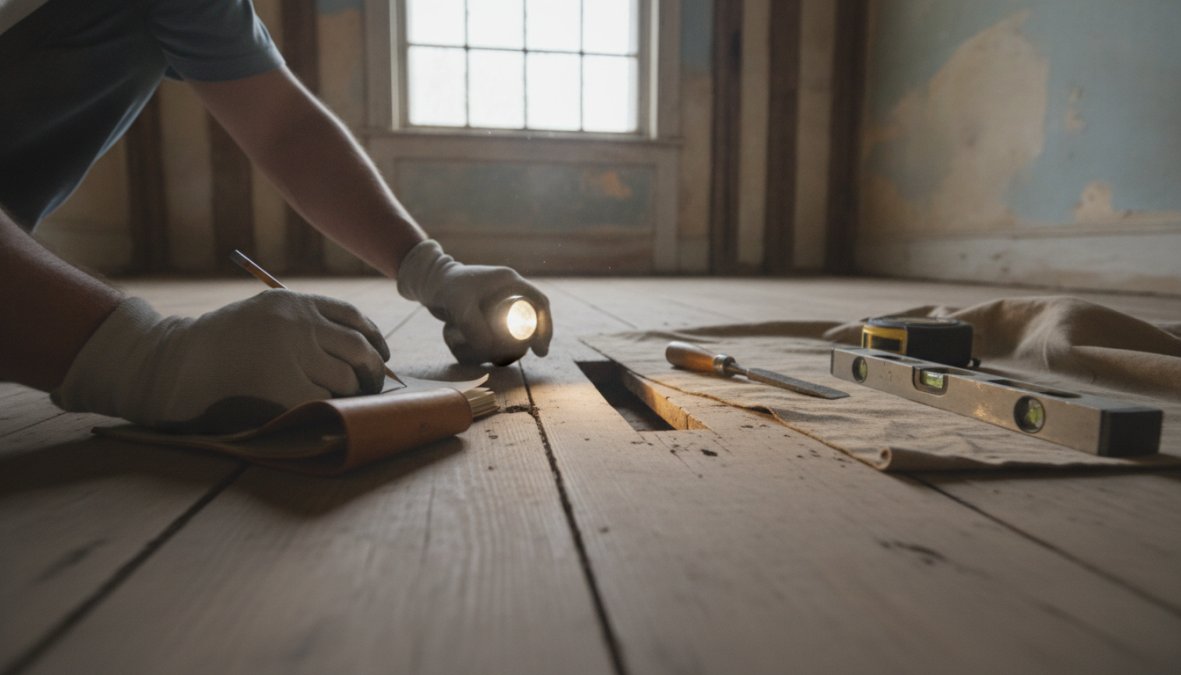
Proper subfloor preparation for historic homes is the foundation on which every other decision rests. Original subfloors in older homes were typically diagonal board sheathing, not plywood, and they behave differently under modern flooring products.
Inspecting Floor Joists and Structural Integrity
Walk the floor and note any areas that flex, bounce, or feel soft, indicators of subfloor damage, rot, or compromised joists. Covering problem areas with new flooring without addressing the cause is a common mistake; moisture intrusion and rot do not stop progressing just because there is new material on top.
Check for:
- Joists notched or drilled for plumbing or electrical runs, which reduces load capacity
- Moisture damage or rot at the perimeter where exterior walls meet the floor system
- Inconsistent joist spacing, common in pre-1900 construction, which affects how modern flooring can be fastened
Moisture Barriers and Finish Compatibility
Historic homes were not built with modern moisture management systems. Crawl spaces were often unventilated, and vapor barriers were not standard practice until relatively recently. Installing a moisture barrier before new flooring is essential, without it, seasonal moisture fluctuations cause wood to cup, gap, and buckle. Finish compatibility between the barrier, adhesive, and flooring product must be verified before installation; the wrong combination can cause adhesion failure or void the warranty.
Leveling Uneven Floors in Old Houses
Leveling uneven floors in old houses is one of the most technically demanding parts of any historic renovation. Floors in older homes settle unevenly over decades, varying by an inch or more across a single room. For minor variation, self-leveling compound is often sufficient. For more significant issues, sistering floor joists provides structural correction at the source.
What most guides miss is that aggressive leveling can create new problems, raising a low section too much can bind doors, create mismatches at room transitions, and stress original trim. The goal is a floor flat enough for the new material, not necessarily perfectly level by modern standards.
Best Flooring Materials for Historic Homes
Choosing the best flooring materials for historic homes requires balancing historical accuracy, structural compatibility, and practical durability. The right choice depends on your home's era, subfloor condition, and whether you are in a designated district with material restrictions.
Sourcing Reclaimed Hardwood and Period-Appropriate Options
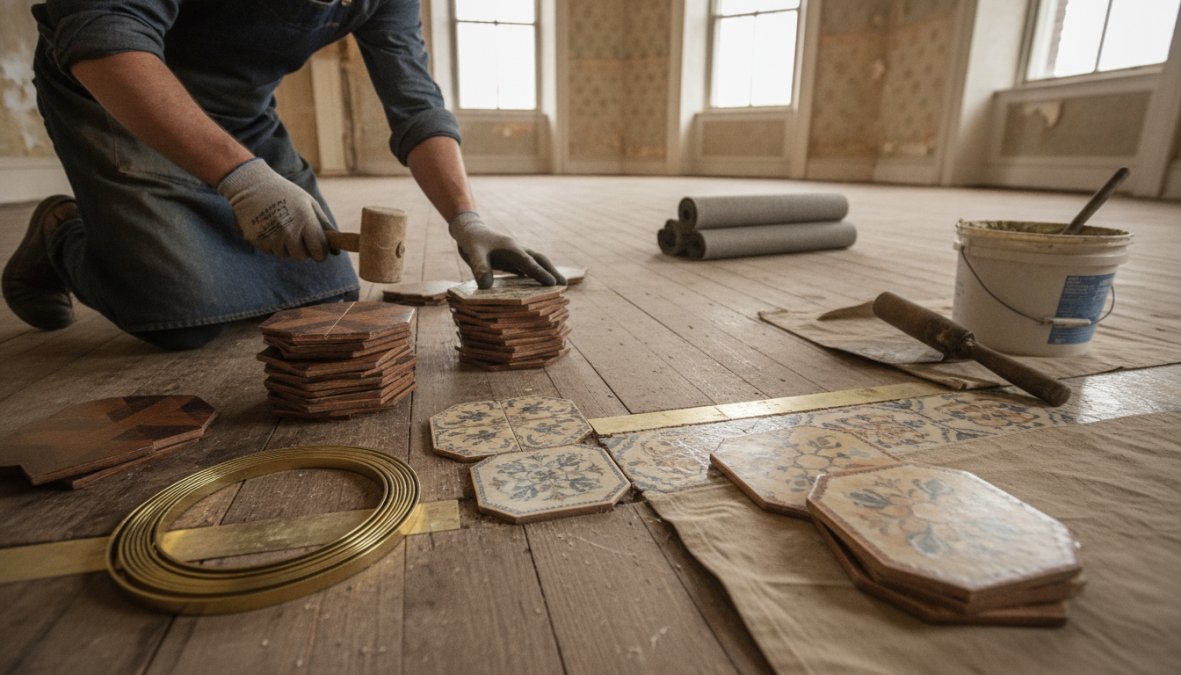
Reclaimed hardwood is the most historically accurate choice for most pre-1950 homes. Old-growth heart pine, wide plank oak, and antique chestnut reclaimed from demolished buildings carry the grain density, patina, and dimensional character that new-growth lumber cannot replicate. When sourcing reclaimed material, verify:
- Wood species and whether it matches your home's original flooring
- Moisture content (should be 6-9% for most interior installations)
- Whether the material has been properly kiln-dried or air-dried after reclamation
- Dimensional consistency, since reclaimed material can vary in thickness and requires careful subfloor preparation
According to the Forest Stewardship Council's guidance on reclaimed wood, reclaimed wood products can carry certification verifying origin and chain of custody, increasingly relevant for preservation projects requiring documentation.
When Engineered Hardwood or Vinyl Plank Alternatives Make Sense
Engineered hardwood and vinyl plank alternatives are not compromises, for certain historic home situations, they are the better technical choice. Engineered hardwood performs better than solid wood in high-moisture environments, over radiant heat systems common in older homes, and in below-grade installations. For a historic bungalow with an unventilated crawl space, engineered hardwood with a period-appropriate species veneer often outperforms solid wood in long-term stability.
Vinyl plank alternatives now include products with realistic wood grain textures and wider plank formats that read as period-appropriate. They are worth considering for rental properties, high-traffic areas, or spaces where subfloor conditions make wood installation impractical. If your home is in a designated district, however, vinyl plank may not meet preservation guidelines, verify before purchasing.
| Material | Best For | Period Accuracy | Moisture Resistance |
|---|---|---|---|
| Reclaimed hardwood | Designated historic districts | Highest | Low-moderate |
| New solid hardwood | Non-designated homes, matching era | High | Low |
| Engineered hardwood | High-moisture environments, radiant heat | Moderate | High |
| Vinyl plank | Rental properties, wet areas | Low | Very high |
Key Tips for Installing Floors in Historic Homes Without Costly Mistakes
The tips for installing floors in historic homes that matter most prevent irreversible errors. Historic flooring work has a low tolerance for mistakes because materials are often irreplaceable and the structural context is unforgiving.
Practical checklist before installation begins:
- Asbestos and lead testing completed and results reviewed
- Permits pulled and approved (if required by local historical district)
- Floor joists inspected and structural repairs completed
- Subfloor moisture content measured and within acceptable range
- Self-leveling compound or joist sistering completed where needed
- Moisture barrier confirmed compatible with flooring adhesive
- Flooring material acclimated in the installation space for manufacturer-specified time (typically 48-72 hours)
- Stain and finish samples tested on actual wood before committing
The acclimation step is frequently shortcut. Wood that has not acclimated to the ambient temperature and humidity will expand or contract after installation, creating gaps or buckling. In historic homes with older HVAC systems and less consistent climate control, this step is even more critical.
Refinishing Techniques: Floor Sanding and Stain Matching
Refinishing original floors rather than replacing them is almost always the better preservation decision when the wood has sufficient thickness. The refinishing process for historic floors:
- Measure wood thickness before sanding. If you are below 3/8 inch of material above the tongue, sanding is not safe.
- Start with the least aggressive grit that achieves the desired result. Over-sanding removes material unnecessarily and creates dips and waves.
- Test stain matching on an inconspicuous area or scrap piece of the same species, aged wood absorbs stain differently than freshly sanded wood.
- Choose a period-appropriate finish. Oil-based finishes penetrate the wood and produce a warmer, lower-sheen result that reads as more historically accurate than high-gloss polyurethane.
- Apply finish in thin, even coats with full cure time between coats. Rushing this step is the most common cause of finish failure.
Hamptons carpet one floor and Home works with Suffolk County homeowners to source refinishing materials and match stains to original wood floors. For complex stain matching or wide plank floors with significant character variation, professional color consultation makes a measurable difference in the final result.
As documented in the National Trust for Historic Preservation's guidance on floor care, original wood floors are among the most significant character-defining features of historic homes and are worth preserving wherever structurally feasible.
Historic flooring projects are where good intentions and poor planning collide most expensively. The structural, legal, and material decisions all compound each other, and a mistake in the permitting or hazardous material phase can derail everything that follows. Hamptons carpet one floor and Home serves homeowners across Suffolk County navigating exactly these challenges, offering material sourcing, professional guidance, and access to period-appropriate flooring options that meet both practical and preservation requirements. Connect with the Hamptons carpet one floor and Home team to get started with a flooring plan built around your home's specific history and condition.
Frequently Asked Questions
Can you put new flooring over old floors in a historic home?
In many cases, yes, but it depends on the subfloor condition, floor height clearance, and any historical district guidelines that apply to your property. Before installing new flooring over existing material in a historic home, test for asbestos or lead paint, assess structural integrity, and confirm that adding height won't interfere with doors, trim, or thresholds. Preserving original wood floors beneath new flooring can also protect historical value if you ever choose to restore them later.
How do you level uneven floors in an old house?
Leveling uneven floors in old houses typically involves sistering damaged floor joists, applying a self-leveling compound over the subfloor, or shimming low spots. The right method depends on the severity of the unevenness and the cause, settlement, subfloor damage, or joist deflection. Always address the root cause first. For historic homes, avoid over-aggressive grinding or planing of original wood floors, as this can compromise both structural integrity and historical value.
What is the best flooring material for historic homes?
Reclaimed hardwood is widely considered the most period-appropriate and historically accurate option for older homes, particularly for Victorian era or historic bungalow properties. Wide plank flooring with tongue and groove construction closely mirrors original installation techniques. Engineered hardwood is a practical alternative where moisture or subfloor leveling is a concern. When choosing materials, prioritize wood species identification to match existing floors, and consult historical district guidelines if your home is in a designated preservation zone.
Do I need a permit to replace floors in a historic home?
It depends on your local jurisdiction and whether your home is in a designated historical district. In Suffolk County, NY, homes listed on local or national historic registers may require approval from a preservation board before flooring changes are made, especially if the work affects original materials with architectural heritage significance. Even outside formal districts, some municipalities require permits for structural subfloor work. Always check with your local building department and historic preservation office before starting any renovation.
How do I protect original subfloors during a historic home renovation?
Start by covering original wood floors with heavy-duty rosin paper or protective boards before any work begins. Avoid dragging heavy equipment directly across original surfaces. During subfloor preparation for historic homes, use hand tools where possible near original planks to prevent unnecessary wear and tear. If asbestos abatement or lead testing is required, ensure containment barriers are in place. Documenting the condition of original floors with photos before work starts also helps if restoration is needed later.
This article was written using GrandRanker