 Ultimate guide
Tips for Installing Historic Floors: A Complete Guide
Table of Contents
- Understanding Historic Floor Installation Challenges
- Leveling Uneven Subfloors in Old Houses
- Acclimating Wood Floors in Old Homes
- Moisture Barriers and Subfloor Preparation
- Best Tools for Installing Hardwood in Historic Homes
- Historic Home Renovation Building Codes and Compliance
- Common Installation Mistakes to Avoid
- Conclusion
Last Updated: August 5, 2026
Understanding Historic Floor Installation Challenges
Installing hardwood in historic homes demands a completely different approach than modern construction. Your house has structural realities that contemporary builds don't face: uneven joists, inconsistent subfloor composition, moisture issues accumulated over decades, and wood already settled into its final position. Standard installation methods don't account for these conditions, which is why many historic floor projects fail.
Historic homes were built with different materials, spacing standards, and expectations about wood movement. A technique that works in a 2010 ranch house will fail in a 1920s cottage.
The biggest mistake homeowners make is treating historic floor installation like a standard renovation. Moisture barriers go down wrong. Subfloors don't get leveled because "that's how it was built." Acclimation gets skipped. Then the wood cups, gaps appear, or the floor fails within five years.
This guide covers the specific challenges you'll face, the tools that work in these situations, and the mistakes that cost thousands to fix later.
Leveling Uneven Subfloors in Old Houses
An uneven subfloor is the defining characteristic of historic homes. Most historic structures have joists that have settled unevenly over 80+ years. Building code compliance for historic homes typically allows no more than 3/8 inch variation over 10 feet for hardwood installation.
Minor variations (under 1/8 inch) can be accommodated with thicker underlayment and careful fastener placement. Anything beyond that typically requires intervention.
Sistering floor joists is the most permanent fix for severe unevenness. This involves installing new lumber alongside existing joists to provide additional support. For historic homes, this is done selectively, only where joists are severely compromised or where floor sag is most pronounced. The new joist is bolted to the old one, creating a composite structural member. This work typically requires permits and inspection, especially in historic districts.
Leveling compound offers a faster alternative for less severe issues. Self-leveling products are poured across the subfloor to create a level surface. For historic installations, use products specifically formulated for wood subfloors. Apply it 24-48 hours before laying flooring to allow full cure time.
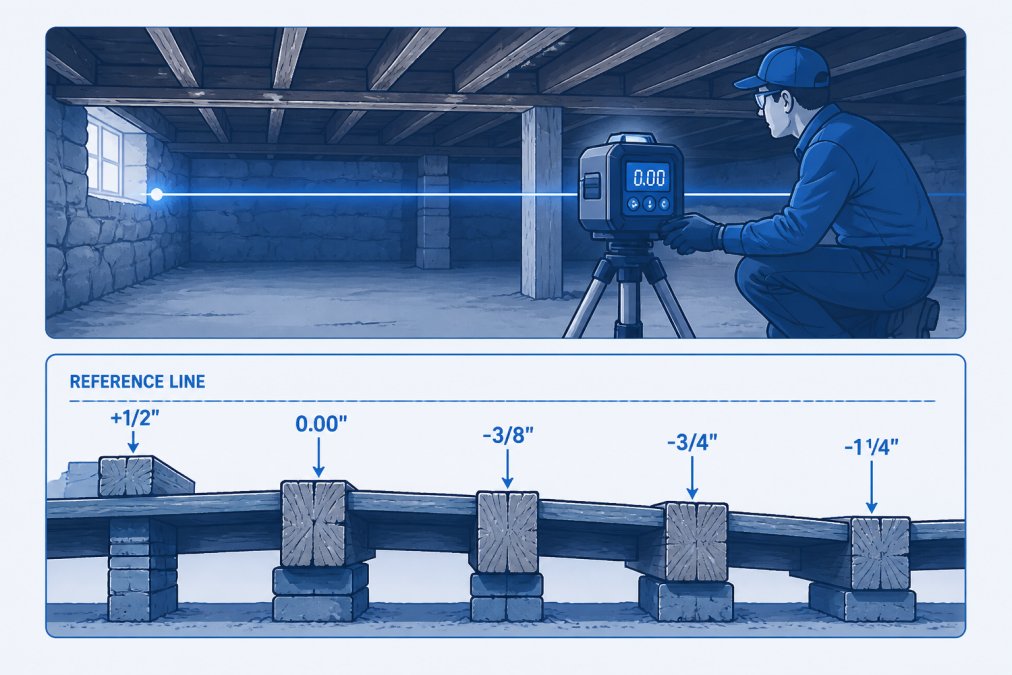
Hand-scraped finishes and distressed wood can conceal minor leveling issues better than smooth, glossy finishes. If your subfloor has slight variations that don't meet standard tolerances but aren't severe enough to warrant sistering, period-appropriate finishes that show character work well.
Acclimating Wood Floors in Old Homes
Acclimation is non-negotiable for historic installations, yet it's the step most commonly skipped. Wood is hygroscopic, it absorbs and releases moisture based on relative humidity. A board stored at 45% humidity will behave differently once installed in a home where humidity runs 55-60%, causing expansion, gaps, or cupping.
For acclimating wood floors in old homes, the standard timeline is 5-7 days minimum, though 10-14 days is better. Stack the hardwood planks loosely in the room where they'll be laid, allowing air to circulate around all sides. Don't cover them with plastic. The goal is for the wood's moisture content to match the ambient conditions it will experience long-term.
Historic homes present unique acclimation challenges because their humidity levels fluctuate more than modern, climate-controlled houses. Before acclimating, measure the current relative humidity using a moisture meter. If it's unusually high (above 65%), address the source first, check for leaks, poor ventilation, or foundation moisture issues. Laying flooring into a damp environment guarantees failure.
Temperature matters too. Acclimate in the actual temperature the space will maintain. If the space will be heated to 72°F in winter and 78°F in summer, try to acclimate at a middle ground to prevent the wood from expanding or contracting dramatically once installation is complete.
Moisture Barriers and Subfloor Preparation
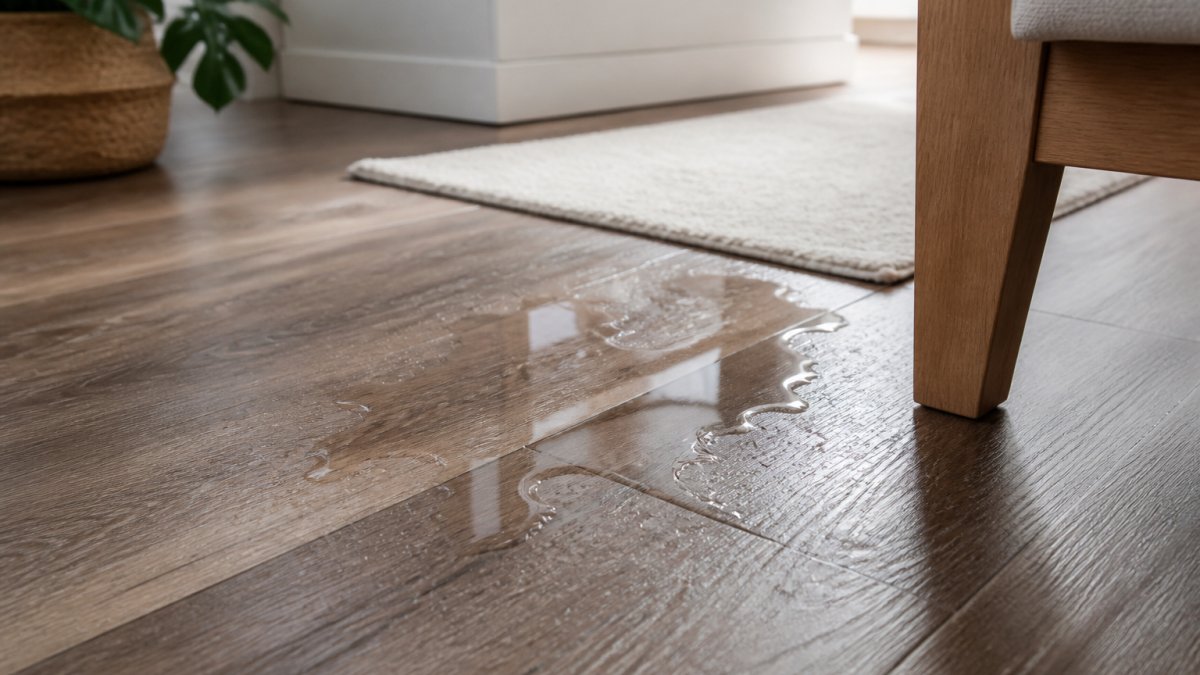
A moisture retarder or moisture barrier is essential in historic homes, where foundation moisture and ground-level dampness are common. These barriers prevent moisture from wicking up from the subfloor into the hardwood, which would cause cupping, warping, and failure.
For subfloor preparation, start by removing any existing flooring and assessing the substrate. Once everything's removed, inspect the subfloor for soft spots, rot, or structural damage. Any compromised wood needs to be replaced. Check for fasteners, nails, or staples that could interfere with new installation and sand or grind these down.
Polyethylene sheeting (4-6 mil) is the most common and affordable moisture barrier option. Roll it out across the entire subfloor, overlapping seams by 6 inches and taping them with polyethylene tape. For added protection, especially in basements or crawl spaces, use engineered moisture retarder products that block vapor transmission while allowing some moisture to escape.
Underlayment adds another layer of protection and can help with minor subfloor irregularities. Cork, felt, or foam underlayment sits on top of the moisture barrier and below the hardwood. For historic installations, choose underlayment compatible with the specific wood species and finish you're using.
Building code compliance for historic homes sometimes requires specific moisture protection details, especially if the home is in a historic district. Check with your local building department before installing, some jurisdictions have specific requirements about vapor barriers, underlayment materials, or fastening methods for historic properties.
Best Tools for Installing Hardwood in Historic Homes
The right tools make the difference between professional installation and frustration. For historic homes, you need equipment that handles older, sometimes irregular subfloors and delicate wood.
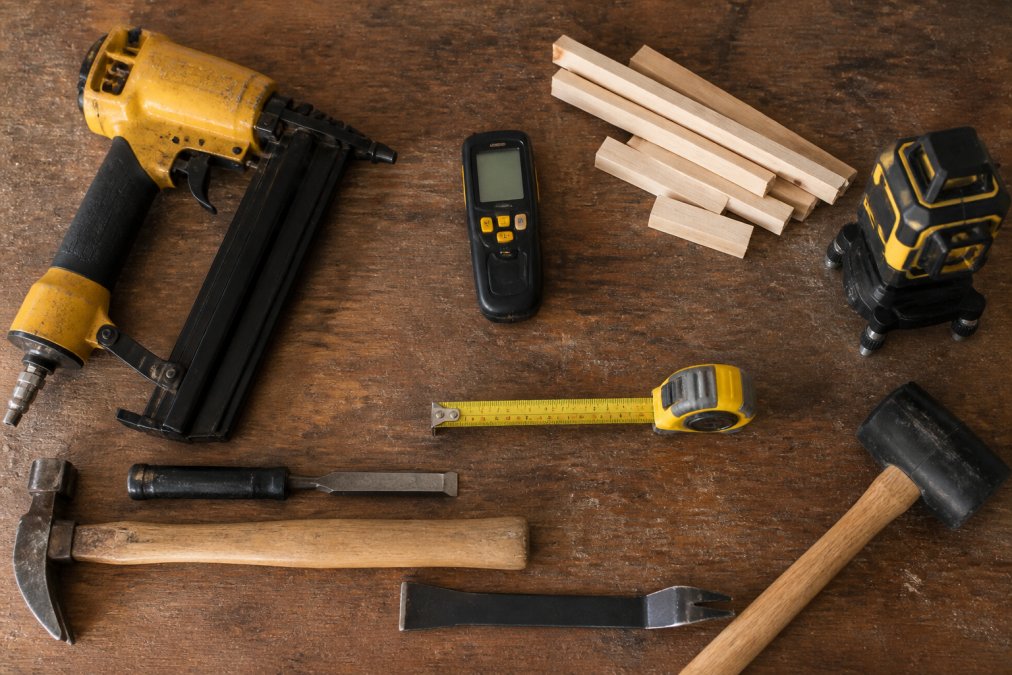
A moisture meter is your first essential tool. Before installation, measure the moisture content of both the subfloor and the flooring material. This single measurement prevents most installation disasters.
A laser level identifies high and low spots in your subfloor, showing exactly where leveling compound or sistering is needed. For historic floor installation, this precision is worth the investment.
A pneumatic nail gun with 18-gauge nails is the standard for fastening hardwood. Use nails rated for hardwood and sized appropriately for your plank thickness (typically 1.5 to 2 inches long).
Spacers maintain consistent expansion gaps around the perimeter of each room. Wood naturally expands and contracts with humidity changes, so you need 1/2 to 3/4-inch gaps at walls, doorways, and transitions. Uneven gaps look sloppy and inconsistent gaps cause buckling when the wood expands.
A table saw or miter saw is essential for cutting planks to fit around obstacles, doorways, and irregular wall edges. A quality saw with a fine-tooth blade for hardwood produces clean cuts that fit tightly.
A power sander prepares the subfloor and finishes the installed flooring. A 120-grit belt sander removes high spots and old adhesive residue. After installation, an orbital sander with 100-grit, then 150-grit, then 220-grit sandpaper creates a smooth surface ready for finish.
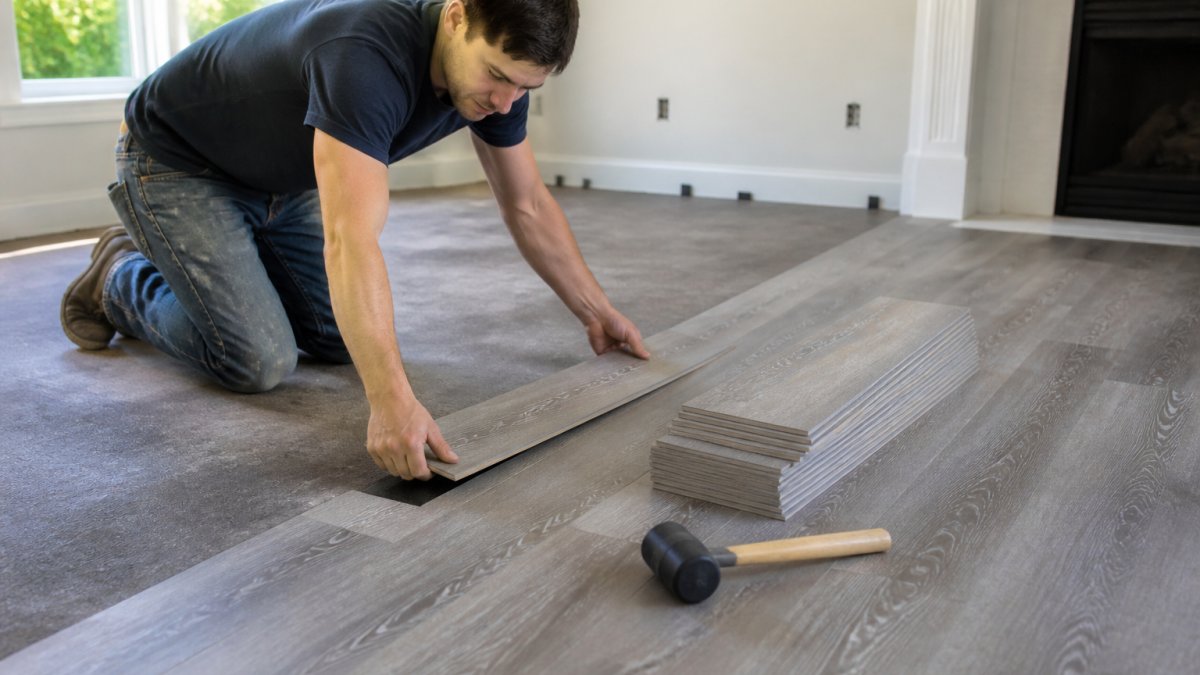
A tapping block and mallet help seat planks tightly during installation. Rather than hammering nails directly, you tap the block, which transfers force evenly. This is especially important with reclaimed or antique flooring, which can be more brittle than new material.
Historic Home Renovation Building Codes and Compliance
Building code compliance for historic homes involves navigating requirements that sometimes conflict with preservation principles. Most jurisdictions allow some flexibility for historic properties, but you need to understand what applies in your area before you start.
The International Residential Code (IRC) sets baseline standards for floor structure and installation. For historic homes, local building departments often allow modifications to meet code while preserving original character. Contact your local building inspector and describe your project. Many inspectors will approve reasonable solutions for historic properties.
Flooring thickness and floor joist spacing are code considerations. Historic homes often have joists spaced 24 inches apart, while modern code typically requires 16-inch spacing. If your joists don't meet current spacing, you can sister additional joists, install reinforcement, or choose flooring products rated for wider joist spacing.
In coastal areas like Suffolk County, building code compliance includes considerations for moisture and salt air exposure. Check with your local building department about any coastal-specific requirements.
Historic district guidelines add another layer. If your home is in a designated historic district, you may need approval from a historic preservation commission before starting work. Interior flooring is often less restricted, but some districts have specific requirements about materials or finishes. Get approval in writing before proceeding.
Documentation matters. Keep records of all moisture readings, subfloor conditions, materials used, and installation details. Take photos before, during, and after installation.
Common Installation Mistakes to Avoid
Skipping acclimation tops the list. Wood that hasn't equilibrated to the space's humidity will expand or contract after installation, creating gaps or buckling that often requires replacement.
Ignoring subfloor preparation is the second major mistake. Rushing through leveling, moisture barrier installation, or removal of old adhesive creates problems that show up months later. High spots cause fasteners to miss, creating squeaks. Low spots mean the flooring doesn't sit flat.
Inadequate moisture protection is especially critical in historic homes. Installing flooring without proper barriers is like building a dam with a hole in it. Moisture damage is expensive and often not covered by warranties.
Wrong fastener choices cause squeaking and fastener pop-through. Using nails that are too short means the flooring floats slightly. Using nails that are too long can split the wood. For historic wood, especially reclaimed or antique material, oversized fasteners can split the board.
Inconsistent expansion gaps look unprofessional and cause problems. Use spacers throughout installation and check them regularly.
Not accounting for wood movement is a fundamental misunderstanding. Hardwood expands and contracts with humidity changes. If you don't leave adequate space for this movement, the wood buckles or cups. Staggered joints help distribute stress and accommodate movement.
Choosing flooring that doesn't match the home's character or structural capacity is a planning mistake. Match your material choice to both the home's character and your skill level.
Rushing the finish process wastes all the work you've done getting the subfloor right. Proper finish sanding requires multiple grits with adequate dust removal between each. Taking time on finishing is what separates professional results from DIY-looking work.
Historic floor installation is fundamentally about respecting the structure you're working with while meeting modern performance standards. The homes that have survived 80+ years were built well. Your job is to work within those constraints, address the specific challenges that time has created, and install flooring that will last another generation.
Hamptons carpet one floor and Home has helped homeowners throughout Suffolk County navigate these exact challenges. When you're ready to move forward, our team can evaluate your specific situation and recommend the best approach for your home's age, structure, and location.
Frequently Asked Questions
Can you install modern hardwood in a historic home?
Yes, you can install modern hardwood in historic homes, but you must account for structural differences. Historic homes often have uneven joists, settling, and unique moisture conditions. Modern hardwood planks work well if you prepare the subfloor properly, use appropriate fasteners, and allow for proper acclimation. Consider reclaimed wood or hand-scraped finishes that better match the period character of your home while meeting current building codes.
How do you level uneven subfloors in an old house?
Start by assessing joist spacing and structural integrity. For minor unevenness, use leveling compound over the subfloor. For significant dips, sister floor joists by fastening new lumber alongside existing ones, or selectively replace damaged sections. Always address moisture issues first and ensure proper ventilation. Check local building codes for historic properties before sistering joists, as some jurisdictions have specific requirements for preserving structural authenticity.
What's the difference between reclaimed and new wood for historic floors?
Reclaimed wood offers authentic patina, hand-scraped finishes, and period-appropriate character that matches existing historic flooring. New wood provides consistency, better moisture control, and modern durability. For strict historic preservation, reclaimed wood is preferable. For functional restoration with modern performance, new wood with distressed finishes works well. Both require the same installation rigor: proper acclimation, moisture barriers, and attention to expansion gaps.
Do I need to follow specific building codes for historic home renovations?
Yes. The International Building Code (IBC) and your state's building codes apply to historic homes. Some communities have additional historic preservation guidelines. Check with your local building department and preservation board before starting. Requirements typically cover structural support, moisture management, and safety standards. Compliance protects your investment, ensures safety, and may be required for insurance and future resale.
This article was written using GrandRanker