 How-to
Prevent Water Damage Under Kitchen Vinyl Flooring
Table of Contents
- Why Water Under Vinyl Flooring Is a Silent Threat
- Understanding Water Under Vinyl Plank Flooring
- Installing a Moisture Barrier Under Vinyl Flooring
- Preventing Leaks Around Kitchen Appliances
- Seal Exposed Edges and Gaps in Vinyl Flooring
- How to Dry Water Under Vinyl Flooring
- Daily Habits and Routine Inspections
- When to Call a Professional
- Frequently Asked Questions
Last Updated: October 6, 2026
Why Water Under Vinyl Flooring Is a Silent Threat
Water damage vinyl flooring is one of the most dangerous problems homeowners face. It happens quietly, hidden from view, and by the time you notice swelling or soft spots, serious damage may already exist.
The problem starts small. A spill goes unnoticed. Water seeps through a seam. Moisture builds up beneath the surface. Within weeks, the subfloor begins to rot. Mold can develop. The entire floor may need replacement.
Kitchens are especially vulnerable: sinks leak, dishwashers overflow, refrigerators drip, and plumbing fails. Vinyl is water-resistant on the surface but not waterproof underneath.
This guide covers how water infiltrates, what prevents it, and what to do if moisture has already gotten underneath.
Understanding Water Under Vinyl Plank Flooring
Water under vinyl plank flooring occurs when moisture passes through seams, edges, or the surface and becomes trapped beneath the planks, where it cannot dry properly.
Vinyl is water-resistant, meaning water beads up on the surface rather than soaking through immediately. But water-resistant is not waterproof, a critical difference.
Water-resistant vinyl slows absorption; waterproof vinyl stops it completely. Most residential vinyl is water-resistant, not waterproof, so water will eventually find a path underneath given enough time and exposure.
How water infiltrates through seams and joints
Vinyl planks connect at seams, the weakest points in your floor. Water pools along a seam, and gravity pulls it down through the joint to the subfloor beneath.
Planks also have edges where flooring meets walls, cabinets, and appliances. These edges aren't sealed during standard installation, so water can run along them, find a gap, and slip underneath.
Gaps appear for several reasons: planks shrink and expand with temperature and humidity changes, installation errors leave small spaces, and wear and tear creates openings over time.
Once water is under the flooring, it's trapped. Vinyl doesn't breathe. Air can't circulate beneath it. The moisture sits on the subfloor, soaking into wood or particle board.
The difference between water-resistant and waterproof vinyl
Water-resistant vinyl has a protective layer that resists moisture penetration and handles surface spills and splashes, but it's not designed to be submerged or exposed to water underneath continuously.
Waterproof vinyl has a sealed core that stops water completely. It's more expensive and overkill for most kitchens if you're already preventing water from getting under the floor.
Real protection comes from sealing edges and gaps, not from choosing waterproof vinyl. A water-resistant floor with proper edge sealing outperforms a waterproof floor with gaps and exposed edges.
Installing a Moisture Barrier Under Vinyl Flooring
Moisture barriers come in two types: sheet barriers (plastic membranes laid under the flooring before installation) and roll-on barriers (applied directly to the subfloor surface).
Sheet barriers are more effective because they create a complete seal across the entire floor. Roll-on barriers work but require careful application to avoid gaps.
Not all kitchens need a moisture barrier. If your subfloor is concrete and the kitchen stays dry, it may not be necessary.
Cost depends on kitchen size and barrier type. We can assess your space and recommend whether a moisture barrier makes sense.
Preventing Leaks Around Kitchen Appliances
Kitchen appliances are the biggest source of water damage under vinyl flooring. Sinks, dishwashers, and refrigerators all leak eventually. The question isn't if, it's when.
Sealing around sinks and faucets
Sinks are the most common leak source: water drips from the faucet, the sink-to-countertop connection fails, and water runs down the cabinet side onto the floor.
Seal the sink base with silicone caulk where the cabinet meets the flooring to stop water from running underneath.
Check the faucet connection monthly, tightening it if loose and replacing washers if water drips from the base. A small leak today becomes a big problem in three months.
Install a drip tray under the sink. Catch water before it hits the floor. Check the tray weekly and empty it.
Protecting areas near dishwashers and refrigerators
Dishwashers leak from the door seal, drain hose, or water supply line.
Inspect the dishwasher door seal every six months, replacing it if cracked or no longer sealing tightly.
Refrigerators have a water supply line for ice makers and dispensers. These lines crack, come loose, and flood the floor when they fail.
Check the water line connection at the back of the refrigerator. Make sure it's tight.
Place a small drip tray under the refrigerator water line connection. It catches water if the line fails.
Seal the gap between the refrigerator and the flooring with caulk. This stops water from running under the fridge and spreading across the kitchen floor.
Seal Exposed Edges and Gaps in Vinyl Flooring
Exposed edges where vinyl flooring meets walls, cabinets, baseboards, and appliances are the entry points for water. Sealing them stops water from getting underneath.
Choosing the right sealant for vinyl
Silicone caulk is the best choice for vinyl flooring: flexible, waterproof, and long-lasting, it doesn't yellow or crack like latex caulk.
Latex caulk is cheaper but fails faster in wet environments, shrinking and cracking within a few years. Avoid it for kitchen flooring.
Check the label for vinyl compatibility, incompatible caulk can damage the vinyl surface or fail to bond properly.
Match the caulk to your flooring or grout color. Clear caulk works everywhere; colored caulk blends in better.
Buy caulk from a flooring supplier, not a general hardware store. Flooring-specific caulk is formulated for vinyl and lasts longer.
Step-by-step edge sealing process
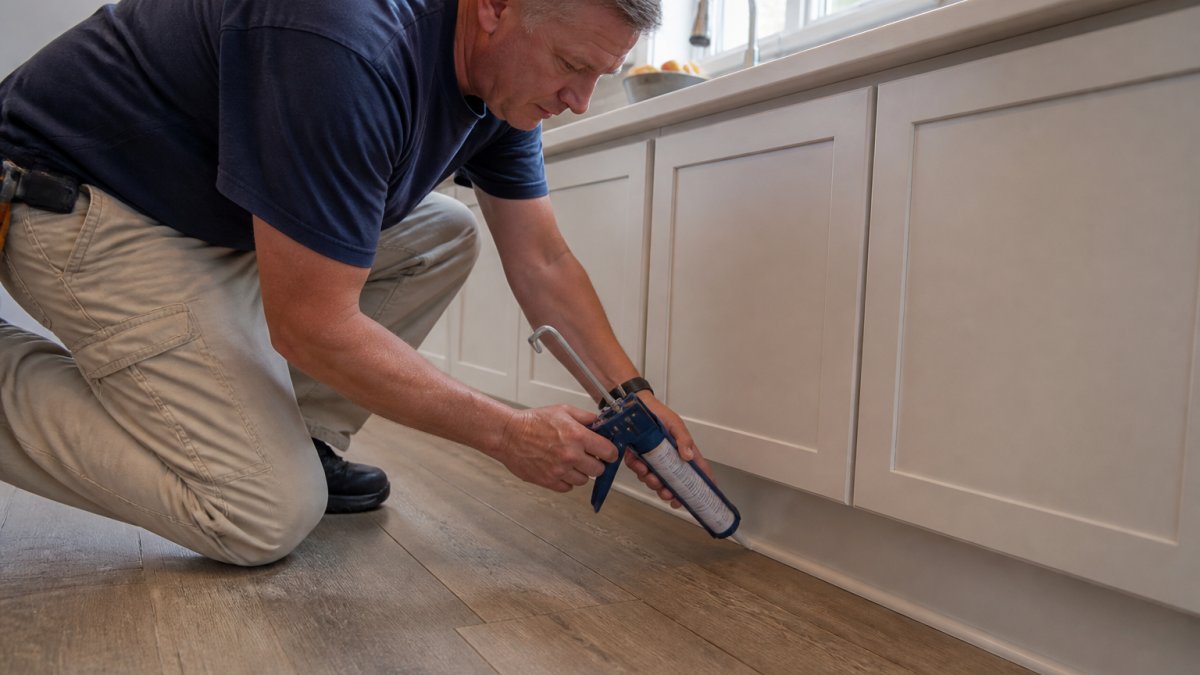
Step 1: Clean the edge thoroughly. Use a damp cloth to wipe away dust, debris, and old caulk. Let it dry completely. Moisture prevents new caulk from bonding.
Step 2: Cut the caulk tube at a 45-degree angle. Cut a small opening for a thin bead, which is easier to smooth and looks better.
Step 5: Let it cure fully. Most silicone caulk takes 24 hours to cure.
Seal edges around the entire kitchen perimeter, especially around appliances and under cabinets, which get wet most often.
Reseal edges every 2-3 years. Caulk degrades over time. Check it annually and replace it if you see cracks or separation.
How to Dry Water Under Vinyl Flooring
If water damage vinyl flooring has already occurred, act fast, the longer it sits, the more damage it causes.
Immediate steps after a spill or leak
Stop the water source first. Find and fix the leak, shutting off the water if necessary, you can't dry the floor while water is still entering.
Remove standing water. Use towels, a mop, or a wet-dry vacuum to soak up surface water, reducing what seeps underneath.
Dry the surface completely. Use fans and dehumidifiers and open windows if weather permits. The faster the surface dries, the less water penetrates the joints.
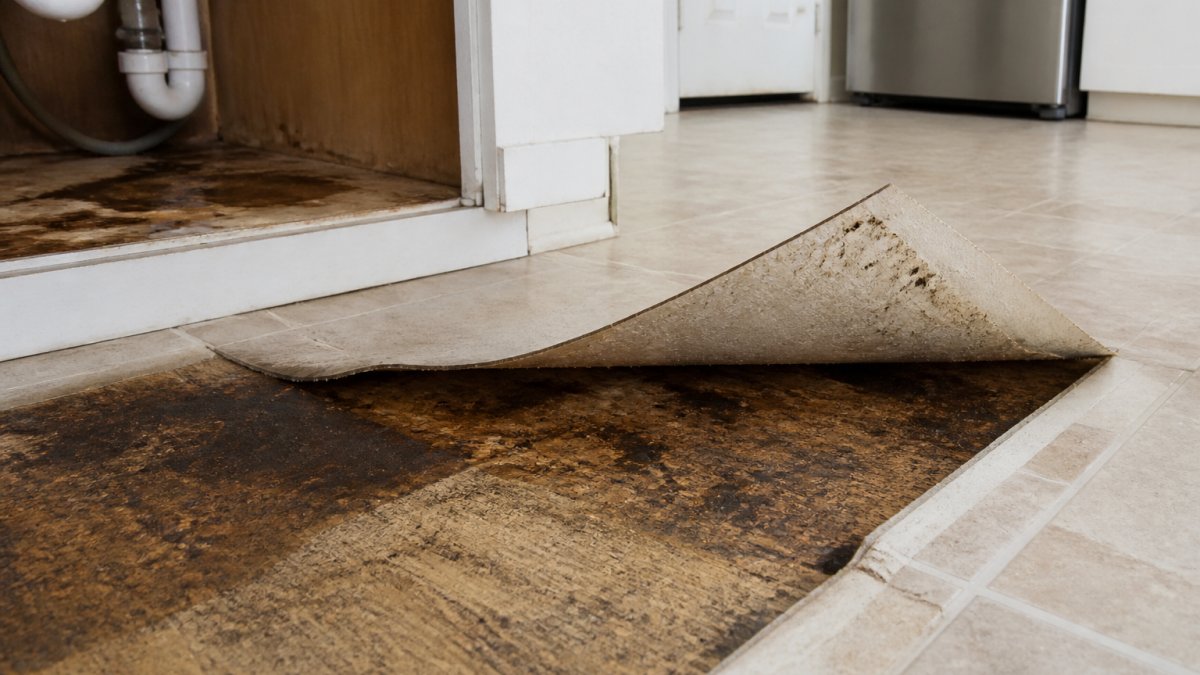
Check for water under the flooring. Look for soft spots, swelling, or discoloration. If the vinyl feels spongy, water is underneath; bubbling or warping means advanced damage.
Detecting and removing trapped moisture
Trapped moisture is the silent killer. You can't see it, but it's destroying the subfloor and creating conditions for mold growth.
Signs of trapped moisture include:
- Soft spots under the vinyl
- Slight swelling or buckling of planks
- A musty smell coming from under the floor
- Visible mold or discoloration on the subfloor (if you lift a plank)
- Water stains on the subfloor
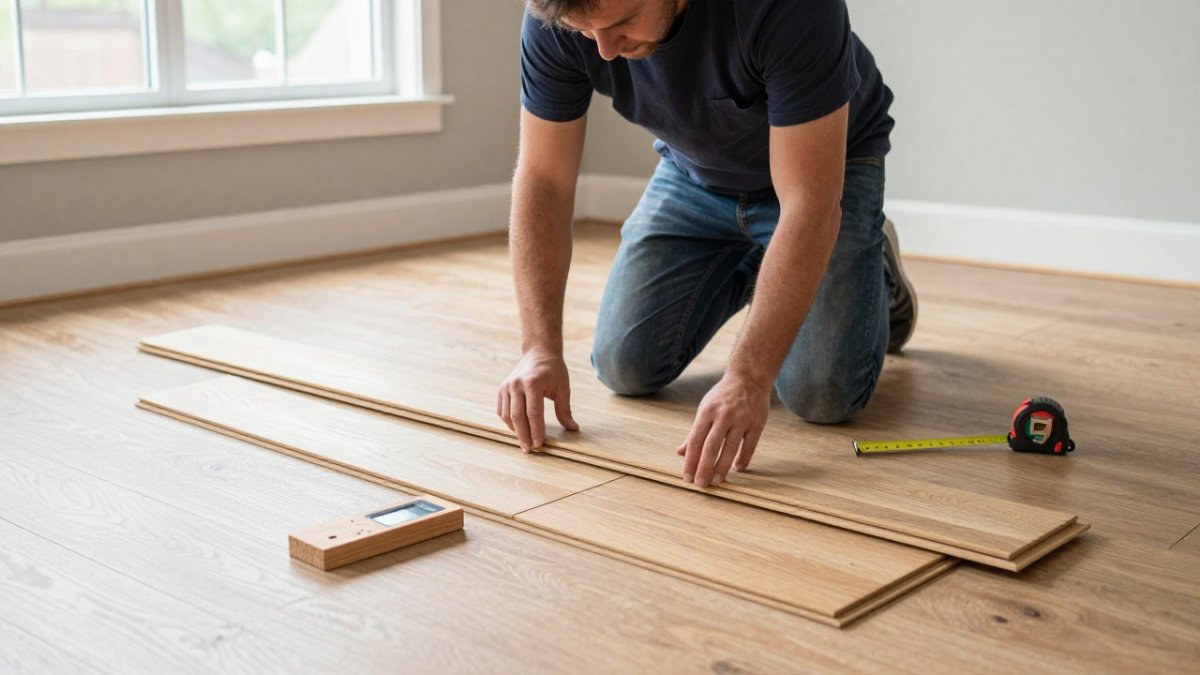
If you suspect trapped water, use an inexpensive moisture meter on the subfloor. A reading above 20% indicates a problem.
Professional water damage companies use industrial dehumidifiers and air movers to extract moisture from under the flooring without removing it, faster and more effective than DIY methods.
If the subfloor is saturated, it may need replacing. Wet wood deteriorates and loses structural integrity, and particle board swells and falls apart. Replacing it is expensive but necessary to prevent collapse and mold.
Daily Habits and Routine Inspections
Prevention is about consistency. Small daily habits stop problems before they start.
Wipe spills immediately. Don't let water sit. Use a dry cloth, not a wet mop. Dry mops spread water around. Cloth drying removes it.
Avoid steam mops. Steam mops force water and heat into vinyl seams. They're one of the worst things you can use on vinyl flooring.
Check appliances monthly. Look under sinks. Feel for moisture. Check hose connections. Tighten anything that's loose. A five-minute monthly check prevents catastrophic leaks.
Inspect flooring quarterly. Walk around the kitchen. Look for soft spots, discoloration, or swelling. Press on areas around appliances. Feel for sponginess. Catch problems early.
Monitor humidity levels. High humidity promotes mold and moisture problems. Keep kitchen humidity below 50%, use a dehumidifier if needed, and run the exhaust fan while cooking and for 20 minutes after (the CDC).
When to Call a Professional
Some water damage situations are beyond DIY fixes. Knowing when to call a professional saves time, money, and prevents worse damage.
Call a water damage specialist if:
- Water is actively coming from under the flooring
- The subfloor is visibly wet or saturated
- You smell mold or mildew
- Flooring is swollen, buckled, or soft
- You suspect structural damage to the subfloor
- Moisture readings are above 20%
Call a flooring professional if:
- Vinyl planks need to be lifted to access the subfloor
- The subfloor needs replacement
- You need to reinstall flooring after drying
- You're unsure whether your floor can be saved
Call a plumber if:
- The leak is from a water line, faucet, or appliance connection
- You need to replace water supply lines
- The drain system is failing
We can recommend professionals in your area and help coordinate repairs.
Water damage under vinyl flooring doesn't have to be a disaster. Proper sealing, routine maintenance, and quick action when spills happen keep your kitchen floor dry and intact, and prevention now saves thousands in repairs later. Contact us to discuss moisture barriers, professional edge sealing, and flooring options that work best for your kitchen's specific risks.
| Prevention Method | When to Use | Impact |
|---|---|---|
| Silicone edge sealing | During installation and every 2-3 years | Stops water entry at seams and edges |
| Moisture barrier | Before vinyl installation on wood subfloors | Prevents water rising from below |
| Appliance drip trays | Under sinks, dishwashers, refrigerators | Catches leaks before they spread |
| Immediate spill cleanup | After any water exposure | Minimizes water penetration |
| Monthly appliance checks | Ongoing maintenance | Catches leaks early |
| Professional water extraction | After water is trapped under flooring | Prevents mold and structural damage |
Frequently Asked Questions
What should I do if water gets under my vinyl flooring?
Act quickly to prevent subfloor damage. First, stop the water source and remove standing water with a wet-dry vacuum. Open windows and use fans to increase air circulation. If water has been trapped for more than 24 hours, remove a section of vinyl flooring to inspect the subfloor for swelling or mold growth. Dry the subfloor completely before reinstalling vinyl or replacing damaged sections. If you see mold or extensive moisture, contact a water-damage specialist.
Is it necessary to put a moisture barrier under vinyl flooring?
Yes, a moisture barrier is strongly recommended, especially in kitchens where spills and leaks are common. A moisture barrier (typically polyethylene or specialized underlayment) prevents water from the subfloor from wicking into vinyl flooring and causing swelling. It also protects the subfloor from moisture intrusion rising from below. Check your vinyl flooring warranty, many require a moisture barrier for coverage against water damage.
How do I prevent water from getting under vinyl flooring around a dishwasher?
Seal all gaps and exposed edges around the dishwasher with silicone caulk compatible with vinyl flooring. Inspect the dishwasher door seal and drain hose regularly for cracks or leaks. Install a drip pan under the dishwasher if it is not already present. Avoid standing water by wiping up spills immediately and ensuring the area dries completely. Check flooring transitions and the flooring perimeter near the appliance quarterly for signs of moisture intrusion.
Can vinyl flooring be installed over a damp subfloor?
No. Installing vinyl flooring over a damp subfloor will trap moisture and cause swelling, warping, and mold growth beneath the flooring. Before installation, the subfloor moisture content should be below 12% for wood or concrete. Use a moisture meter to verify. If the subfloor is damp, allow it to dry completely, identify and fix the water source, and install a moisture barrier before laying vinyl. Rushing this step will lead to hidden water damage and costly repairs.