 Ultimate guide
Waterproof Flooring for Kitchens: A 2026 Buying Guide
Table of Contents
- Why Waterproof Flooring for Kitchens Is Worth the Investment
- Types of Waterproof Kitchen Flooring: A Side-by-Side Comparison
- Luxury Vinyl Plank Kitchen Flooring: Benefits, Wear Layer, and What to Look For
- Waterproof Laminate vs Vinyl for Kitchen: Which One Actually Wins?
- How to Choose the Best Waterproof Flooring for Kitchens
- Waterproof Flooring Installation Cost: What to Budget in 2026
- How to Clean Waterproof Kitchen Floors Without Damaging Them
- Conclusion
Last Updated: May 28, 2026
Choosing the wrong kitchen floor is an expensive mistake, and it happens more often than you'd think. Waterproof flooring for kitchens is no longer a luxury upgrade, it's the baseline expectation for any kitchen renovation that needs to survive spills, pet traffic, and daily wear without warping or staining. At Hamptons carpet one floor and Home, we help Suffolk County homeowners navigate this decision every week, and the number of people who arrive having already bought the wrong product is striking. Below, we'll show you exactly how to match the right waterproof floor to your kitchen, what the installation actually costs in 2026, and two angles most retailers never mention: acoustic performance and subfloor preparation.
Why Waterproof Flooring for Kitchens Is Worth the Investment
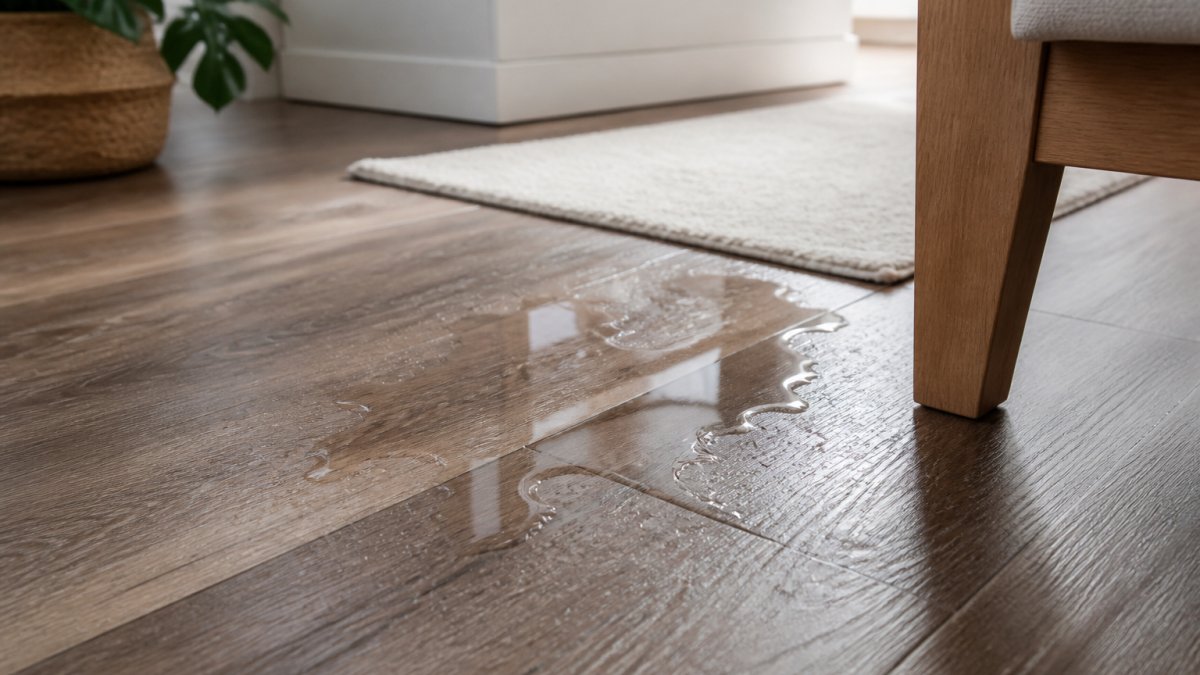
Waterproof flooring for kitchens is flooring engineered with a fully sealed, water-impermeable core that prevents moisture from penetrating to the subfloor, regardless of how long liquid sits on the surface.
That distinction matters more than most people realize. Standard laminate and even some engineered hardwood will absorb moisture over time, leading to warping, swelling, and mold beneath the surface, problems that don't show up until months after the damage is done. Truly waterproof kitchen flooring, by contrast, can handle standing water for extended periods without structural compromise.
The kitchen is the highest-risk room in any home for moisture damage. Sink splashes, dishwasher leaks, dropped glasses, and pet water bowls all create conditions that punish flooring that isn't built for it. Many homeowners also underestimate how much humidity cooking generates over years of use.
The long-term cost argument is straightforward: waterproof kitchen floors simply last longer and require fewer repairs. Replacing a warped laminate floor in a kitchen typically means removing appliances, disrupting the entire space, and paying for both materials and labor again. A properly installed waterproof floor avoids that cycle entirely.
Types of Waterproof Kitchen Flooring: A Side-by-Side Comparison
Four main categories dominate the waterproof flooring for kitchens market in 2026: luxury vinyl plank and tile (LVP/LVT), porcelain tile, vinyl sheet flooring, and water-resistant laminate or engineered hardwood. Each has a different performance profile, price point, and installation requirement.
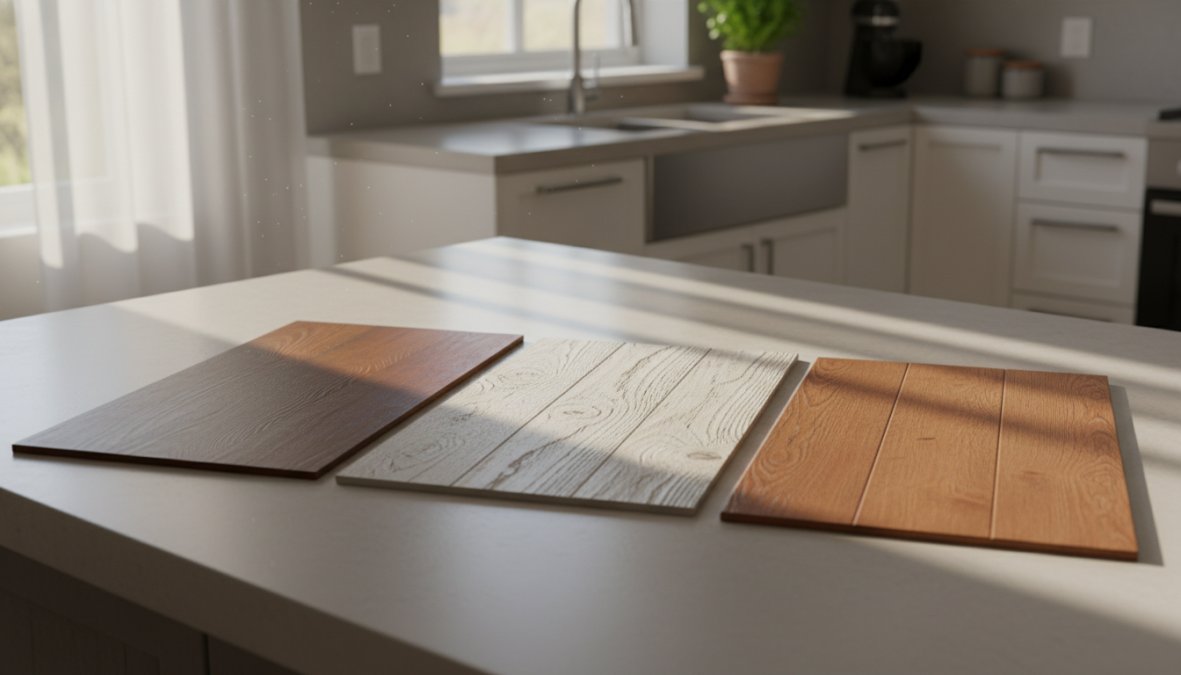
Here's how they stack up across the criteria that matter most for a kitchen environment:
| Flooring Type | Waterproof Rating | Typical Wear Layer | Comfort Underfoot | DIY-Friendly | Relative Cost |
|---|---|---|---|---|---|
| LVP / LVT | Fully waterproof | 12-20 mil | High | Yes | Low-Mid |
| Porcelain Tile | Fully waterproof | N/A (glazed surface) | Low (hard) | Moderate | Mid-High |
| Vinyl Sheet | Fully waterproof | 6-12 mil | Moderate | Yes | Low |
| Water-Resistant Laminate | Water-resistant only | N/A | Moderate | Yes | Low-Mid |
| Engineered Hardwood | Water-resistant only | Polyurethane finish | High | Moderate | High |
The table makes one thing clear: only LVP/LVT, porcelain tile, and vinyl sheet are genuinely waterproof. Laminate and engineered hardwood are water-resistant at best, which is a meaningful difference in a kitchen context.
Luxury Vinyl Plank and Tile (LVP & LVT)
Luxury vinyl plank and tile are the dominant choice for waterproof kitchen flooring right now, and for good reason. Both use a rigid core construction, typically stone plastic composite (SPC) or wood plastic composite (WPC), that is 100% waterproof throughout its entire thickness. The wear layer on top, measured in mil thickness, determines how well the floor resists scratches and scuffs from daily kitchen traffic.
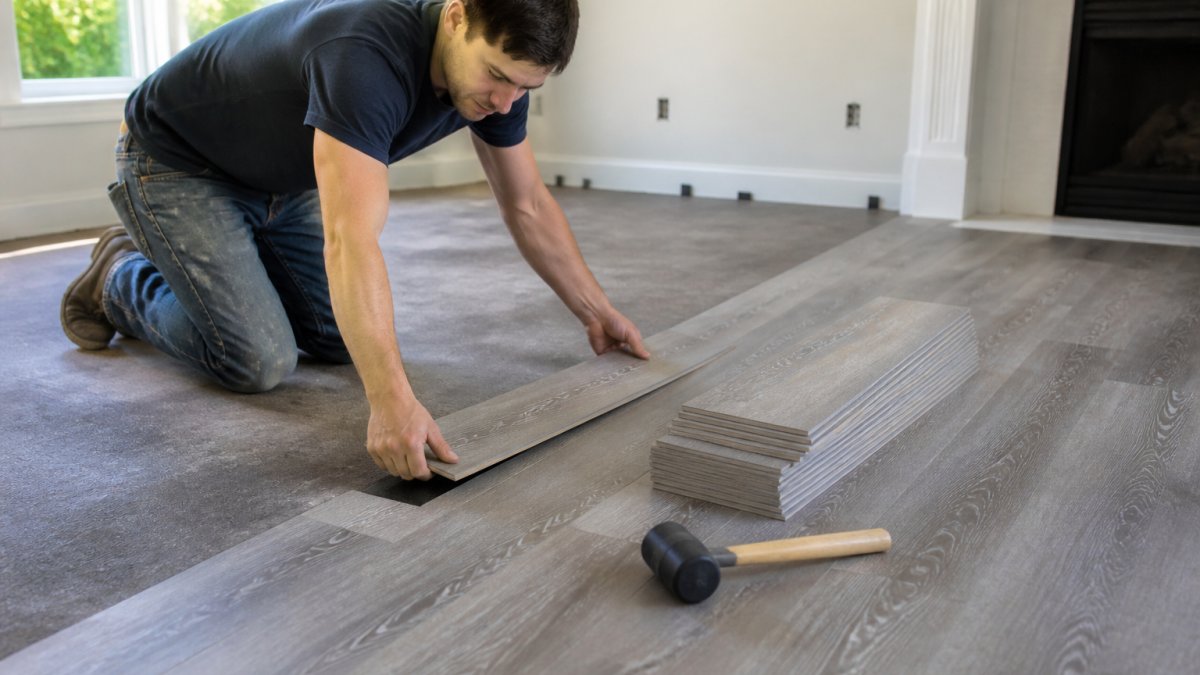
LVP mimics hardwood planks, while LVT replicates stone or tile looks. Both install as a floating floor using a click-lock system, meaning no glue or nails are required. Installation is accessible for confident DIYers, and the underlayment is often pre-attached. For households with pets or children, LVP and LVT are the practical default.
Porcelain Tile
Porcelain tile is the most durable waterproof kitchen floor available. Its surface is impervious to moisture, scratch-resistant, and virtually indestructible under normal household use. Large-format porcelain tiles (24x24 inches or larger) have become popular in kitchen renovations because they reduce grout lines, which are the one maintenance liability of tile flooring.
The tradeoff is comfort. Porcelain is hard underfoot and unforgiving for people who spend long periods standing at a kitchen counter. It also requires professional installation in most cases, adding to total cost. Grout lines need periodic sealing to prevent staining, though the tile itself needs almost no maintenance.
Vinyl Sheet Flooring
Vinyl sheet is the most affordable waterproof kitchen flooring option, and it's genuinely underrated. Because it installs in a single continuous piece with no seams, it's actually more waterproof in practice than click-lock vinyl plank, there are simply no joints for water to find. The wear layer tends to be thinner than LVP, which limits its scratch resistance, but for a budget-conscious kitchen renovation it remains a solid choice.
Engineered Hardwood and Water-Resistant Laminate
These two options belong in the same category for kitchen use: they offer moisture resistance, not waterproofing. A polyurethane finish on engineered hardwood and the AC-rated surface on modern laminate will handle light spills if cleaned up quickly. Extended exposure to moisture, however, will cause damage. Both are better suited to dining areas or living rooms adjacent to kitchens than to the kitchen itself. That said, water-resistant laminate has improved significantly, and some products now carry manufacturer warranties for kitchen use.
Luxury Vinyl Plank Kitchen Flooring: Benefits, Wear Layer, and What to Look For
Luxury vinyl plank kitchen flooring earns its dominance because it solves the three problems kitchens throw at floors simultaneously: moisture, high-traffic wear, and the need for visual appeal.
The wear layer is the most important spec to understand. Measured in mil thickness, it's the transparent protective coating bonded to the surface of the plank. A thinner wear layer (6-8 mil) works fine in low-traffic areas but will show scratches and scuffs in a kitchen within a few years. For kitchen use, a minimum of 12 mil is the practical floor, and 20 mil is the right choice for households with pets, children, or heavy foot traffic.
Rigid core construction is the other non-negotiable. SPC (stone plastic composite) cores are denser and more dimensionally stable than WPC (wood plastic composite), making them better suited to kitchens where temperature fluctuations and moisture levels vary. SPC floors are less likely to expand or contract visibly with seasonal changes.
What most guides miss is the importance of the locking mechanism. Not all click-lock systems are equal. A tighter, more precise lock reduces the risk of planks separating over time, which matters in a kitchen where the floor flexes slightly under foot traffic. Ask to see installation samples before committing to a product.
For pet-friendly households specifically, LVP is the clear winner among waterproof kitchen floors. The combination of scratch resistance, waterproof technology, and easy maintenance makes it the most forgiving surface for animals.
According to the Resilient Floor Covering Institute's installation guidelines, proper acclimation of LVP before installation, typically 48 hours at room temperature, is essential for dimensional stability and long-term performance.
Waterproof Laminate vs Vinyl for Kitchen: Which One Actually Wins?
The answer is vinyl, and it's not particularly close for kitchen-specific applications, but understanding why vinyl wins, and under exactly what conditions laminate becomes a defensible choice, is more useful than a simple verdict.
The Core Issue: What "Waterproof Laminate" Actually Means
The marketing term "waterproof laminate" is one of the most misleading phrases in the flooring industry. Here's the precise mechanism of why it falls short in a kitchen:
All laminate flooring, including products marketed as waterproof, uses a high-density fiberboard (HDF) core. HDF is wood fiber compressed under high pressure with resin binders. It is denser than standard particleboard, and modern laminate products treat the edges and surface with hydrophobic coatings that meaningfully slow moisture absorption. But the core remains wood-based, and wood-based materials have a moisture absorption threshold. Once water penetrates the locking joints and reaches the HDF core, whether from a slow dishwasher leak, a pet water bowl that gets nudged and sits for hours, or repeated mopping that leaves water in the seams, the core begins to swell. That swelling is irreversible. The planks buckle upward at the joints, the locking mechanism breaks, and the floor cannot be repaired; it must be replaced.
Vinyl, by contrast, is plastic throughout its entire construction. LVP and LVT use a rigid core made of either stone plastic composite (SPC) or wood plastic composite (WPC), both of which are inorganic or polymer-based materials with no meaningful moisture absorption capacity. Water sitting on a vinyl floor for hours, or even days, will not cause structural damage to the plank itself. The waterproof claim on vinyl is structurally honest in a way that "waterproof laminate" is not.
Where Laminate Can Still Be a Defensible Choice
That said, dismissing laminate entirely ignores some real advantages in specific contexts:
Visual realism at lower price points. The embossed-in-register (EIR) printing technology on mid-range laminate products achieves a wood texture depth and grain variation that entry-level vinyl cannot match. For a kitchen where aesthetics are the priority, moisture exposure is genuinely minimal (no dishwasher, no pets, adults-only household), and spills are cleaned up within minutes, a quality water-resistant laminate is a defensible choice.
Surface hardness. Laminate's HDF core is harder than most vinyl cores, which means it resists denting from dropped objects better than WPC vinyl. In a kitchen where heavy pots and cast iron are common, this is a real consideration.
Cost-to-visual-quality ratio. At the $2.00-$4.00 per square foot material price point, laminate often looks more convincing than vinyl at the same price. If budget is the primary constraint and the kitchen has low moisture risk, laminate competes.
The honest summary: laminate is appropriate for kitchens with low moisture exposure and disciplined spill cleanup habits. It is not appropriate for kitchens with dishwashers, pets, children, or any history of plumbing issues.
Acoustic Performance: The Comparison Retailers Skip
One dimension that almost never appears in laminate-vs-vinyl comparisons is acoustic performance, and it's a meaningful quality-of-life factor, particularly in open-plan homes where the kitchen connects directly to a living or dining area.
Both laminate and rigid-core vinyl are hard flooring surfaces that reflect rather than absorb impact sound. The hollow, clacking footfall noise that many people associate with laminate is a function of the air gap beneath a floating floor amplifying impact sound, and rigid-core vinyl installed without adequate underlayment produces the same effect.
Here's how the two materials compare on acoustics:
| Factor | Laminate | WPC Vinyl | SPC Vinyl |
|---|---|---|---|
| Core density | High (HDF) | Lower (foam-composite) | Very high (stone-composite) |
| Impact sound transmission | High without underlayment | Moderate (pre-attached pad helps) | High without underlayment |
| Pre-attached underlayment | Common at mid-range | Common across most products | Less common; often sold separately |
| Acoustic underlayment benefit | Significant improvement | Moderate improvement | Significant improvement |
WPC vinyl has a natural acoustic advantage because its lower-density foam-composite core absorbs some impact energy before it reaches the subfloor. SPC vinyl and laminate, both denser and harder, transmit more impact sound and benefit most from a dedicated acoustic underlayment pad.
For open-plan kitchens, the practical recommendation is to specify a minimum 1.5mm acoustic underlayment beneath any SPC or laminate installation. Products with an IIC (Impact Insulation Class) rating of 50 or above will produce a noticeably quieter floor underfoot. Some premium LVP products include a 2mm pre-attached underlayment that achieves this threshold without a separate purchase.
VOC Emissions: The Health Angle Both Categories Need Scrutiny On
VOC (volatile organic compound) emissions are the second angle that laminate-vs-vinyl comparisons almost universally ignore, and in a kitchen, where ventilation may be limited and you spend significant time, it matters.
Both laminate and vinyl products can off-gas VOCs from adhesives, surface treatments, and core binders, particularly in the weeks and months after installation. The concern is more acute with lower-cost imports that may not meet U.S. indoor air quality standards.
For laminate, the relevant concern is formaldehyde emissions from the HDF core binders. California Air Resources Board (CARB) Phase 2 compliance is the baseline standard for formaldehyde in composite wood products sold in the U.S. Look for explicit CARB Phase 2 certification on any laminate product.
For vinyl, the concern is plasticizers and adhesive off-gassing. Lower-cost vinyl products may use phthalate-based plasticizers or adhesives with elevated VOC content. The credible third-party certifications to look for are:
- GREENGUARD Gold (UL Environment): Requires low chemical emissions and is specifically designed for sensitive environments including homes with children
- FloorScore (Resilient Floor Covering Institute / SCS Global Services): The flooring-industry-specific VOC certification, widely recognized by architects and specifiers
Neither certification is automatically present on products at any price point, a $7.00/sq ft vinyl product can fail to carry either certification, while some mid-range products do. Check the product specification sheet, not just the packaging claim.
The Verdict, With Full Context
Vinyl wins the laminate-vs-vinyl comparison for kitchen use across the dimensions that matter most: waterproofing integrity, acoustic performance with appropriate underlayment, and repairability. Laminate remains competitive on visual realism at lower price points and surface hardness, but its HDF core is a structural liability in any kitchen with meaningful moisture exposure.
The decision framework is straightforward: if your kitchen has a dishwasher, pets, children, or any history of plumbing issues, choose vinyl. If your kitchen is genuinely low-moisture, aesthetics are the priority, and you're committed to immediate spill cleanup, water-resistant laminate is a defensible budget choice, with the understanding that it carries more long-term risk than any vinyl product.
How to Choose the Best Waterproof Flooring for Kitchens
Choosing the best waterproof flooring for kitchens comes down to three variables: how your kitchen is actually used, what your subfloor condition allows, and what your long-term maintenance tolerance looks like.
Evaluating Durability, Traffic, and Moisture Levels
Start with an honest assessment of your kitchen's traffic patterns. A household with two adults and no pets has fundamentally different flooring needs than a family with children, dogs, and a habit of cooking elaborate meals. High-traffic kitchens need a wear layer of at least 20 mil on any vinyl product, or a glazed porcelain tile rated for residential heavy use.
Moisture levels matter beyond the obvious. If your kitchen is on a slab foundation, ground moisture can migrate upward through concrete, creating a humidity environment that affects even waterproof floors over time. A moisture barrier or appropriate underlayment is essential in these cases.
For households where the kitchen opens to a mudroom or exterior entrance, spill-proof flooring that also handles tracked-in dirt and grit is worth prioritizing. Scratch resistance becomes as important as moisture resistance in that context.
Subfloor Preparation: The Step Most Homeowners Skip
Most flooring failures in kitchens trace back to subfloor issues, not product defects.
A waterproof floor installed over an uneven, damaged, or moisture-compromised subfloor will fail regardless of its waterproof rating. The subfloor must be flat to within a specific tolerance, typically 3/16 inch over a 10-foot span for LVP and LVT. Humps, dips, or soft spots need to be corrected before any new flooring goes down.
For kitchens on concrete slabs, test for moisture before installation. A calcium chloride test or relative humidity probe will identify whether the slab is emitting enough moisture vapor to require a vapor barrier. Skipping this step is the most expensive mistake in kitchen flooring installation.
Old vinyl flooring can often be floated over if it's in good condition and firmly adhered. Multiple layers of old flooring, however, create height and flexibility issues that will telegraph through any new installation.
Acoustic Performance and VOC Emissions: Two Angles Retailers Rarely Mention
Acoustic performance is almost never discussed in kitchen flooring conversations, but it's a real quality-of-life factor. Hard flooring surfaces, particularly rigid core LVP and porcelain tile, reflect sound rather than absorbing it, which increases the ambient noise level in an open-plan kitchen and living area. The fix is underlayment: an attached or separate acoustic underlayment layer absorbs impact sound and reduces the hollow footfall noise that hard floors produce.
WPC core vinyl typically includes pre-attached underlayment that provides meaningful sound dampening. SPC core products are denser and harder, which means they transmit more impact sound, a separate acoustic underlayment pad is worth the additional cost for SPC installations in open-plan spaces.
VOC (volatile organic compound) emissions are the second overlooked angle. Some vinyl flooring products, particularly lower-cost imports, use adhesives and surface treatments that off-gas VOCs after installation. For kitchens, rooms where you spend significant time and where ventilation may be limited, this matters. Look for products certified to GREENGUARD Gold indoor air quality standards, which require low chemical emissions. FloorScore certification is another credible third-party standard for VOC compliance.
Waterproof Flooring Installation Cost: What to Budget in 2026
Waterproof flooring installation cost varies significantly by product type, room size, and whether subfloor preparation is required. The ranges below reflect typical residential kitchen projects in the Northeast U.S. in 2026. Prices in other regions may run 10-20% lower, but the relative cost relationships between product categories hold nationally.
Material Costs Per Square Foot (Product Only, Not Installed)
| Flooring Type | Material Cost Range (per sq ft) | Notes |
|---|---|---|
| Vinyl sheet | $0.75 - $2.50 | Widest price range; thicker wear layers cost more |
| Entry-level LVP (6-8 mil wear layer) | $1.50 - $3.00 | Adequate for low-traffic kitchens only |
| Mid-range LVP (12 mil, rigid core) | $3.00 - $5.50 | Most popular tier for residential kitchens |
| Premium LVP (20 mil, SPC core) | $5.50 - $9.00 | Best long-term value for high-traffic households |
| Porcelain tile (standard format) | $3.00 - $8.00 | Plus grout, setting material, and backer board |
| Large-format porcelain (24×24 in+) | $6.00 - $15.00+ | Premium aesthetics; higher installation complexity |
Professional Installation Labor Costs
Labor rates for flooring installation in the Northeast typically range from $3.00 to $7.00 per square foot for LVP click-lock floating floors, and from $7.00 to $15.00 per square foot for porcelain tile, depending on tile size, pattern complexity, and local market rates. Vinyl sheet installation generally falls between LVP and tile in labor cost, because precise cutting and seam placement require skill even though the installation method is simpler.
The factors that most commonly push labor costs toward the higher end:
- Diagonal or herringbone patterns on LVP or tile add 15-25% to labor time due to increased cuts and waste
- Large-format tile (24×24 inches or larger) requires a flatter subfloor tolerance and more precise leveling, adding time
- Removal of existing flooring is typically billed separately, often $1.00-$2.50 per square foot depending on what's being removed and how many layers
- Appliance moving (refrigerator, range, dishwasher) may be billed as an add-on or included depending on the installer
Subfloor Preparation: The Wildcard Cost
Subfloor preparation is the line item most homeowners don't budget for, and the one most likely to surprise them. A kitchen that needs leveling compound, moisture remediation, or old flooring removal can add $500 to $2,000 or more to a project before a single new plank goes down.
Common subfloor preparation costs to anticipate:
- Self-leveling compound to correct high or low spots: typically $1.50-$3.00 per square foot for material and labor, depending on depth of correction needed
- Moisture barrier or vapor retarder over concrete slab: $0.50-$1.50 per square foot installed
- Removal of multiple layers of old vinyl: adds labor time and may require asbestos testing on pre-1980s homes before any work begins
- Replacing damaged subfloor panels: plywood replacement runs $2.00-$5.00 per square foot installed, depending on access and extent of damage
Total Installed Cost: Realistic Project Ranges
For a typical kitchen of 150-200 square feet in Suffolk County in 2026, here's what realistic all-in project costs look like across product categories:
| Project Type | Estimated All-In Range (150-200 sq ft kitchen) |
|---|---|
| Vinyl sheet (basic, minimal prep) | $600 - $1,500 |
| Mid-range LVP, standard installation | $1,500 - $3,500 |
| Premium SPC LVP, minor prep work | $2,500 - $5,000 |
| Porcelain tile, professional install | $3,500 - $8,000+ |
These ranges assume a reasonably flat subfloor in good condition. Projects requiring significant leveling, moisture remediation, or multiple layers of old flooring removal will fall at the higher end or above these ranges.
Repairability vs. Full Replacement: The Long-Term Cost Factor
This is the part of the cost conversation most retailers skip entirely, and it's one of the most important factors in the true lifetime cost of a kitchen floor.
Porcelain tile is nearly impossible to damage under normal use, but when a tile does crack, from a dropped cast iron pan, for example, replacing a single tile in an existing installation is genuinely difficult. Matching the original tile years later is often impossible because tile lots change between production runs. Cutting out a cracked tile without disturbing adjacent tiles requires a diamond blade angle grinder, careful technique, and patience. For most homeowners, a cracked tile means calling a professional.
LVP and LVT click-lock floors have a significant advantage here. Individual planks can be replaced without disturbing the rest of the floor, provided you've stored leftover material from the original installation. The process involves removing baseboards, floating planks back from the nearest wall to the damaged plank, swapping the damaged piece, and reinstalling. It's a half-day DIY project for a handy homeowner. This is a strong argument for buying 10-15% extra material and storing it flat in a climate-controlled space for future repairs, the same dye lot and production run will match perfectly.
Vinyl sheet flooring is the hardest waterproof kitchen floor to repair. A tear or gouge typically requires replacing a larger section, and seam-matching is difficult even for professionals. Its low upfront cost needs to be weighed against this limitation, particularly in households with pets or heavy kitchen traffic where surface damage is more likely.
For square-foot pricing specific to your kitchen, Hamptons Carpet One Floor and Home offers in-home measure consultations for Suffolk County homeowners, which takes the guesswork out of material quantities and provides a professional subfloor assessment before you commit to a product.
How to Clean Waterproof Kitchen Floors Without Damaging Them
The maintenance reality of waterproof kitchen flooring is simpler than most people expect, but a few common mistakes will shorten a floor's life regardless of how waterproof it is.
For LVP and LVT, the routine is straightforward: sweep or vacuum regularly to remove grit (which is the primary cause of surface scratching), then damp-mop with a pH-neutral cleaner. The critical word is "damp", excessive water left standing on any floor, including vinyl, can work its way into seams over time and create issues at the subfloor level. Wring out the mop thoroughly.
What to avoid on vinyl floors:
- Steam mops: The heat and moisture combination degrades the adhesive bond on pre-attached underlayment and can warp planks over time
- Abrasive scrubbers: These scratch the wear layer and dull the surface finish
- Solvent-based cleaners: They break down the polyurethane finish on the wear layer
- Wax or polish products: Modern vinyl floors have a factory finish that doesn't benefit from wax and can become slippery
Porcelain tile maintenance centers on the grout rather than the tile itself. The tile surface is essentially maintenance-free, but grout lines should be sealed annually in a kitchen environment. Unsealed grout absorbs cooking grease and food residue, leading to staining that's difficult to reverse.
For stain-resistant surfaces like LVP, most food and beverage stains clean up with a damp cloth if addressed promptly. Dried or set-in stains respond to isopropyl alcohol applied with a soft cloth. Avoid using bleach directly on vinyl, it can discolor the surface with repeated use.
The broader principle: waterproof flooring for kitchens is built to handle moisture, but maintenance habits still determine how long it looks good. A floor that's regularly swept and cleaned with appropriate products will look significantly better at year ten than one that's neglected.
As documented in the Tile Council of North America's maintenance recommendations, grout sealing frequency depends on kitchen use intensity, high-use kitchens benefit from annual sealing, while moderate-use kitchens can extend to every two years.
Selecting the right kitchen floor is straightforward when you know what to prioritize, but the sheer number of product options makes it easy to choose the wrong thing. Hamptons carpet one floor and Home serves homeowners across all of Suffolk County, NY, offering in-home measure consultations and access to a full range of waterproof kitchen flooring options, from entry-level vinyl sheet to premium rigid core LVP and large-format porcelain tile. Visit Hamptons carpet one floor and Home to schedule your consultation and get a floor that handles everything your kitchen throws at it.
Frequently Asked Questions
What is the best waterproof flooring for a kitchen?
For most kitchens, luxury vinyl plank (LVP) with a rigid core is considered one of the top choices because it offers 100% waterproof technology, scratch-resistant wear layers, and comfortable underfoot feel. Porcelain tile is another excellent option for maximum moisture resistance and durability in high-traffic kitchens. The best choice depends on your budget, subfloor condition, and whether you prioritize warmth, hardness, or ease of installation.
Is luxury vinyl plank really waterproof, or just water-resistant?
True luxury vinyl plank (LVP) with a rigid core is genuinely waterproof, the planks themselves will not warp or swell when exposed to water. However, if water seeps through the seams and sits on the subfloor for extended periods, it can cause subfloor damage. Proper installation with tight click-lock joints and sealed edges minimizes this risk. Always check that the product is rated fully waterproof, not just water-resistant.
How much does waterproof kitchen flooring cost to install?
Waterproof flooring installation cost varies by material. Luxury vinyl plank typically ranges from roughly $3 to $7 per sq ft for materials, with professional installation adding $1.50 to $4 per sq ft. Porcelain tile tends to cost more for both materials and labor. Vinyl sheet is often the most budget-friendly option. Always request an in-home measure for an accurate quote, as subfloor preparation can significantly affect total project cost.
Can you put laminate flooring in a kitchen?
Traditional laminate is not recommended for kitchens because it can warp and swell when exposed to moisture. However, newer water-resistant laminate products with sealed edges offer improved moisture protection and are marketed for kitchen use. They still do not match the fully waterproof performance of LVP or porcelain tile. If you prefer the look of laminate, opt for a product specifically rated water-resistant and ensure the subfloor is level and dry before installation.
How do you clean waterproof kitchen floors without damaging them?
For LVP and vinyl floors, sweep or vacuum regularly to remove grit that can scratch the wear layer, then damp-mop with a pH-neutral cleaner. Avoid steam mops, abrasive scrubbers, and wax-based products, which can degrade the polyurethane finish. For porcelain tile, use a mild tile cleaner and rinse thoroughly. Always wipe up spills promptly, even spill-proof floors benefit from quick cleanup to protect grout lines and subfloor edges.
Does waterproof flooring mean it can handle standing water indefinitely?
Not quite. While waterproof flooring for kitchens, especially LVP with rigid core, resists moisture penetration through the planks themselves, prolonged standing water can still find its way through seams or edges and damage the subfloor below. Waterproof refers to the flooring material itself, not the entire floor system. Prompt cleanup of spills and proper installation with sealed perimeters are essential to protect your investment long-term.
This article was written using GrandRanker